Vegan Caramel Latte Tiramisu Recipe
Introduction
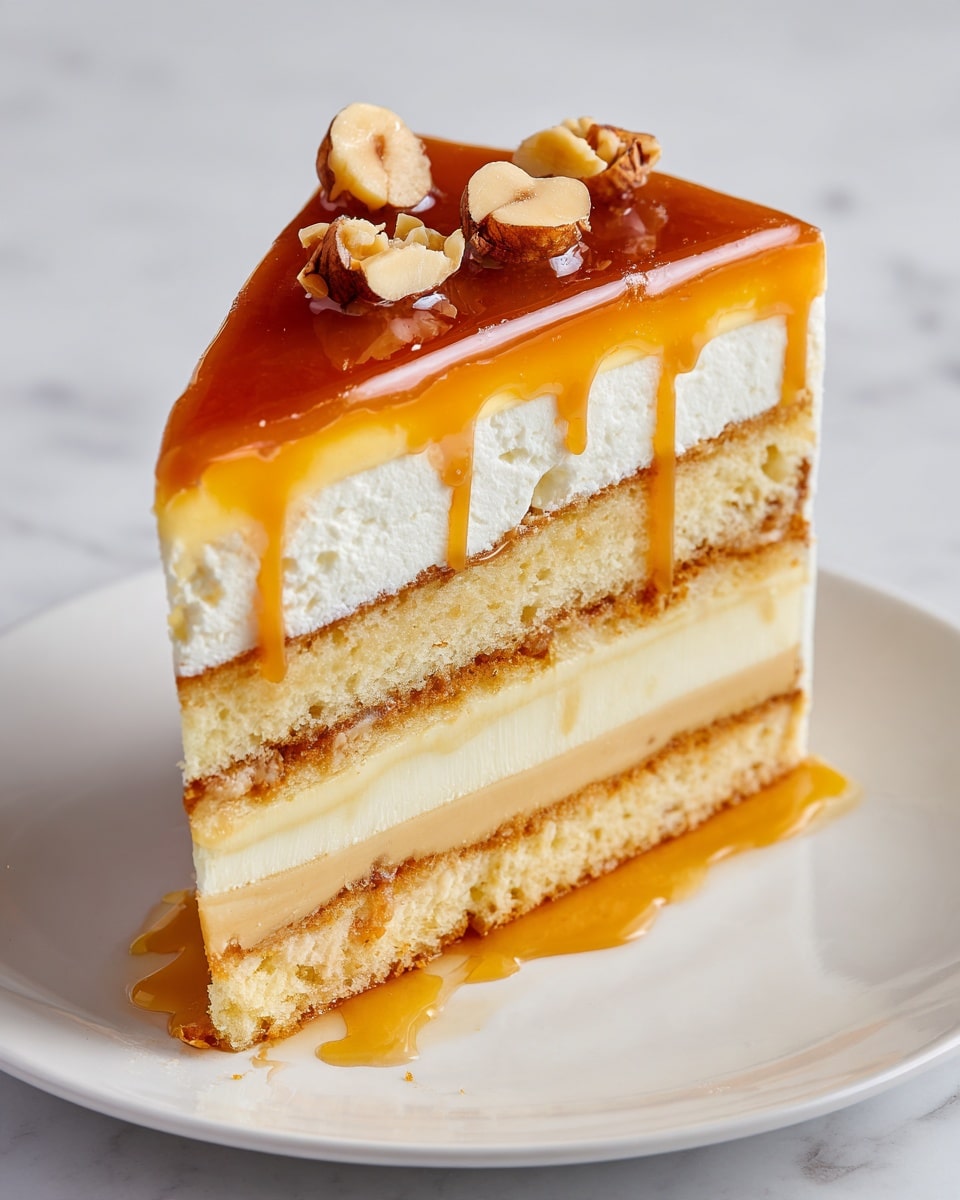
This vegan caramel latte tiramisu blends silky dairy-free mascarpone with coffee-soaked ladyfingers and a rich date caramel for a plant-based twist on a classic dessert. It’s indulgent, coffee-kissed, and surprisingly approachable for home bakers.
Ingredients
- 180ml aquafaba (chickpea brine)
- 12g cream of tartar
- 100g caster sugar
- 60ml neutral oil (such as sunflower)
- 50g dairy-free plain or vanilla yogurt
- 1 teaspoon vanilla extract or vanilla bean paste
- 2 teaspoons baking powder
- 300g all purpose/plain flour
- Coffee (for soaking)
- 350g silken tofu
- 150g dairy-free butter
- 160g caster sugar
- 100g plain or vanilla yogurt (or protein yogurt)
- 1 teaspoon vanilla extract or vanilla bean paste
- 3 tablespoons coffee
- 220ml dairy-free whipping cream
- 10 medjool dates, pitted and halved
- 100g maple or agave syrup
- 120g coconut cream
- 2 tablespoons dairy-free milk
- 1 pinch sea salt or sea salt flakes (for sprinkling on top)
Instructions
- Step 1: Preheat the oven to 180°C fan and line 2 baking trays with greaseproof paper. This recipe makes about 3–4 trays, so bake one tray at a time.
- Step 2: Whisk aquafaba and cream of tartar in a large bowl with an electric mixer on low, then on high for 5–8 minutes until soft peaks form.
- Step 3: While whipping, gradually beat in 150g of the sugar until fully incorporated and stiff peaks form. Check by turning the bowl upside down—the meringue should stay in place.
- Step 4: In a separate bowl, whisk together the oil, yogurt, coconut cream, vanilla, and remaining 30g sugar until smooth.
- Step 5: Gently fold the meringue into the yogurt mixture in 2–3 additions to avoid deflating the air.
- Step 6: Sift in the baking powder and flour, then fold until no dry pockets remain. Do not overmix.
- Step 7: Transfer the batter to a piping bag fitted with a large round tip.
- Step 8: Pipe lines about 4 inches by 1.5 inches onto the lined trays, leaving space as they will spread.
- Step 9: Bake one tray at a time in the middle of the oven for about 15 minutes, until edges turn golden brown.
- Step 10: Cool the ladyfingers on the tray, then peel off the paper and transfer to a wire rack to cool completely. Repeat with remaining batter.
- Step 11: Store cooled ladyfingers in a sealed container at room temperature for use the same day or next day to prevent softening.
- Step 12: Pit the dates and soak in boiling water for about 10 minutes, then drain well.
- Step 13: In a blender or food processor, combine softened dates, maple or agave syrup, coconut cream, dairy-free milk, and a pinch of sea salt. Blend until smooth and thick, scraping down as needed.
- Step 14: Transfer the caramel to a small saucepan and warm over low heat for 3–5 minutes, stirring until glossy and slightly thickened. Do not boil. Remove from heat and cool slightly, then transfer to a jar and sprinkle with sea salt.
- Step 15: Spoon about one third of the caramel into a piping bag and snip the tip.
- Step 16: Brew coffee or espresso and allow it to cool slightly in a small bowl for dipping.
- Step 17: Dip ladyfingers briefly in the coffee, just long enough to flavor but not soak through. Arrange a first layer in your dish.
- Step 18: Spread a generous layer of the mascarpone-like cream over the dipped ladyfingers, smoothing to the edges.
- Step 19: Pipe a drizzle of the date caramel over the cream layer.
- Step 20: Repeat with another layer of dipped ladyfingers, cream, and caramel. Continue until you use all the components.
- Step 21: Chill in the fridge for 6–8 hours, or ideally overnight, to let the layers set.
- Step 22: Once set, spoon or pipe a final caramel layer on top and smooth with a spatula. Finish with a light sprinkle of flaky sea salt if desired.
- Step 23: Slice the tiramisu into servings with a sharp knife, wiping the blade clean between cuts for neat pieces.
- Step 24: Lift servings carefully from the dish with a flat spatula and serve.
- Step 25: Enjoy your vegan caramel latte tiramisu as a crowd-pleasing finish to any meal.
Tips & Variations
- For a stronger coffee flavor, brush the cooled ladyfingers with a coffee-liqueur or espresso after baking, before dipping.
- Use a mix of gluten-free flour and a pinch more baking powder if you need a gluten-free version while maintaining texture.
Storage
Store the assembled tiramisu in the fridge, well covered, for up to 2–3 days. If making ahead, keep the sauce and ladyfingers separate and assemble just before serving to maintain texture. Reheat is not recommended; serve chilled.
How to Serve
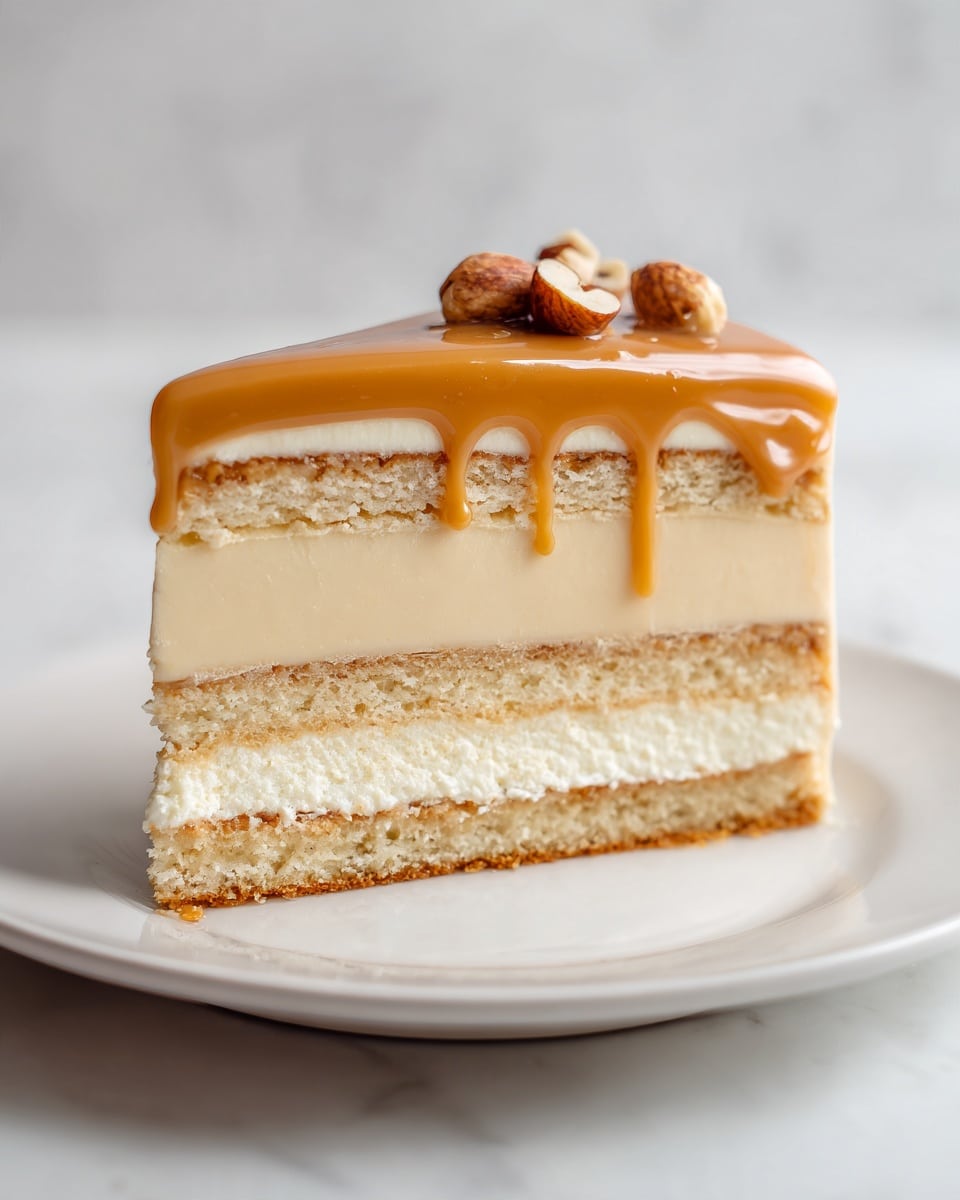
Serve this delicious recipe with your favorite sides.
FAQs
Can I make this in advance?
Yes. Prepare the components ahead (ladyfingers, cream, and caramel) and assemble the day you plan to serve. Chill the assembled dessert overnight for best texture.
Is this dairy-free tiramisu suitable for gluten-free diets?
The base uses all-purpose flour, which contains gluten. To make gluten-free, substitute with a gluten-free flour blend and adjust the baking powder if needed.
PrintVegan Caramel Latte Tiramisu Recipe
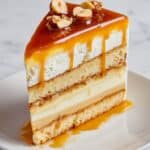
A vegan twist on the classic tiramisu, this cloud-light dessert uses aquafaba meringue ladyfingers, dairy-free cream, and a rich date caramel for a Coffee-kissed indulgence that serves 10 slices.
- Prep Time: 1 hour
- Cook Time: 15 minutes per tray (total approx. 60 minutes across trays)
- Total Time: 7–9 hours (including chilling time)
- Yield: 10 servings 1x
- Category: Dessert
- Method: Baking
- Cuisine: Italian-inspired (vegan)
- Diet: Vegan
Ingredients
Ladyfingers
- 180ml aquafaba (chickpea brine)
- 12g cream of tartar
- 100g caster sugar
- 60ml neutral oil (sunflower recommended)
- 50g dairy-free plain or vanilla yogurt
- 1 teaspoon vanilla extract or vanilla bean paste
- 2 teaspoons baking powder
- 300g all-purpose/plain flour
Coffee soaking
- Coffee or espresso, cooled
Mascarpone cream (dairy-free)
- 300g silken tofu
- 150g dairy-free butter
- 160g caster sugar
- 100g plain or vanilla yogurt
- 1 teaspoon vanilla extract or vanilla bean paste
- 3 tablespoons coffee
- 220ml dairy-free whipping cream
Date caramel
- 10 medjool dates, pitted and halved
- 100g maple or agave syrup
- 120g coconut cream
- 2 tablespoons dairy-free milk
- 1 pinch sea salt
Finish
- 1 pinch sea salt flakes (for topping)
Instructions
- Prep and bake setup Preheat the oven to 180°C fan, line two baking trays with greaseproof paper, and plan to bake 1 tray at a time since the recipe yields 3–4 trays of ladyfingers.
- Aquafaba meringue In a medium/large bowl, whisk aquafaba with cream of tartar on low, then on high until foamy. Whip for 5–8 minutes until soft peaks form.
- Sugar incorporation With the mixer running on high, gradually add 150g of caster sugar and whip for another 5–8 minutes until stiff peaks form.
- Yogurt-oil base In a separate bowl, whisk together oil, dairy-free yogurt, coconut cream, vanilla and the remaining 30g sugar until smooth.
- Combine batters Gently fold the meringue into the yogurt mixture in 2–3 stages to avoid deflating the airy meringue.
- Dry mix Sift in baking powder and flour, folding until just combined with no visible dry pockets.
- Pipe batter Transfer to a piping bag fitted with a large round tip and pipe lines about 4 inches long and 1.5 inches wide on the lined trays, leaving space between them.
- Bake Bake one tray at a time in the middle of the oven for 15 minutes, until the edges are golden. Do not burn.
- Cool Remove from oven and cool on the tray, then transfer to a wire rack to cool completely. Repeat with remaining batter.
- Storage Keep cooled ladyfingers in a sealed container at room temperature and use on the same day or the next day for best texture.
- Date soaking Pit the dates, place in a bowl and cover with boiling water; soak about 10 minutes, then drain well.
- Caramel base In a blender, combine softened dates, maple or agave syrup, coconut cream, dairy-free milk and a pinch of sea salt. Blend 1–2 minutes until smooth and thick. If too thick, thin with a splash more dairy-free milk.
- Caramel finish Transfer to a small saucepan and heat gently for 3–5 minutes, stirring until glossy and slightly thickened. Cool slightly and transfer to a jar; sprinkle with sea salt flakes.
- Caramel for piping Fill 1/3 of the caramel into a piping bag and snip the tip.
- Espresso prep Brew coffee/espresso and allow to cool slightly to prevent burning the fingers when dipping.
- Dip ladyfingers Dip each cooled ladyfinger briefly in coffee, then lay in your chosen dish to form the first layer.
- Mascarpone layer Spread a generous layer of the dairy-free mascarpone cream over the first layer with an offset spatula, reaching into corners.
- Caramel drizzle Pipe a drizzle of the date caramel over the mascarpone layer.
- Repeat Add a second layer of dipped ladyfingers, then another layer of mascarpone cream and caramel. Repeat until you use up all components.
- Chill Refrigerate for 6–8 hours, or ideally overnight, to let the layers set firmly.
- Finish and slice Spoon more caramel over the set tiramisu and level with an off-set spatula. Optional: sprinkle with flaky sea salt. Slice into squares and carefully lift with a flat spatula for neat servings.
- Serve Serve chilled and enjoy this dairy-free, coffee-kissed dessert.
Notes
- Tip: For firmer ladyfingers, bake one tray at a time and ensure the edges are golden.
- Storage: Best consumed within 24 hours for optimal texture, though it will still be good for 2–3 days when kept refrigerated.
- Make-ahead: The dessert can be assembled up to 1 day in advance; keep the components refrigerated and assemble just before serving.
Keywords: vegan, tiramisu, coffee, dairy-free, aquafaba, gluten-free option, dessert, no-cook, plant-based