No Bake Mini Biscoff Cheesecakes Recipe
Introduction
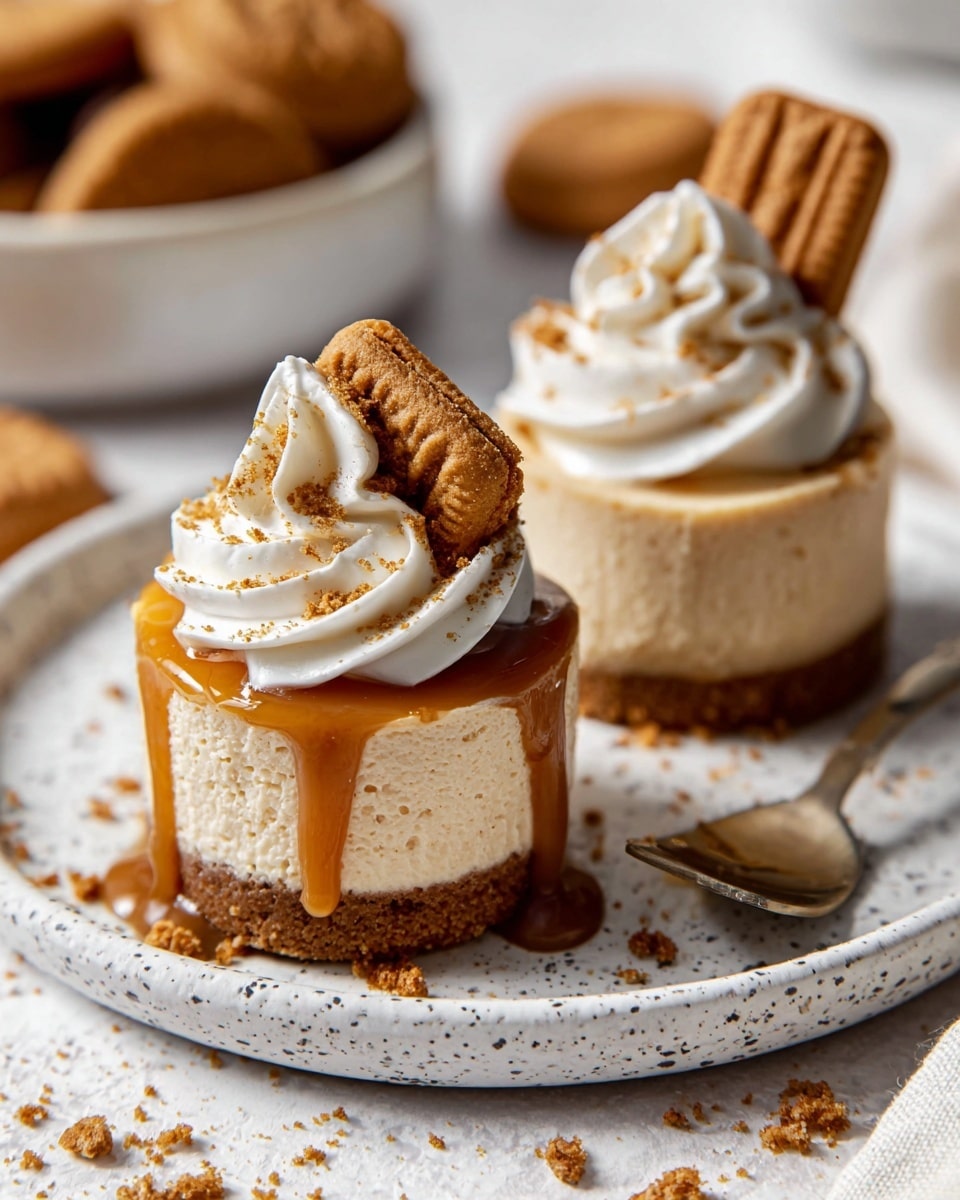
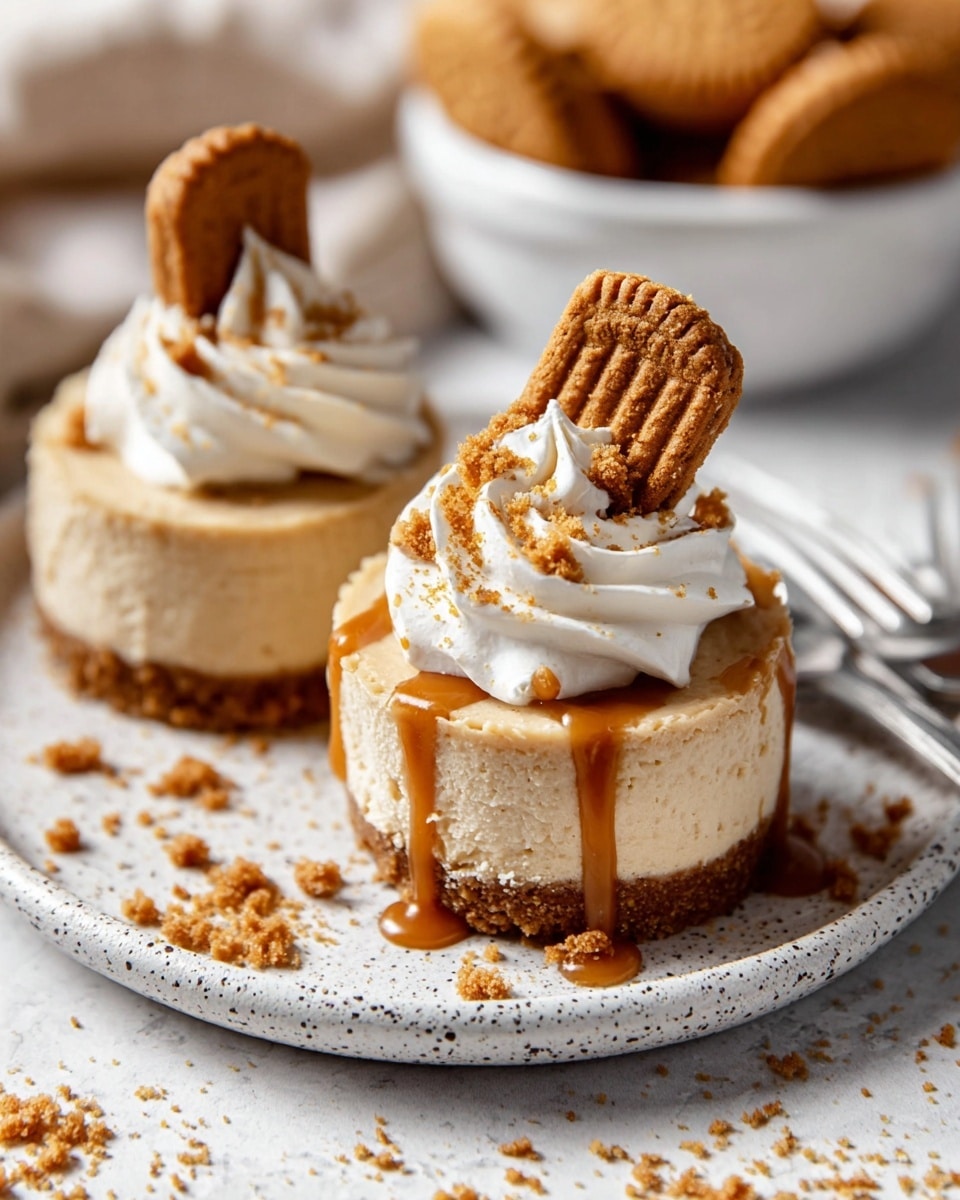
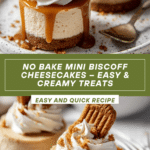
These Mini No Bake Biscoff Cheesecakes feature a deliciously creamy Biscoff-flavored filling atop a crunchy, buttery Biscoff cookie base. Each bite is enhanced with a hint of warm cinnamon spice, making this an impressive yet simple dessert to prepare.
Ingredients
- For the crust:
- 1 (8.8 oz, 250g) package Biscoff cookies
- 1/2 cup unsalted butter, melted
- For the filling:
- 1 cup cold heavy cream
- 3 (8 oz) blocks full-fat cream cheese, softened to room temperature
- 1 cup powdered sugar
- 1 cup creamy Biscoff cookie butter
- 1/3 cup sour cream, room temperature
- 2 tsp pure vanilla extract
- Pinch of salt
- For the topping:
- 1/2 cup creamy Biscoff cookie butter
- Additional Biscoff cookies (whole or crushed) for garnish
- Whipped cream
Instructions
- Step 1: Blitz the Biscoff cookies in a food processor until finely ground. Gradually stream in the melted butter and combine until the mixture resembles damp sand and holds together when pressed.
- Step 2: Spray two mini cheesecake pans with non-stick spray or line two 12-count muffin pans with cupcake liners. Press about 1 tablespoon of the crumb mixture into the bottom of each cup. Freeze or refrigerate while preparing the filling.
- Step 3: In a chilled bowl, beat the cold heavy cream using a hand mixer or stand mixer with whisk attachment until stiff peaks form, about 2 minutes. Be careful not to overbeat. Chill while preparing the rest of the filling.
- Step 4: In another large bowl, beat the softened cream cheese, powdered sugar, Biscoff cookie butter, sour cream, vanilla extract, and salt until smooth and fully combined.
- Step 5: Gently fold the whipped cream into the cream cheese mixture using a rubber spatula until no white streaks remain.
- Step 6: Transfer the filling to a piping bag fitted with a round 1A tip and pipe the cheesecake filling onto the chilled crusts. Smooth the tops evenly.
- Step 7: Refrigerate the mini cheesecakes for at least 6 hours or overnight, loosely covered.
- Step 8: Melt the 1/2 cup Biscoff cookie butter in the microwave for 20-30 seconds until smooth. Spread this melted topping over each cheesecake, allowing it to drip down the sides. Return to the fridge for 15-20 minutes to set.
- Step 9: Garnish with additional whole or crushed Biscoff cookies and whipped cream as desired. Serve and enjoy!
Tips & Variations
- Use a chilled bowl for whipping the cream to help achieve stiff peaks more easily.
- For a spiced twist, add 1/2 teaspoon cinnamon to the cookie crumbs before pressing into the pans.
- Substitute sour cream with Greek yogurt for a tangier flavor.
- If you don’t have a piping bag, you can spoon the filling onto the crust and smooth it out with a spatula.
Storage
Store the mini cheesecakes covered in the refrigerator for up to 4 days. For longer storage, freeze them for up to 3 months. To thaw, place in the refrigerator overnight. Reheat is not recommended as it may affect the texture.
How to Serve
Serve this delicious recipe with your favorite sides.
FAQs
Can I make these cheesecakes in advance?
Yes, these mini cheesecakes can be prepared a day ahead and stored in the fridge to set properly overnight. They also freeze well for longer storage.
What can I substitute for Biscoff cookie butter?
If you don’t have Biscoff cookie butter, you can use peanut butter or another creamy nut butter, though the flavor will be different. For a similar cookie flavor, speculoos spread is a good alternative.
PrintNo Bake Mini Biscoff Cheesecakes Recipe
These Mini No Bake Biscoff Cheesecakes feature a velvety smooth and lusciously creamy Biscoff cheesecake filling atop a crunchy, buttery Biscoff cookie base. Enhanced with a hint of warm cinnamon spice in every bite, this dessert is both impressive and simple to make, perfect for any occasion.
- Prep Time: 30 minutes
- Cook Time: 0 minutes
- Total Time: 6 hours 30 minutes
- Yield: 24 mini cheesecakes 1x
- Category: Dessert
- Method: No-Cook
- Cuisine: American
- Diet: Vegetarian
Ingredients
Crust
- 1 (8.8 oz, 250g) package Biscoff cookies
- 1/2 cup melted unsalted butter
Filling
- 1 cup cold heavy cream
- 3 (8 oz) blocks full-fat cream cheese, softened to room temperature
- 1 cup powdered sugar
- 1 cup creamy Biscoff cookie butter
- 1/3 cup sour cream, room temperature
- 2 tsp pure vanilla extract
- Pinch of salt
Topping
- 1/2 cup creamy Biscoff cookie butter
- Additional Biscoff cookies for garnish (whole or crushed)
- Whipped cream
Instructions
- Prepare the crust: Blitz Biscoff cookies in a food processor until finely ground. Stream in melted butter and mix until sandy but able to hold together when pressed.
- Form the crust: Spray two mini cheesecake pans or two 12-count muffin pans lined with cupcake liners with non-stick spray. Press about 1 tablespoon of the crumb mixture into each cup. Freeze or refrigerate while preparing the filling.
- Whip the cream: Using a hand mixer or stand mixer with a whisk attachment, beat cold heavy cream in a chilled bowl until stiff peaks form, about 2 minutes. Be careful not to overbeat. Refrigerate.
- Make the filling base: In a separate medium-large bowl, beat softened cream cheese, powdered sugar, Biscoff cookie butter, sour cream, vanilla extract, and salt until smooth and fully combined.
- Fold in whipped cream: Gently fold the whipped cream into the cream cheese mixture using a rubber spatula until no white streaks remain.
- Fill the crusts: Spoon the filling into a piping bag fitted with a round 1A tip and pipe onto the chilled crusts. Smooth the tops evenly.
- Chill the cheesecakes: Refrigerate for 6 hours or overnight, loosely covered.
- Apply topping: Melt Biscoff spread in the microwave for 20-30 seconds until melty. Spread it on top of each cheesecake, allowing some to drip down the sides. Return to the fridge to set, about 15-20 minutes.
- Garnish and serve: Decorate with Biscoff cookies (whole or crushed) and whipped cream as desired. Serve and enjoy!
Notes
- Storage: Store cheesecakes in the refrigerator for up to 4 days or freeze for up to 3 months.
- Use chilled bowls and equipment when whipping cream for best results.
- Do not overbeat the cream to avoid a grainy texture.
- Chilling the crust before filling ensures a firmer base.
Keywords: no bake cheesecake, mini cheesecakes, Biscoff cheesecake, Biscoff cookie butter, easy dessert, no bake dessert, creamy cheesecake


