Cheesy Zucchini Breadsticks Recipe
Introduction
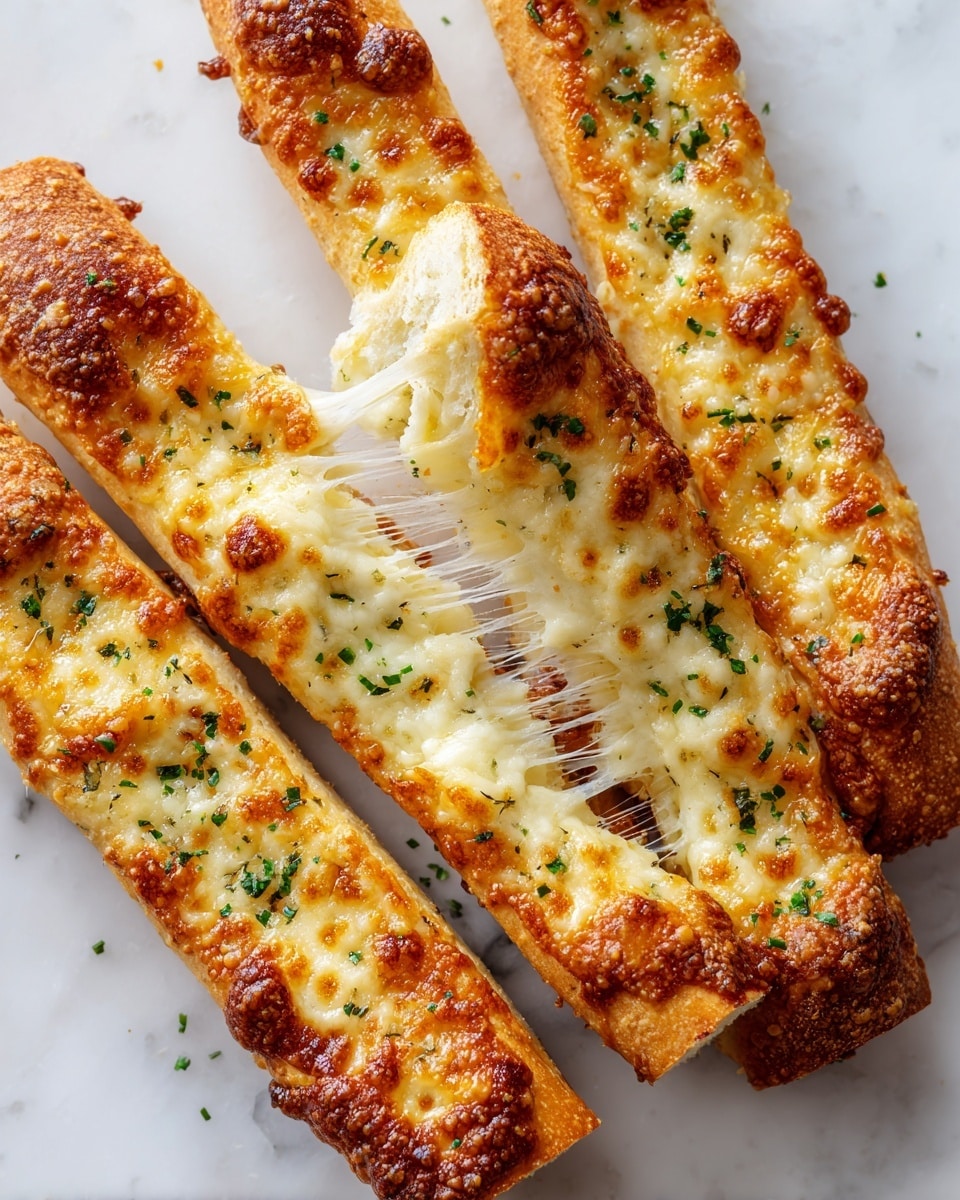
These cheesy zucchini breadsticks are a delicious and healthy twist on a classic favorite. Soft on the inside with a golden, cheesy crust, they’re perfect as a snack or side dish. Plus, they come together quickly and easily for a satisfying treat.
Ingredients
- 4 cups grated zucchini (about 2 large zucchini)
- ½ cup shredded mozzarella cheese
- ⅓ cup finely shredded Parmesan cheese
- 1 large egg
- 1 teaspoon dried Italian seasoning
- ½ teaspoon salt
- ½ teaspoon garlic powder
- 1 cup finely shredded mozzarella cheese (for topping)
Instructions
- Step 1: Preheat your oven to 400°F (200°C) and line a baking sheet with parchment paper.
- Step 2: Squeeze out as much moisture as possible from the grated zucchini using a clean kitchen towel or cheesecloth to avoid soggy breadsticks.
- Step 3: In a medium bowl, combine the squeezed zucchini, ½ cup shredded mozzarella, Parmesan cheese, egg, dried Italian seasoning, salt, and garlic powder. Mix thoroughly until well combined.
- Step 4: Shape the mixture into breadstick-like shapes on the prepared baking sheet, spacing them slightly apart.
- Step 5: Sprinkle the remaining 1 cup of finely shredded mozzarella cheese evenly over the tops of the breadsticks.
- Step 6: Bake for 15-20 minutes, or until the breadsticks are golden brown and the cheese topping is melted and bubbly.
Tips & Variations
- For extra crispiness, let the squeezed zucchini sit in a colander for 10 minutes before mixing to remove additional moisture.
- Try adding chopped fresh herbs like basil or parsley for a fresh flavor boost.
- Substitute mozzarella with a blend of cheddar and mozzarella for a sharper taste.
- Serve with marinara sauce or a garlic aioli for dipping.
Storage
Store leftover breadsticks in an airtight container in the refrigerator for up to 3 days. Reheat in the oven at 350°F (175°C) for about 5-7 minutes to maintain crispiness. Avoid microwaving as it can make them soggy.
How to Serve
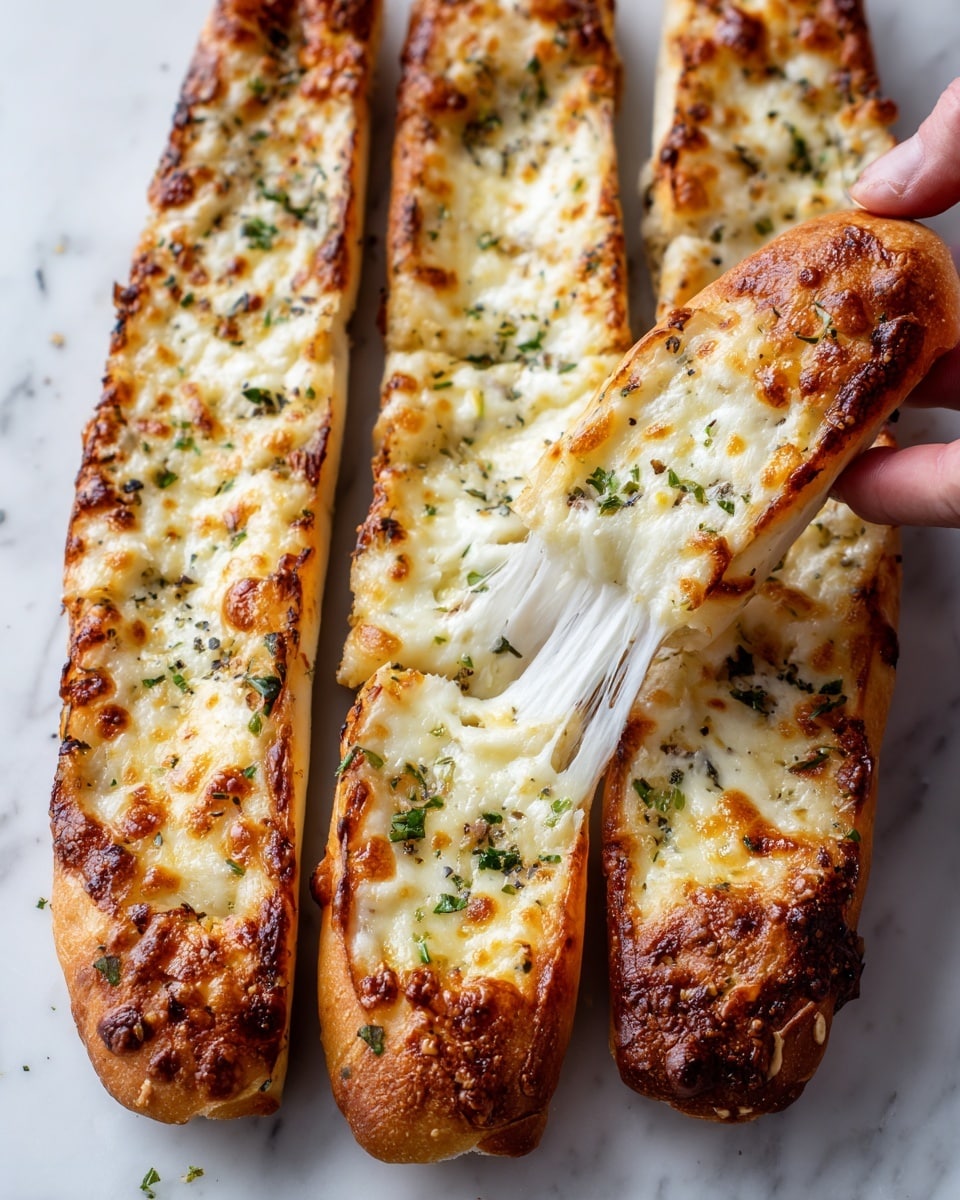
Serve this delicious recipe with your favorite sides.
FAQs
Can I use frozen zucchini instead of fresh?
Yes, but make sure to thaw and squeeze out all excess liquid thoroughly to prevent soggy breadsticks.
Can these breadsticks be made gluten-free?
This recipe is naturally gluten-free as it does not contain flour, but always check your cheese and seasonings to ensure they haven’t been processed with gluten-containing ingredients.
PrintCheesy Zucchini Breadsticks Recipe

Delicious and cheesy zucchini breadsticks that are crispy on the outside and tender on the inside, perfect as a savory snack or side dish. Made with fresh grated zucchini, mozzarella, Parmesan, and Italian seasoning, these breadsticks are baked to golden perfection in just 35 minutes.
- Prep Time: 10 minutes
- Cook Time: 20 minutes
- Total Time: 30 minutes
- Yield: 15 servings 1x
- Category: Appetizer
- Method: Baking
- Cuisine: Italian
- Diet: Low Fat
Ingredients
Primary Ingredients
- 4 cups grated zucchini (about 2 large zucchini)
- ½ cup shredded mozzarella cheese
- ⅓ cup finely shredded Parmesan cheese
- 1 large egg
- 1 teaspoon dried Italian seasoning
- ½ teaspoon salt
- ½ teaspoon garlic powder
Topping
- 1 cup finely shredded mozzarella cheese
Instructions
- Preheat the oven: Preheat your oven to 400°F (200°C) and line a baking sheet with parchment paper to prevent sticking and for easy cleanup.
- Prepare zucchini: Grate the zucchini finely and then squeeze as much moisture as possible from it using a clean kitchen towel or cheesecloth. This step is crucial to prevent soggy breadsticks.
- Mix ingredients: In a medium bowl, combine the drained zucchini, ½ cup shredded mozzarella, ⅓ cup Parmesan cheese, one large egg, dried Italian seasoning, salt, and garlic powder. Mix thoroughly until well incorporated.
- Shape breadsticks: Shape the zucchini mixture into breadstick-like forms on the prepared baking sheet, spacing them evenly to allow for baking.
- Add cheese topping: Sprinkle the remaining 1 cup of finely shredded mozzarella cheese generously over the tops of the shaped breadsticks for a cheesy crust.
- Bake: Bake in the preheated oven for 15-20 minutes or until the breadsticks are golden brown and the cheese is melted and bubbly.
Notes
- Make sure to squeeze out all excess moisture from the zucchini to avoid soggy breadsticks.
- You can substitute mozzarella with other melting cheeses such as cheddar or provolone as preferred.
- Serve warm for the best taste and texture; these breadsticks make a great appetizer or side dish.
- For a low-carb option, these zucchini breadsticks are a great alternative to traditional breadsticks.
- Store leftovers in an airtight container in the refrigerator for up to 3 days and reheat in the oven for best results.
Keywords: zucchini breadsticks, cheesy breadsticks, zucchini appetizers, baked zucchini sticks, healthy snacks, low carb breadsticks