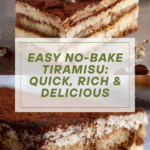
The lazy girl tiramisu Recipe
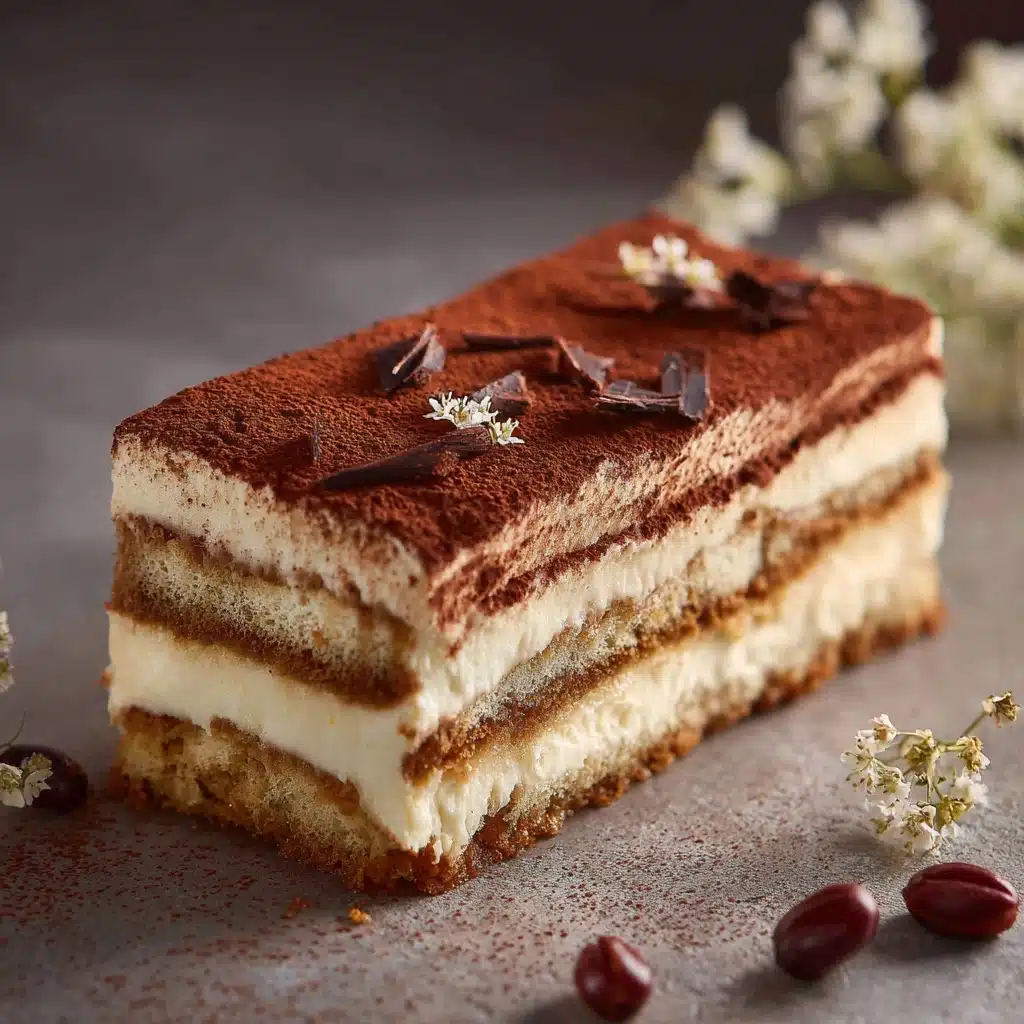
The lazy girl tiramisu is a dreamy, no-fuss twist on the beloved Italian classic—perfect for when your sweet tooth and your schedule are at odds. With layers of pillowy mascarpone cream, espresso-soaked ladyfingers, and a generous dusting of cocoa, this dessert comes together quickly and tastes like you spent hours in the kitchen (even though you didn’t). Whether you’re hosting friends or just treating yourself, this easy tiramisu brings creamy comfort and pure joy by the spoonful.
Ingredients You’ll Need
This take on The lazy girl tiramisu makes the most of simple, powerhouse ingredients—each one matters, both for flavor and for foolproof assembly. Stick to the list, and you’ll capture the authentic taste and texture in hardly any time.
- Heavy cream: Gives the filling its luxurious, cloud-like fluffiness—don’t swap for milk!
- Mascarpone cheese: This Italian cheese is the heart of tiramisu, bringing luscious richness—make sure it’s at room temperature for easy mixing.
- Granulated sugar: Just enough sweetness to balance the rich cream and strong coffee.
- Vanilla extract: Infuses the cream with a warm, aromatic note that makes every bite irresistible.
- Strong espresso: The signature coffee flavor comes from robust, cooled espresso—essential for that tiramisu “kick.”
- Lady fingers: These delicate, crisp cookies transform into soft, cake-like layers after a quick espresso dip.
- Cocoa powder: The finishing touch—a deep, bittersweet dusting that ties all the flavors together and looks stunning.
How to Make The lazy girl tiramisu
Step 1: Whip the Cream Mixture
Place heavy cream, granulated sugar, and vanilla extract into the bowl of a stand mixer (or use a hand mixer). Whip on medium-high until you get stiff peaks—this means when you lift the beater, the cream holds its shape perfectly. This is your base for the rich mascarpone cream layer, so take care not to overbeat.
Step 2: Add the Mascarpone
With the whipped cream ready, gently add in the room temperature mascarpone cheese. Use the mixer on low, and combine just until fully incorporated. Overmixing can make the mixture grainy, so stop as soon as it looks smooth and well-blended. Set the bowl aside—no need to refrigerate yet!
Step 3: Dip the Lady Fingers
Pour your cooled espresso into a shallow bowl. Working quickly, dip each lady finger into the espresso for just a second or two, so they soak up flavor but don’t turn soggy. Arrange them in a single layer at the bottom of your 8×8 inch baking dish, creating the first foundation for The lazy girl tiramisu.
Step 4: Layer the Cream and Lady Fingers
Using a spatula, spread half of your mascarpone cream mixture evenly over the first layer of coffee-soaked lady fingers. Repeat the dipping process for the remaining lady fingers, then arrange them in a second layer atop the cream. You’ll have a perfect ratio of tender cookies to airy filling in every bite.
Step 5: Top and Dust
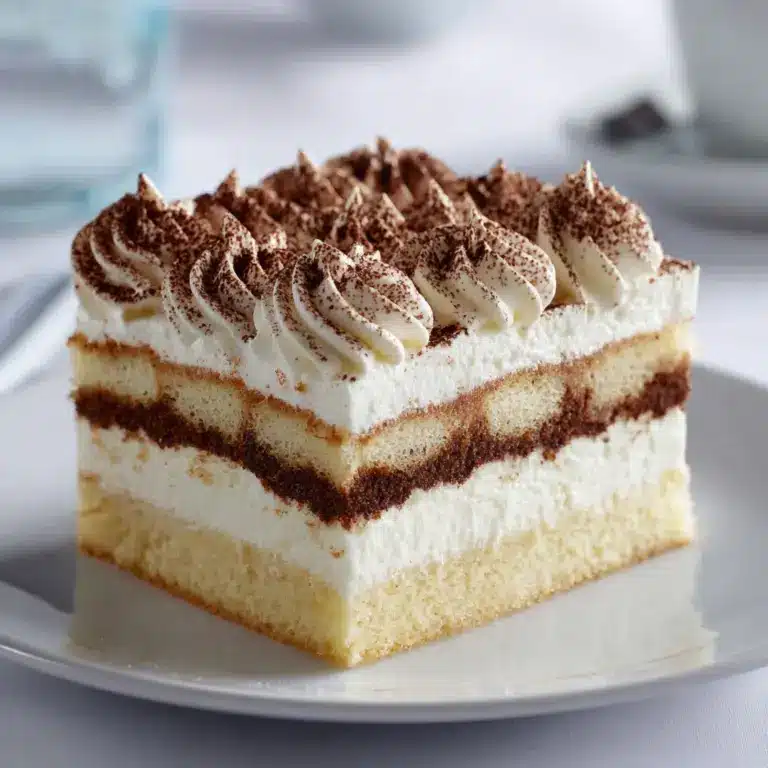
Spoon the remaining mascarpone mixture over the lady fingers and smooth the top. Generously dust the entire surface with unsweetened cocoa powder—use a fine sieve or mesh strainer for a light, even finish. This not only adds flavor but makes your tiramisu look extra elegant (with minimal effort, of course).
Step 6: Chill and Set
Cover your dish with plastic wrap and chill in the refrigerator for at least 3 hours, or overnight if you want firmer, more blended flavors. This is when the magic happens: the lady fingers soften, meld with the cream, and the whole dessert becomes sliceable and decadent.
Step 7: Slice, Serve, and Enjoy!
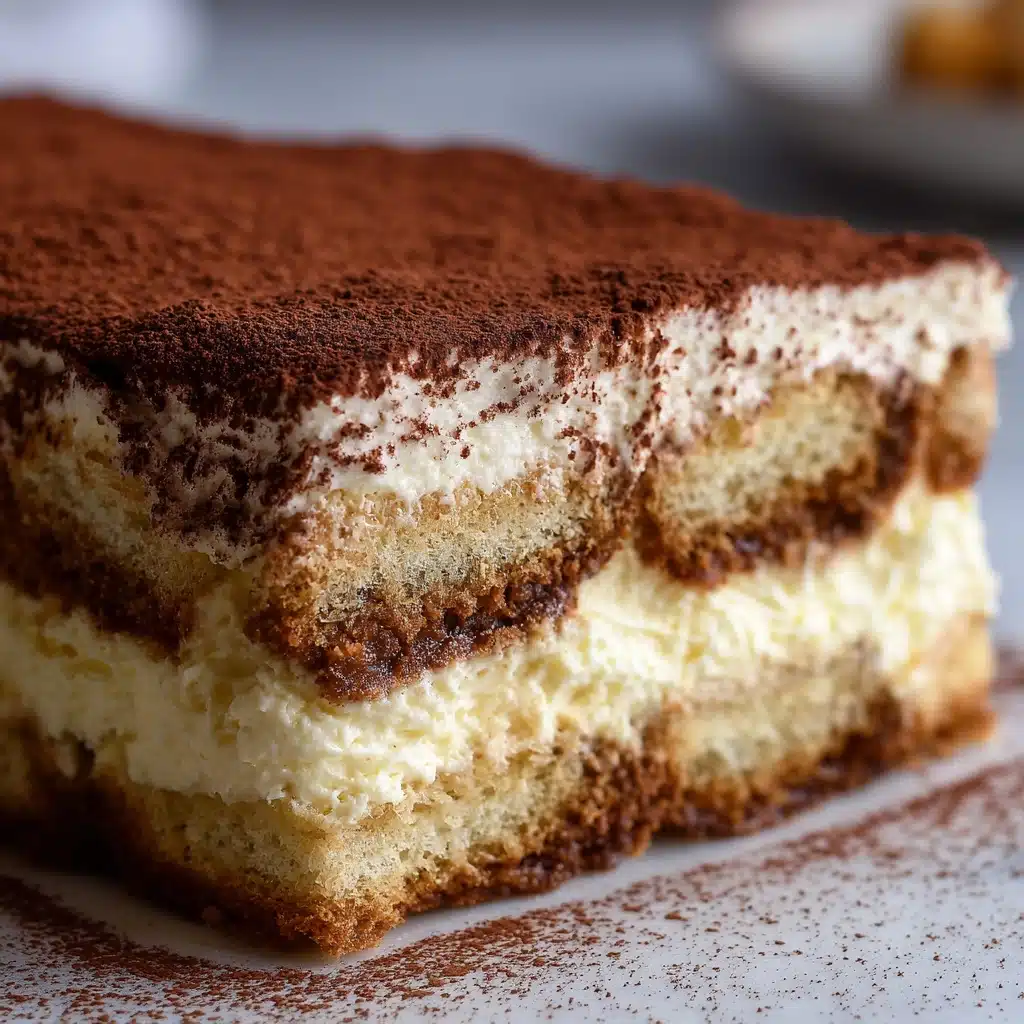
When you’re ready to enjoy The lazy girl tiramisu, lift out perfect squares with a spatula and marvel at those beautiful, coffee-soaked layers. Every forkful is indulgent, creamy, and totally satisfying—proof that a quick recipe can be truly unforgettable.
How to Serve The lazy girl tiramisu
Garnishes
The lazy girl tiramisu is delightful on its own, but a few simple garnishes can really make it shine. A scattering of dark chocolate shavings or a single chocolate-covered espresso bean per piece adds a bit of drama, while a light dusting of extra cocoa or a spiral of whipped cream makes each serving feel special.
Side Dishes
Pair The lazy girl tiramisu with a strong coffee or a shot of espresso for a true Italian experience. If you’d like something lighter on the side, a small bowl of fresh berries (raspberries or strawberries) complements the richness and adds a pop of color. The flavors are so bold you don’t need much else.
Creative Ways to Present
If you’re serving guests, try preparing The lazy girl tiramisu in individual cups or mason jars for adorable, grab-and-go desserts. You can also cut it into bite-sized squares for a dessert platter at parties, or stack the pieces and drizzle with melted chocolate for a modern twist.
Make Ahead and Storage
Storing Leftovers
Cover any remaining lazy girl tiramisu tightly with plastic wrap and store it in the refrigerator. It will keep its flavor and gorgeous layers well for up to three days, making it an excellent make-ahead dessert for busy weeks or surprise guests.
Freezing
If you want to keep The lazy girl tiramisu for longer, you can absolutely freeze it! Wrap the whole tray or individual portions well in plastic wrap and foil, then freeze for up to one month. Thaw overnight in the fridge; the texture stays surprisingly lovely, especially if you used full-fat ingredients.
Reheating
No need to reheat—The lazy girl tiramisu is always served chilled! If frozen, just allow it to defrost gently in the refrigerator before slicing and serving. Keep it cool for that creamy, refreshing bite every single time.
FAQs
Can I use regular coffee instead of espresso?
Absolutely! If you don’t have espresso at home, brew a pot of very strong coffee instead. The key is a deep coffee flavor, so don’t be shy about making it a bit bolder than usual.
What if I can’t find mascarpone cheese?
Mascarpone is essential for that authentic texture, but if you’re in a pinch, a blend of full-fat cream cheese and a little heavy cream can work as a substitute. The flavor will be richer and tangier, but still delicious.
How do I prevent the lady fingers from getting too soggy?
Dip the lady fingers quickly—just a second in the espresso is all they need. Work with one at a time, and avoid leaving them in the liquid. This keeps the layers distinct and wonderfully soft, not mushy.
Can I make The lazy girl tiramisu ahead of time?
Definitely! In fact, it gets even better as it sits in the fridge. You can assemble The lazy girl tiramisu up to 24 hours ahead—just be sure to keep it well covered and chilled until serving time.
Do I need any special equipment to make this recipe?
No special equipment needed! A stand mixer or hand mixer speeds up the process, but you can whip everything by hand if you’re up for a little workout. Other than that, just a bowl, spatula, and your favorite square baking dish will do the trick.
Final Thoughts
Honestly, if you’ve never tried making tiramisu before, The lazy girl tiramisu is the perfect place to start. It’s fast, failsafe, and sure to wow everyone at the table (yourself included). Treat yourself to a scoop—you’ll see just how easy indulgence can be!
PrintThe lazy girl tiramisu Recipe

Indulge in a decadent yet effortless dessert with this easy lazy girl tiramisu recipe. Creamy mascarpone cheese, espresso-soaked ladyfingers, and a hint of cocoa powder create a classic tiramisu that requires minimal effort.
- Prep Time: 20 minutes
- Total Time: 3 hours 20 minutes
- Yield: 8 servings 1x
- Category: Dessert
- Method: Mixing, Chilling
- Cuisine: Italian
- Diet: Vegetarian
Ingredients
For the Mascarpone Filling:
- 1 1/2 cups heavy cream
- 8 ounces mascarpone cheese (at room temperature)
- 1/3 cup granulated sugar
- 2 tsp vanilla extract
For Assembly:
- 1 1/2 cups strong espresso (at room temperature)
- 1 package ladyfingers
- Cocoa powder (for dusting)
Instructions
- In a Stand Mixer: Whip cream, sugar, and vanilla until stiff peaks form.
- Add Mascarpone: Mix in room temperature mascarpone until just incorporated. Set aside.
- Prepare Espresso: Pour cooled espresso into a shallow bowl. Dip ladyfingers quickly and layer at the bottom of an 8×8 baking pan.
- Layer: Spread half the mascarpone mixture over ladyfingers. Repeat ladyfinger dipping and layering. Top with remaining mascarpone mixture.
- Dust with Cocoa: Generously dust cocoa powder over the top.
- Chill: Refrigerate tiramisu for 3 hours or overnight.
- Serve: Enjoy your lazy girl tiramisu!
Nutrition
- Serving Size: 1 serving
- Calories: 380
- Sugar: 12g
- Sodium: 80mg
- Fat: 28g
- Saturated Fat: 17g
- Unsaturated Fat: 8g
- Trans Fat: 0g
- Carbohydrates: 29g
- Fiber: 1g
- Protein: 4g
- Cholesterol: 90mg
Keywords: lazy girl tiramisu, easy tiramisu recipe, no-bake tiramisu, quick dessert

