Magic Candy Recipe
Introduction
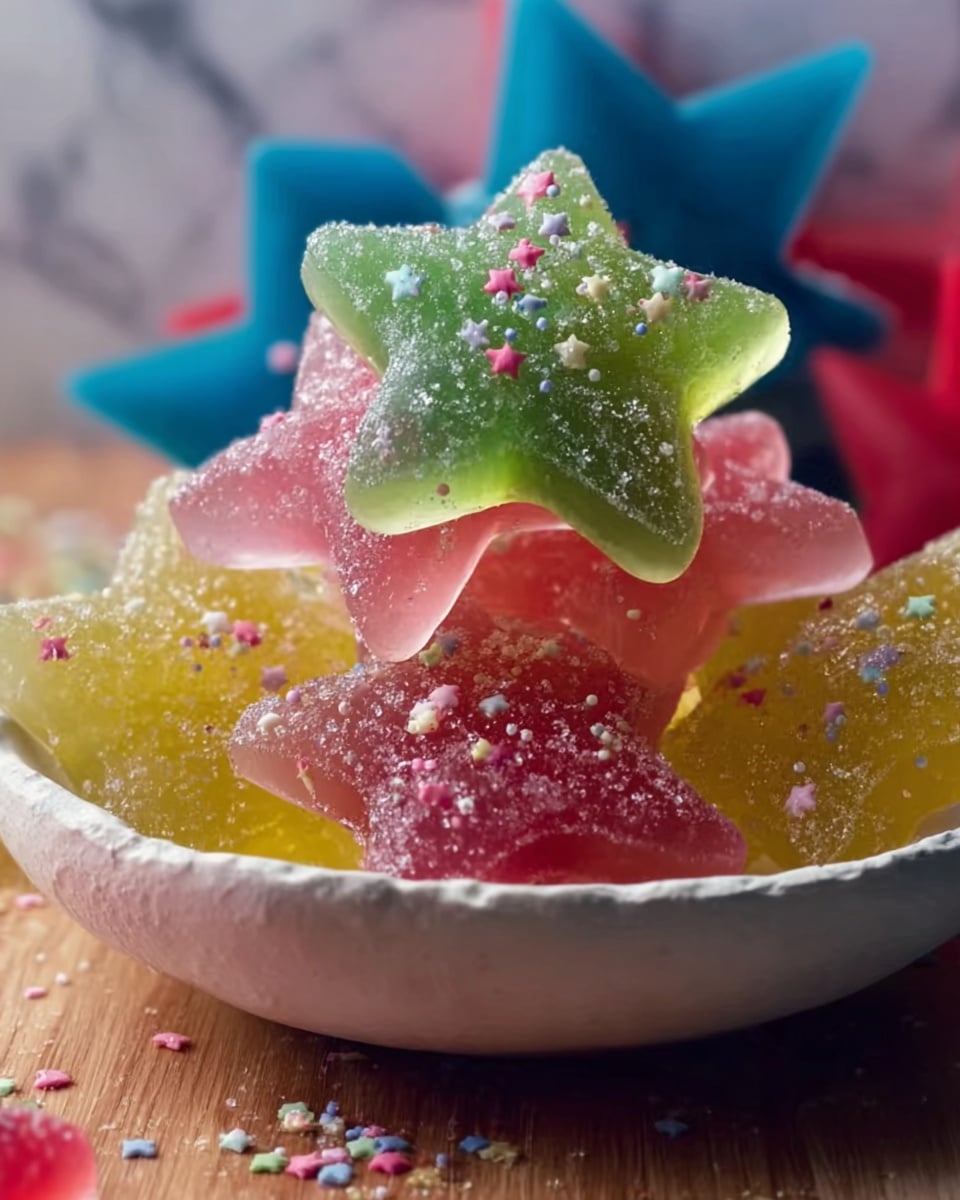
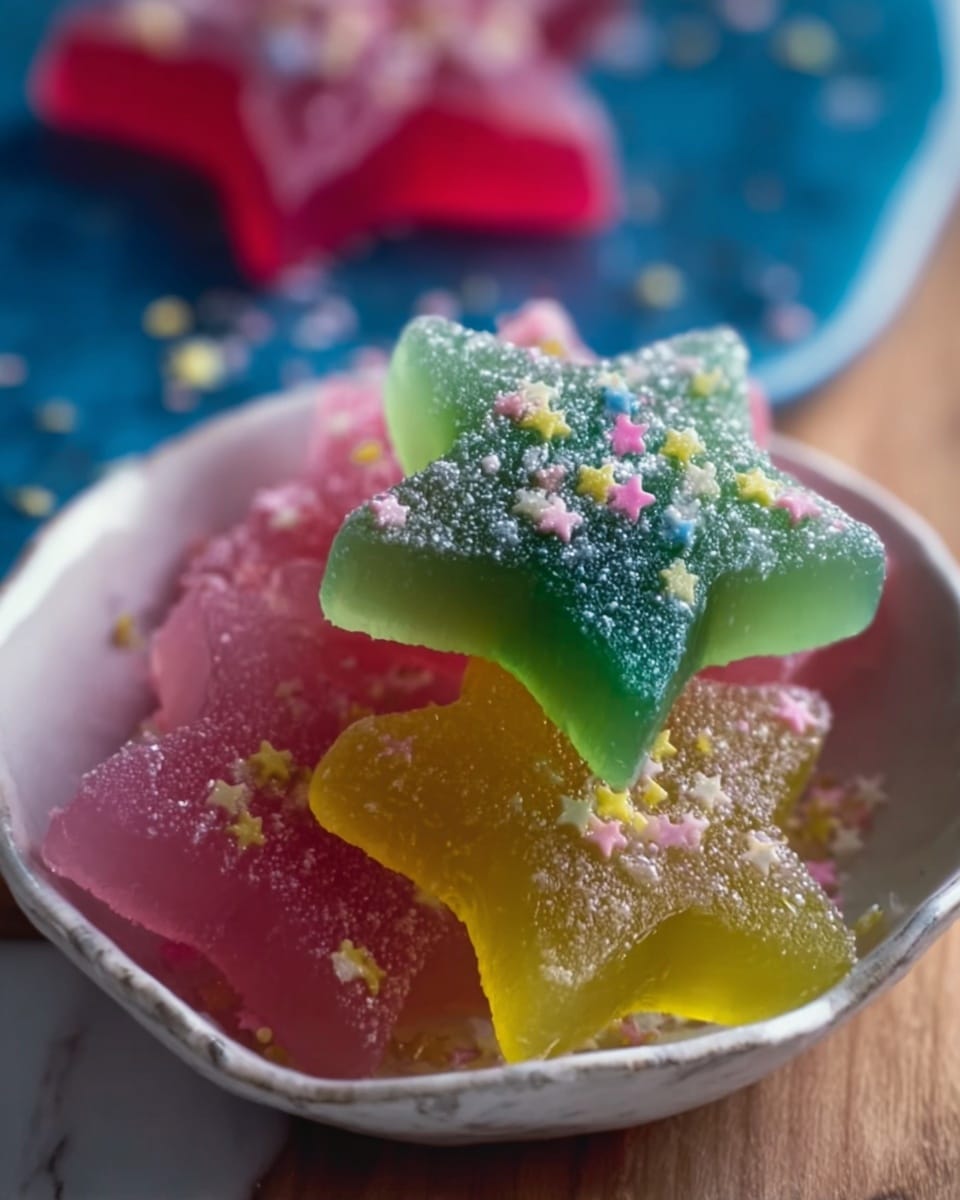
This Magic Candy Recipe creates beautiful, colorful hard candies using simple ingredients and cookie cutters. It’s a fun and easy treat to make at home, perfect for gifts or parties.
Ingredients
- 1/4 cup butter
- 3 drops food color (optional)
- 3/4 cup brown sugar
- 2 teaspoons baking soda
- 1/2 cup corn syrup
Instructions
- Step 1: Lightly grease the insides of 18 (2-inch) open metal cookie cutters with butter. Place the greased cutters on a lightly buttered baking sheet and set aside.
- Step 2: In a heavy 1-quart saucepan, combine butter, brown sugar, corn syrup, and baking soda. Cook over medium heat, stirring occasionally, for 6 to 7 minutes until the mixture boils.
- Step 3: Reduce heat to low and cook without stirring for about 20 minutes, or until the candy thermometer reads 280°F or a small drop in ice water forms a hard brittle strand.
- Step 4: Stir in the food color if using.
- Step 5: Carefully pour about 1 tablespoon of the hot candy mixture into each cookie cutter. Let the candy cool and harden completely.
- Step 6: Once cooled, carefully remove the candies from the cookie cutters and enjoy your homemade magic candy!
Tips & Variations
- Use different shapes of cookie cutters to create fun candy designs perfect for any occasion.
- Try adding flavored extracts like peppermint or lemon to the mixture for a unique twist.
- Be cautious when working with hot sugar syrup to avoid burns.
Storage
Store the candies in an airtight container at room temperature. They will keep well for up to two weeks. Avoid humidity to prevent the candies from becoming sticky. If needed, re-harden slightly by placing them in a cool, dry place.
How to Serve
Serve this delicious recipe with your favorite sides.
FAQs
Can I use silicone molds instead of metal cookie cutters?
While metal cookie cutters are recommended for even heat conduction, you can use heat-resistant silicone molds as long as they can withstand the hot candy mixture.
What if my candy is too soft or sticky?
This usually means the candy didn’t reach the hard crack stage (280°F). Use a candy thermometer to ensure proper temperature and cook until the mixture forms a hard brittle strand in ice water.
PrintMagic Candy Recipe

This Magic Candy Recipe is a delightful homemade treat that transforms simple ingredients like butter, brown sugar, corn syrup, and baking soda into colorful, hard candy shapes using cookie cutters. Perfect for festive occasions or a fun project with kids, this recipe guides you through melting, boiling, and setting the candy to harden using classic stovetop techniques and simple kitchen tools.
- Prep Time: 10 minutes
- Cook Time: 27 minutes
- Total Time: 37 minutes
- Yield: 18 candies (2-inch each) 1x
- Category: Candy
- Method: Stovetop
- Cuisine: American
Ingredients
Ingredients
- 1/4 cup butter
- 3 drops food color (optional)
- 3/4 cup brown sugar
- 2 teaspoons baking soda
- 1/2 cup corn syrup
Instructions
- Prepare the Cookie Cutters: Lightly grease the insides of eighteen 2-inch open metal cookie cutters with butter. Place the greased cutters onto a buttered baking sheet and set aside to prevent sticking when pouring the candy mixture.
- Mix the Ingredients: In a heavy 1-quart saucepan, combine the butter, brown sugar, corn syrup, and baking soda. Cook over medium heat while stirring occasionally for 6 to 7 minutes until the mixture comes to a boil.
- Cook the Candy Mixture: Reduce the heat to low and continue cooking without stirring for about 20 minutes, or until a candy thermometer registers 280°F (hard crack stage), or a small drop in ice water forms a hard brittle strand. This step ensures the candy will harden properly.
- Add Food Coloring: Stir in three drops of food coloring at this point, if desired, to give your candy a vibrant color.
- Shape the Candy: Carefully pour approximately 1 tablespoon of the hot candy mixture into each prepared cookie cutter on the baking sheet, filling them evenly.
- Cool and Harden: Allow the candy to cool completely inside the cookie cutters. The mixture will harden into solid candy shapes as it cools.
- Remove and Serve: Once fully cooled and hardened, gently remove the candies from the cookie cutters. Your homemade magic candies are now ready to enjoy!
Notes
- Use a candy thermometer to ensure the mixture reaches the correct temperature for proper hardening.
- Be extremely careful when handling hot sugar mixture to avoid burns.
- Lightly greasing cookie cutters is crucial to prevent sticking and facilitate removal of the candies.
- The baking soda reacts with the mixture to create a light texture in the candy.
- Food coloring is optional but adds a fun visual appeal.
- Store candies in an airtight container to keep them crisp.
Keywords: magic candy recipe, homemade candy, hard candy, stovetop candy, brown sugar candy, candy with cookie cutters


