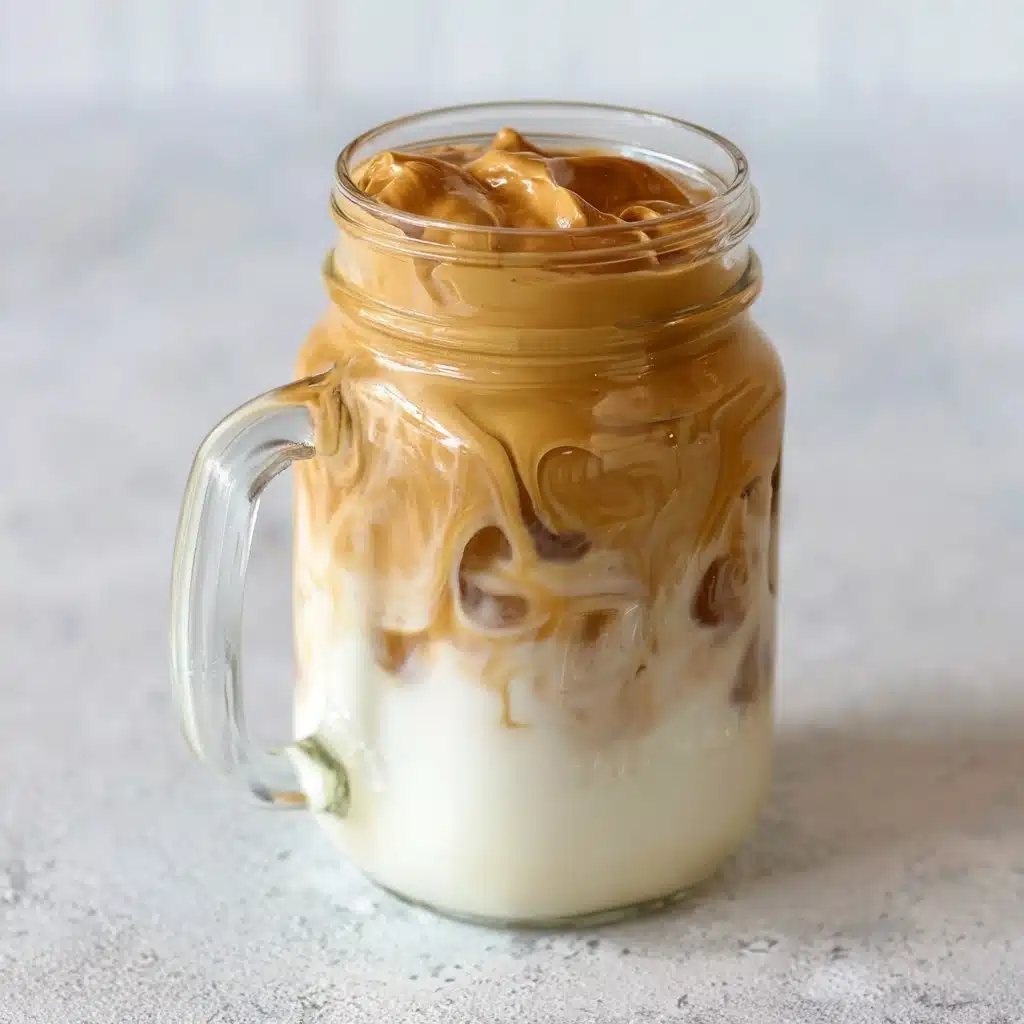
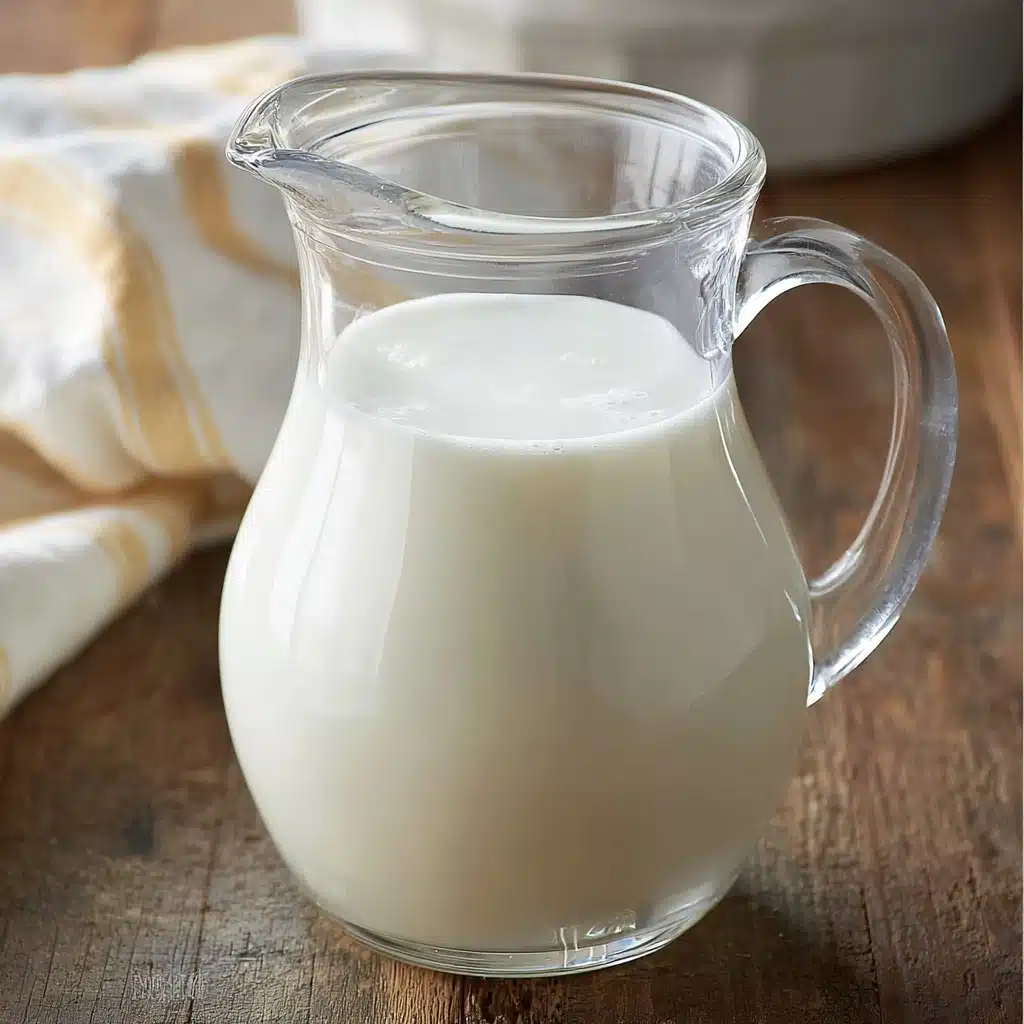
Homemade Coffee Creamer Recipe
If you’re a coffee lover who likes to control exactly what goes in your morning cup, it’s time to get excited about Homemade Coffee Creamer. Forget store-bought versions with their endless ingredient lists; this simple, customizable recipe puts the power (and the deliciousness) right in your hands. Creamy, sweet, and with pure flavor, it’s the kind of thing you’ll find yourself wanting to share with every fellow coffee enthusiast you know. Plus, you only need a handful of ingredients and a few minutes to whip it up!

Ingredients You’ll Need
The beauty of making Homemade Coffee Creamer lies in its simplicity. Each ingredient is purposeful, making your morning ritual taste downright luxurious without any complicated steps or hard-to-find items. Here’s what you’ll need and why it works so well:
- Condensed milk (14 oz can): This is where the rich, velvety sweetness comes from – it gives your creamer that unmistakable luscious finish.
- Milk (1 3/4 cups, 2% or whole): For the perfect body and creaminess; opting for at least 2% makes the best textured creamer, but you can use what you prefer.
- Vanilla extract (2 tsp): The classic, crowd-pleasing option for warm, cozy flavor; adjust up or down for your ideal intensity.
- Almond extract (1 tsp): Adds a hint of toasty, nutty depth that elevates every sip – or feel free to experiment with other extracts, like hazelnut or coconut.
How to Make Homemade Coffee Creamer
Step 1: Gather Your Containers
First things first, pick out a spill-proof, easy-to-shake container. A big 32-ounce mason jar is perfect, but two 16-ounce mason jars work just as well (and have the added bonus of being easy to store and shake!). Make sure the containers are clean and dry so your Homemade Coffee Creamer stays fresh as possible.
Step 2: Add the Ingredients
Pour the condensed milk into your jar, then follow with your milk of choice. Opt for at least 2% for a creamy result, but you can experiment with whole milk for more richness or even non-dairy alternatives if you’re feeling adventurous. Add your vanilla extract, almond extract, or any other flavors you adore. If sticking with one flavor, use the full amount; if mixing, split your extracts to taste (the vanilla-almond blend is a true classic!)
Step 3: Shake It Up
Seal your jar tightly and shake it – with gusto! The more energetic your shake, the better the ingredients blend together, making sure every pour is smooth and flavorful. If you’re using two jars, split the ingredients as evenly as possible, then put on some tunes and make it a kitchen dance moment!
Step 4: Store and Use
Pop your Homemade Coffee Creamer in the fridge. Every time you use it, give it a quick shake to make sure everything is perfectly mixed. Then pour into your coffee, inhale the incredible aroma, and enjoy a cup that tastes like a little luxury break, right at home.
How to Serve Homemade Coffee Creamer

Garnishes
Ready to go pro? Try topping your coffee with a pinch of cinnamon, cocoa powder, or a swirl of whipped cream before pouring in your Homemade Coffee Creamer. These little touches add a café-worthy finish and make your morning feel downright special.
Side Dishes
This creamer is destined to elevate anything you serve alongside your coffee. Think buttery toast, flaky croissants, or a stack of pancakes. Even a fresh fruit salad benefits from the mellow, sweet flavors the creamer brings to the table.
Creative Ways to Present
If you’re entertaining, pour the creamer into small glass bottles or mismatched jars for a charming touch. Add handwritten labels, tie on tiny spoons, or set out a few flavor options for a DIY coffee bar. Homemade Coffee Creamer is guaranteed to be the star at your next brunch or breakfast gathering!
Make Ahead and Storage
Storing Leftovers
Keep your creamer in a sealed container in the refrigerator. It will stay fresh for up to a week, though chances are it’ll disappear long before then! Always give the jar a good shake before each use, as the sweetened milk likes to settle at the bottom.
Freezing
Didn’t finish your batch? You can actually freeze Homemade Coffee Creamer! Pour it into airtight freezer-safe containers, leaving a little room for expansion. Thaw in the fridge overnight, then shake well before pouring. The texture might be a bit different, but the flavor still shines through.
Reheating
While creamers are usually served cold, you can gently warm your Homemade Coffee Creamer if you love your coffee piping hot. Just pour the needed amount into a microwave-safe dish and heat for a few seconds at a time. Avoid boiling – gentle warmth is all you need.
FAQs
Can I use non-dairy milk for this Homemade Coffee Creamer?
Absolutely! Almond, oat, or coconut milk can all step in for cow’s milk, though the texture and flavor will change a bit. The base method stays the same, so feel free to experiment and find what you love best.
How long does Homemade Coffee Creamer last in the fridge?
It’ll typically stay fresh for about a week if stored properly in a sealed container. Be sure to sniff and check for any change in texture or smell before each use – fresher is always better when it comes to dairy-based recipes.
What flavors can I add instead of vanilla and almond?
The sky’s the limit! Try hazelnut, caramel, coconut, or even a splash of maple extract. You can even add spices like cinnamon or a few drops of peppermint extract for a seasonal twist.
Can I adjust the sweetness level?
If you prefer a less sweet creamer, try swapping half of the condensed milk with evaporated milk, and add a drizzle of honey or maple syrup to taste. Don’t be afraid to tweak and taste until it’s exactly right for you.
Is this recipe gluten-free?
Yes, this Homemade Coffee Creamer is naturally gluten-free as long as each ingredient you use is certified gluten-free. Always double-check your extracts and milk if you’re extremely sensitive or preparing for someone with allergies.
Final Thoughts
When you make Homemade Coffee Creamer, you’re doing more than just upgrading your coffee – you’re treating yourself to a daily ritual filled with comfort and flavor, entirely on your terms. Trust me, once you taste your own creation, you may never look back. Give it a try this week and see just how easy and rewarding homemade can be!
PrintHomemade Coffee Creamer Recipe
Make your own Homemade Coffee Creamer with this easy recipe. Customize the flavors to suit your taste and enjoy a creamy, delicious addition to your morning coffee.
- Prep Time: 5 minutes
- Cook Time: 0 minutes
- Total Time: 5 minutes
- Yield: Approximately 32 oz. of coffee creamer 1x
- Category: Beverage, Condiment
- Method: Mixing
- Cuisine: American
- Diet: Vegetarian
Ingredients
Homemade Coffee Creamer:
- 1 can condensed milk (14 oz)
- 1 3/4 cup milk (any variety, 2% or whole is best)
- 2 tsp vanilla extract (or other flavor, amounts will vary depending on how strong you want it)
- 1 tsp almond extract (or other flavor combination)
Instructions
- Prepare the Creamer: Get a 32 oz. container or 2 16 oz. mason jars. Pour the condensed milk, milk, and desired flavor extracts.
- Mix Well: If using only vanilla, add 2 tsp. If combining flavors, use 1 tsp. vanilla and 1 tsp. of another flavor. Shake well to combine.
- Store and Use: Refrigerate the creamer. Before each use, shake well and pour into your coffee.
Nutrition
- Serving Size: 1 tbsp
- Calories: 20
- Sugar: 2g
- Sodium: 10mg
- Fat: 1g
- Saturated Fat: 1g
- Unsaturated Fat: 0g
- Trans Fat: 0g
- Carbohydrates: 2g
- Fiber: 0g
- Protein: 1g
- Cholesterol: 5mg
Keywords: Homemade Coffee Creamer, Coffee Creamer Recipe, DIY Coffee Creamer


