Homemade Vanilla Syrup – Perfect for Drinks & Desserts Recipe
If you’ve never made homemade vanilla syrup before, prepare to have your mind (and your tastebuds) absolutely delighted! This recipe takes just a few simple Ingredients—water, sugar, and real vanilla—and transforms them into a silky-smooth syrup that you’ll want to drizzle on anything and everything. Whether you’re elevating your morning coffee, brushing cakes for extra moisture, or even jazzing up a stack of pancakes, this is the secret sweet touch that takes classic treats to dreamy new heights.
Ingredients You’ll Need
You won’t believe how a handful of Ingredients, when used just right, can create magic in the kitchen. Here’s what you’ll need for this vanilla syrup—each one adds something special to the taste, texture, or gorgeous aroma!
- Granulated Cane Sugar: The foundation of syrup! Using 1 cup makes a thin syrup for drinks, while 2 cups creates a thick, decadent drizzle—choose based on your plans.
- Water: Your essential partner with the sugar, dissolving beautifully to form that classic syrup consistency.
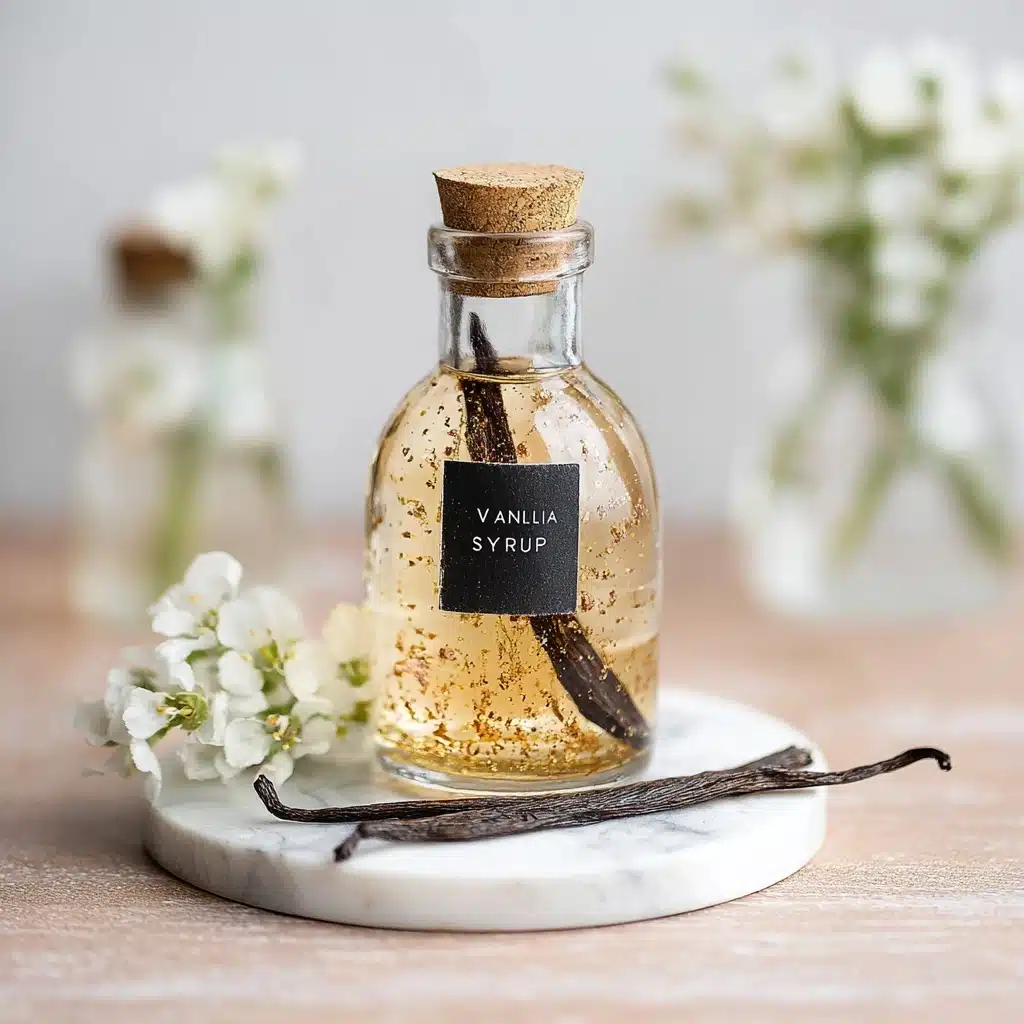
- Vanilla Bean Pod, Vanilla Bean Paste, or Vanilla Extract: The star ingredient, lending luxurious aroma and flavor—use a split pod for intense flecks and taste, paste for convenience and depth, or good-quality extract for ease.
How to Make Homemade Vanilla Syrup – Perfect for Drinks & Desserts Recipe
Step 1: Choose Your Sugar Ratio
Decide how thick or thin you want your syrup. For a simple, pourable syrup that’s perfect in drinks, stick to 1 cup of sugar. If you’re envisioning glossy ribbons over pancakes or ice cream, double up and use 2 cups. Both start with the same Ingredients; alteration is a game changer for final texture.
Step 2: Combine Sugar, Water, and Vanilla Pod
Add your sugar and water to a small pot. If you’re using a vanilla bean pod, split it open, scrape those beautiful seeds, and toss the whole pod right into the pot. This infuses every drop of syrup with maximum flavor! If you prefer to use vanilla bean paste or extract, hold off on adding those until after simmering.
Step 3: Simmer and Dissolve
Place your pot over medium-high heat and bring everything to a gentle simmer, stirring continuously so the sugar dissolves evenly. This is the moment when the Ingredients begin to harmonize. As soon as it reaches a simmer, drop the heat and let it bubble gently for a few extra minutes to saturate the syrup with flavor.
Step 4: Finish Simmering
Let your syrup cook for an additional five minutes on low, so it gets just the right body. Don’t worry if the syrup looks thin now—it thickens beautifully as it cools, thanks to the sugar content among your Ingredients.
Step 5: Add Vanilla Extract or Paste
Now’s the perfect time for vanilla extract or paste. Remove the pot from heat, add your chosen Ingredient, and stir it in gently. This step preserves the vanilla’s essential oils and ensures maximum, fragrant results.
Step 6: Strain and Store
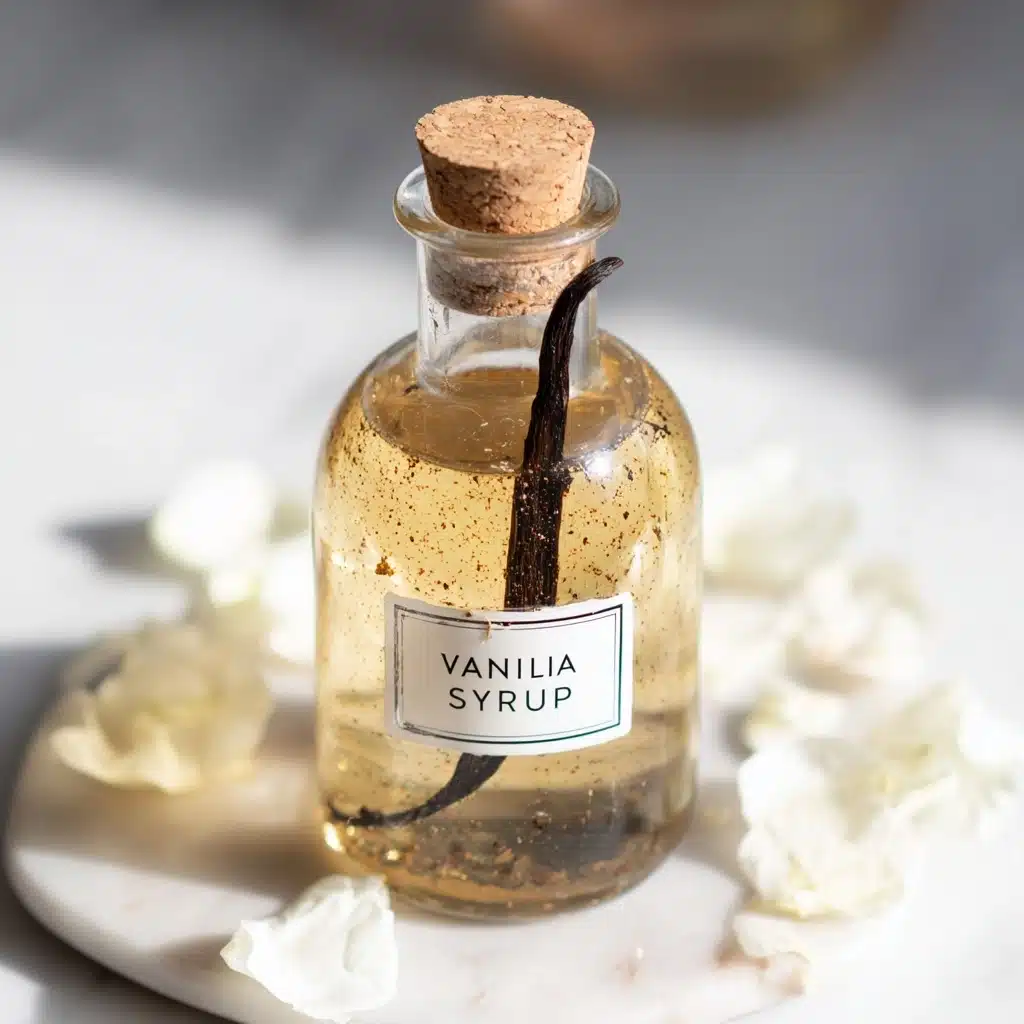
Pour your vanilla syrup through a funnel (if you have one—if not, a measuring cup with a spout works perfectly!) into a heat-proof glass container. If you’ve used a vanilla bean pod, go ahead and keep it right there in the jar. It keeps infusing your syrup with even more flavor as it sits.
Step 7: Cool and Refrigerate
Patience pays off! Let your syrup cool completely at room temperature before refrigerating. This trick helps prevent sugar crystals from forming. A fresh batch will keep for 2-3 weeks in the fridge—a sweet reward from just a few simple Ingredients.
How to Serve Homemade Vanilla Syrup – Perfect for Drinks & Desserts Recipe
Garnishes
For a show-stopping finish, add a few vanilla bean specks on top, or even float a spiral of orange zest in your syrup jar for a sophisticated twist. Swirl a little over whipped cream or ice cream and watch those flecks melt into pure magic—your Ingredients, now a work of art.
Side Dishes
Vanilla syrup isn’t just for coffee! Try spooning it over fresh berries, pancakes, waffles, or anything that needs a gentle, flavorful sweet boost. It’s also incredible on French toast or drizzled across warm bread pudding, letting the Ingredients shine on every plate.
Creative Ways to Present
Bottle up your syrup in a pretty glass jar, add a ribbon, and you have the perfect homemade gift. Need a party trick? Use it for bubble tea, or as a fancy drizzle around the inside of cocktail glasses for an elegant, restaurant-level touch. Your thoughtfully chosen Ingredients will always impress!
Make Ahead and Storage
Storing Leftovers
Homemade vanilla syrup is happiest in a tightly sealed glass jar or bottle. Pop it in the fridge and rest easy: your Ingredients-powered syrup keeps fresh for up to two or three weeks. A quick shake before each use ensures all that concentrated vanilla is evenly blended.
Freezing
You can freeze vanilla syrup if you want to stock up! Pour any extra into silicone ice cube trays or mini containers, freeze until solid, then transfer to a freezer bag. When ready, thaw what you need and let those Ingredients do their sweet magic again—no flavor lost.
Reheating
If your syrup thickens a bit in the fridge or after freezing, just warm it gently on the stovetop or in short microwave bursts. Stir well and you’ll have a pourable, smooth syrup once again, with all the original flavor from your lovingly chosen Ingredients.
FAQs
Can I use brown sugar instead of granulated cane sugar?
Absolutely! If you want a deeper, caramel-like flavor, swap in light or dark brown sugar for half (or all) of the granulated sugar. This brings out extra richness in the Ingredients, but don’t forget—the syrup will be darker and more robust.
How do I know if my vanilla syrup has gone bad?
If you spot any cloudiness, strange colors, or an off smell, it’s time to say goodbye. Good storage and clean containers help your Ingredients stay fresh the entire time.
Is there a natural sugar alternative I can use?
You can substitute raw cane sugar for a more natural touch, or try coconut sugar for an earthy twist. Just remember, changes in Ingredients will subtly shift the flavor and color of the finished syrup.
Can I double or halve the recipe?
Yes! This recipe scales up or down beautifully. Just keep the sugar-to-water ratio the same, and add more (or less) vanilla depending on your batch size—your only limit is the amount of Ingredients you have on hand!
What’s the best way to use this syrup in drinks?
Stir 1–2 tablespoons into hot or cold coffee, chai lattes, or even club soda for a homemade vanilla soda. The syrup blends seamlessly with all sorts of beverages—proof that a few great Ingredients make all the difference!
Final Thoughts
This homemade vanilla syrup is proof that the best things in the kitchen can start with the simplest Ingredients. I can’t wait for you to try it—taste it once, and you’ll be reaching for these easy Ingredients again and again.

