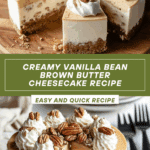
Vanilla Bean Brown Butter Cheesecake Recipe
Introduction
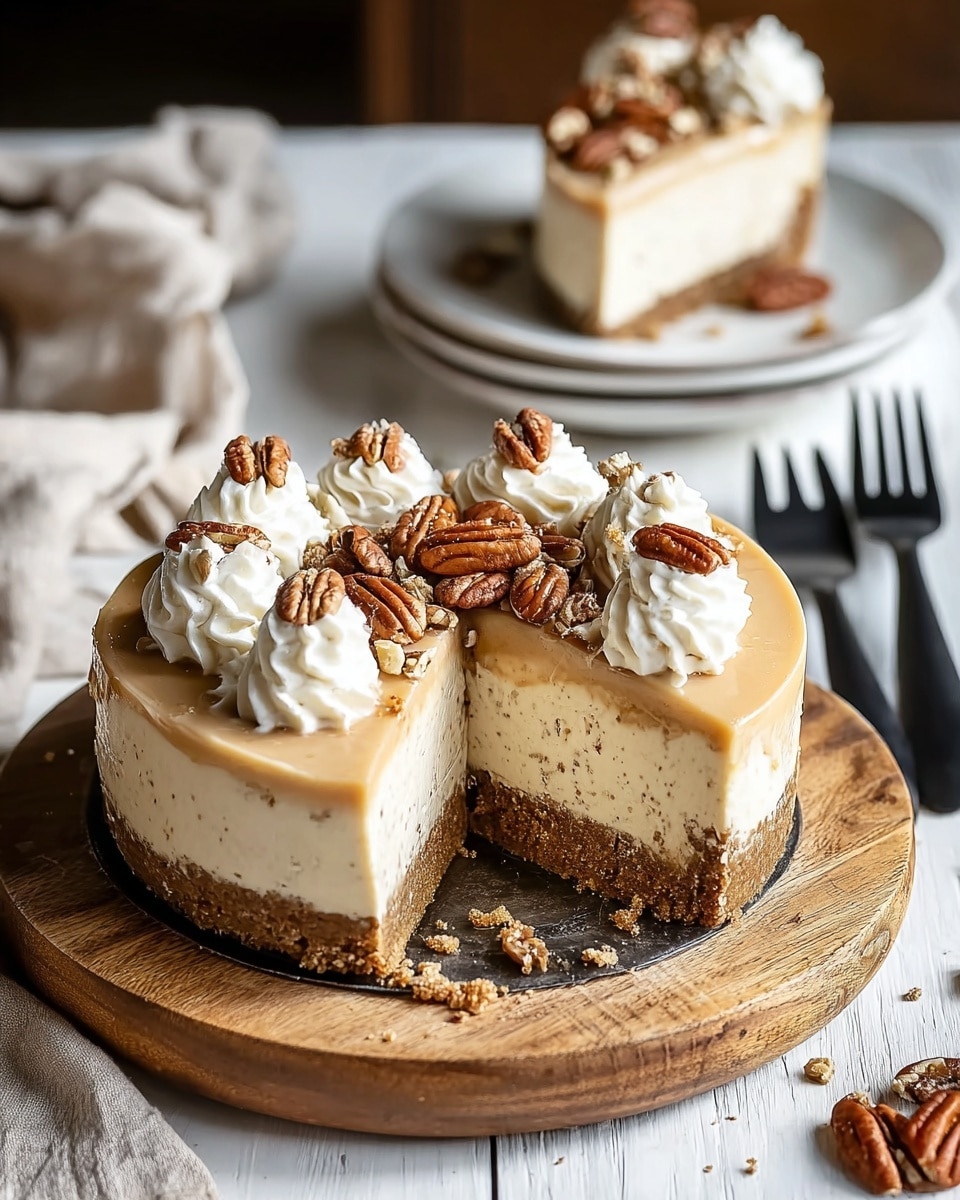
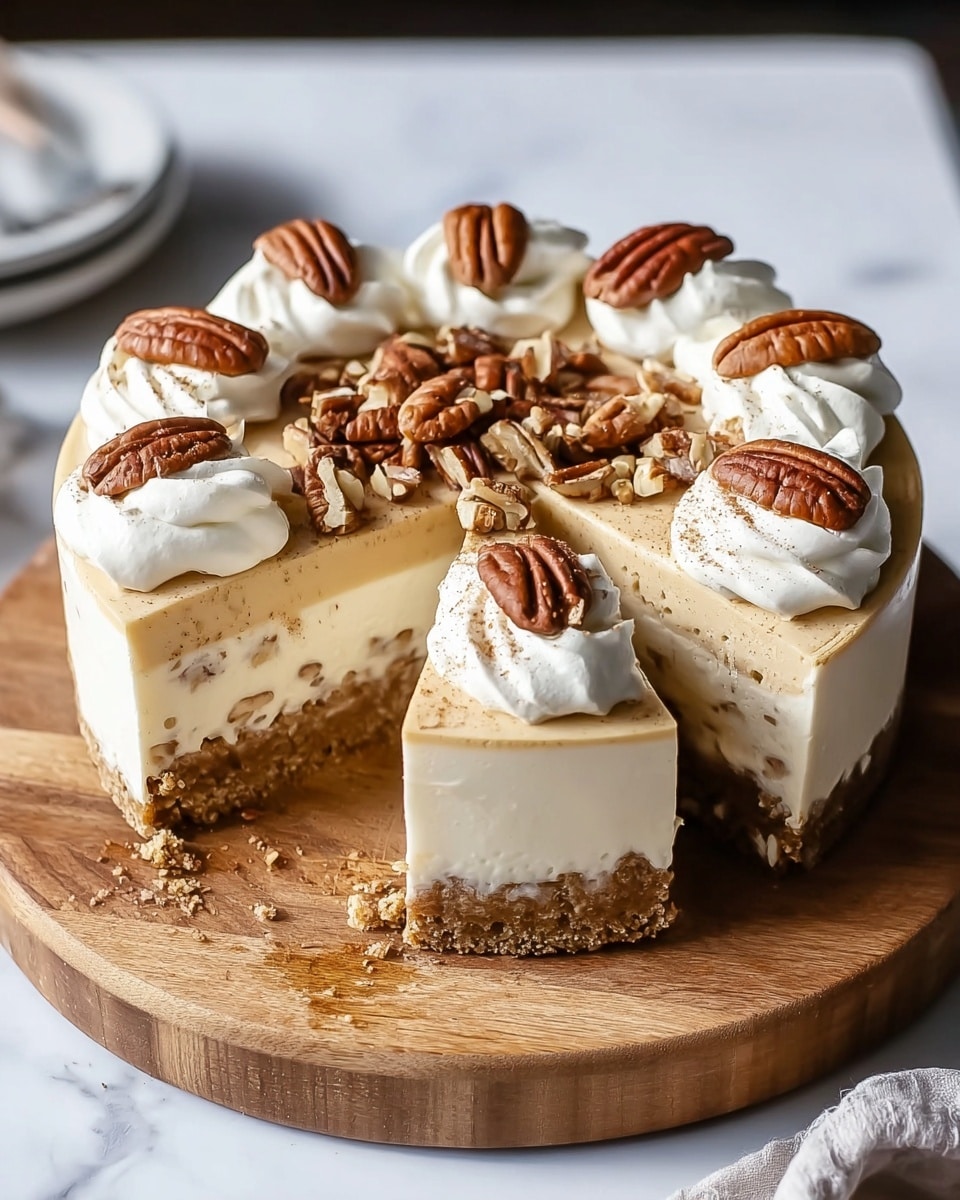
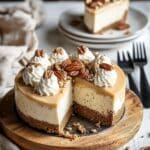
This Irresistible Vanilla Bean Brown Butter Cheesecake is a decadent dessert that combines the nutty richness of browned butter with the creamy smoothness of classic cheesecake. Enhanced by real vanilla bean, it’s perfect for special occasions or any time you want to impress your guests.
Ingredients
- 1 1/2 cups graham cracker crumbs
- 1/4 cup granulated sugar
- 5 tablespoons browned butter, melted and cooled
- Pinch of salt
- 4 (8 oz) packages cream cheese, softened to room temperature
- 1 cup granulated sugar
- 1/2 cup sour cream
- 2 teaspoons vanilla bean paste or seeds from 1 vanilla bean
- 3 large eggs
- 1 tablespoon all-purpose flour (optional)
- Pinch of salt
- Extra browned butter for ripple (optional) – 1 tablespoon
- Fresh vanilla bean seeds for topping (optional) – 1 teaspoon
Instructions
- Step 1: Preheat your oven to 325°F (165°C). Lightly butter a 9-inch springform pan and line the bottom with parchment paper for easy release.
- Step 2: Make the crust by combining graham cracker crumbs, sugar, and salt in a bowl. Stir in the browned butter until evenly moistened and the crumbs hold together when pressed. Press the crust firmly into the bottom and about 1 inch up the sides of the pan. Use the bottom of a glass or measuring cup to compress it tightly and evenly. For a deeper toasty flavor, optionally bake the crust alone for 8–10 minutes until fragrant and set, then cool completely before adding the filling.
- Step 3: Either bake the crust briefly or chill it while you prepare the filling. The brief bake helps keep the crust crisp and complements the creamy filling beautifully.
- Step 4: Prepare the filling by beating the cream cheese on medium speed until smooth and creamy, about 1–2 minutes. Gradually add the sugar on low speed, then mix in the sour cream until fully combined. Scrape down the bowl, add the vanilla bean paste or seeds and salt. Add eggs one at a time, mixing just until incorporated. Finally, blend in the flour if using, mixing until no streaks remain.
- Step 5: (Optional) Warm a little extra browned butter and swirl it into the filling with a toothpick to create ribbons of nutty flavor. Pour the filling over the cooled crust and smooth the surface with an offset spatula. The batter should look glossy and aerated but not overly whipped.
- Step 6: Wrap the outside of the springform pan tightly with two layers of heavy-duty foil to prevent water from leaking in. Place the pan in a larger roasting pan and carefully pour hot water into the outer pan until it reaches halfway up the cheesecake’s sides. This water bath ensures gentle, even baking that prevents cracks and yields a silky center.
- Step 7: Bake for 50–60 minutes, rotating once if needed. The center should be slightly wobbly when you gently jiggle the pan, and the edges should be set with a subtle pull-in toward the center. If the top browns too quickly, tent with foil during the last 15 minutes.
- Step 8: Turn off the oven and crack the door open. Let the cheesecake cool inside the oven for about 1 hour for gradual cooling, which minimizes cracks and improves flavor. Remove from the water bath, dry the pan, and refrigerate for at least 6 hours or overnight for best texture and flavor.
- Step 9: Loosen the cheesecake from the pan and transfer it to a serving plate. Garnish with vanilla bean seeds, a dusting of sugar, fresh berries, or berry sauce if desired. Use a warm knife to make clean slices for a beautiful presentation.
Tips & Variations
- For added depth, try baking the crust briefly before adding the filling to enhance its crunch and toastiness.
- Use real vanilla bean seeds for a more intense vanilla flavor, or vanilla bean paste for ease.
- If you prefer a gluten-free option, omit the flour or substitute with a gluten-free flour blend.
- Adding a swirl of extra browned butter to the filling creates lovely nutty ribbons that elevate the flavor.
Storage
Store the cheesecake covered in the refrigerator for up to 5 days. For longer storage, wrap tightly and freeze for up to 1 month. Thaw overnight in the fridge before serving. Reheat slices gently in the microwave if you prefer a slightly warmer dessert.
How to Serve
Serve this delicious recipe with your favorite sides.
FAQs
Can I use regular butter instead of browned butter?
While you can use regular melted butter, browned butter adds a rich, nutty flavor that truly enhances the cheesecake’s complexity and depth.
Why is a water bath necessary for baking cheesecake?
The water bath provides moist, gentle heat that helps prevent cracks and ensures the cheesecake bakes evenly with a smooth, creamy texture.
PrintVanilla Bean Brown Butter Cheesecake Recipe
This Irresistible Vanilla Bean Brown Butter Cheesecake combines a rich, nutty brown butter flavor with the creamy indulgence of classic cheesecake. Featuring a buttery graham cracker crust and the warm aroma of vanilla bean, it’s baked in a water bath for a silky smooth texture and minimal cracks, making it a show-stopping dessert perfect for special occasions or anytime you want to impress.
- Prep Time: 30 minutes
- Cook Time: 1 hour
- Total Time: 9 hours 30 minutes
- Yield: 12 servings 1x
- Category: Dessert
- Method: Baking
- Cuisine: American
Ingredients
Crust
- 1 1/2 cups graham cracker crumbs
- 1/4 cup granulated sugar
- Pinch of salt
- 5 tablespoons browned butter, melted and cooled
Filling
- 4 (8 oz) packages cream cheese, softened to room temperature
- 1 cup granulated sugar
- 1/2 cup sour cream
- 2 teaspoons vanilla bean paste or seeds from 1 vanilla bean
- 3 large eggs
- 1 tablespoon all-purpose flour (optional)
- Pinch of salt
- Extra browned butter for ripple (optional) – 1 tablespoon
- Fresh vanilla bean seeds for topping (optional) – 1 teaspoon
Instructions
- Prepare the oven and pan: Preheat your oven to 325°F (165°C). Lightly butter a 9-inch springform pan and line the bottom with parchment paper for easy release of the cheesecake.
- Make the crust: Combine graham cracker crumbs, sugar, and salt in a bowl. Stir in the melted browned butter until the mixture is evenly moistened and holds together when pressed. Firmly press the crust mixture into the bottom and about 1 inch up the sides of the springform pan, using the bottom of a glass or measuring cup to compress it tightly and evenly. Optionally, bake the crust alone for 8–10 minutes until fragrant and set, then let cool completely before adding the filling.
- Prepare the filling: Using a stand mixer or hand mixer, beat the softened cream cheese on medium speed until smooth and creamy, about 1 to 2 minutes. Gradually add sugar on low speed, then mix in the sour cream until fully combined. Scrape down the bowl, add vanilla bean paste or seeds and a pinch of salt. Add eggs one at a time, mixing just until each is incorporated. If using flour, blend it in last just until no streaks remain.
- Add brown butter swirl (optional): Warm an additional tablespoon of browned butter and gently swirl it into the filling with a toothpick to create ribbons of nutty flavor in the batter. Pour the filling over the chilled crust and smooth the surface with an offset spatula to achieve a glossy, aerated batter.
- Set up the water bath: Wrap the outside of the springform pan tightly with two layers of heavy-duty foil to avoid water seepage. Place the pan inside a larger roasting pan and carefully pour hot water into the outer pan until it reaches halfway up the sides of the springform pan. This steamy bath prevents cracks and ensures a silky texture.
- Bake the cheesecake: Bake for 50 to 60 minutes, rotating once if necessary to ensure even baking. The center should remain slightly wobbly when gently shaken, and the edges will be set with a subtle pull-in toward the center. If the top browns too quickly, tent with foil for the last 15 minutes.
- Cool the cheesecake: Turn off the oven and crack the door open, letting the cheesecake cool inside the oven for about 1 hour to reduce cracking and develop flavor. After removing from oven, carefully lift the cheesecake from the water bath, dry the pan, and refrigerate for at least 6 hours or overnight for the best texture and flavor concentration.
- Serve: Loosen the cheesecake from the springform pan and transfer to a serving plate. Garnish with vanilla bean seeds, a dusting of sugar, fresh berries, or berry sauce if desired. For clean slices, warm your knife before cutting for restaurant-quality presentation.
Notes
- For added crust flavor and crunch, bake the crust alone for 8–10 minutes before filling.
- Use room temperature cream cheese to avoid lumps and achieve a silky filling.
- If you don’t have vanilla bean paste, fresh vanilla bean seeds or high-quality vanilla extract can be used as alternatives.
- Water bath baking is important—it ensures a creamy texture and prevents cracks in the cheesecake.
- Letting the cheesecake cool slowly in the oven prevents surface cracks and improves flavor.
- Refrigeration overnight is recommended for optimal flavor and texture.
- Use an offset spatula for smoothing the filling for a professional finish.
- Use a warm clean knife to slice for neat pieces without cracking the cheesecake.
Keywords: Vanilla Bean Cheesecake, Brown Butter Cheesecake, Graham Cracker Crust, Cream Cheese Dessert, Water Bath Cheesecake

