Sheet Pan Libby’s Pumpkin Bars Recipe
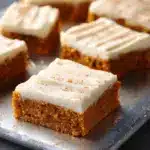
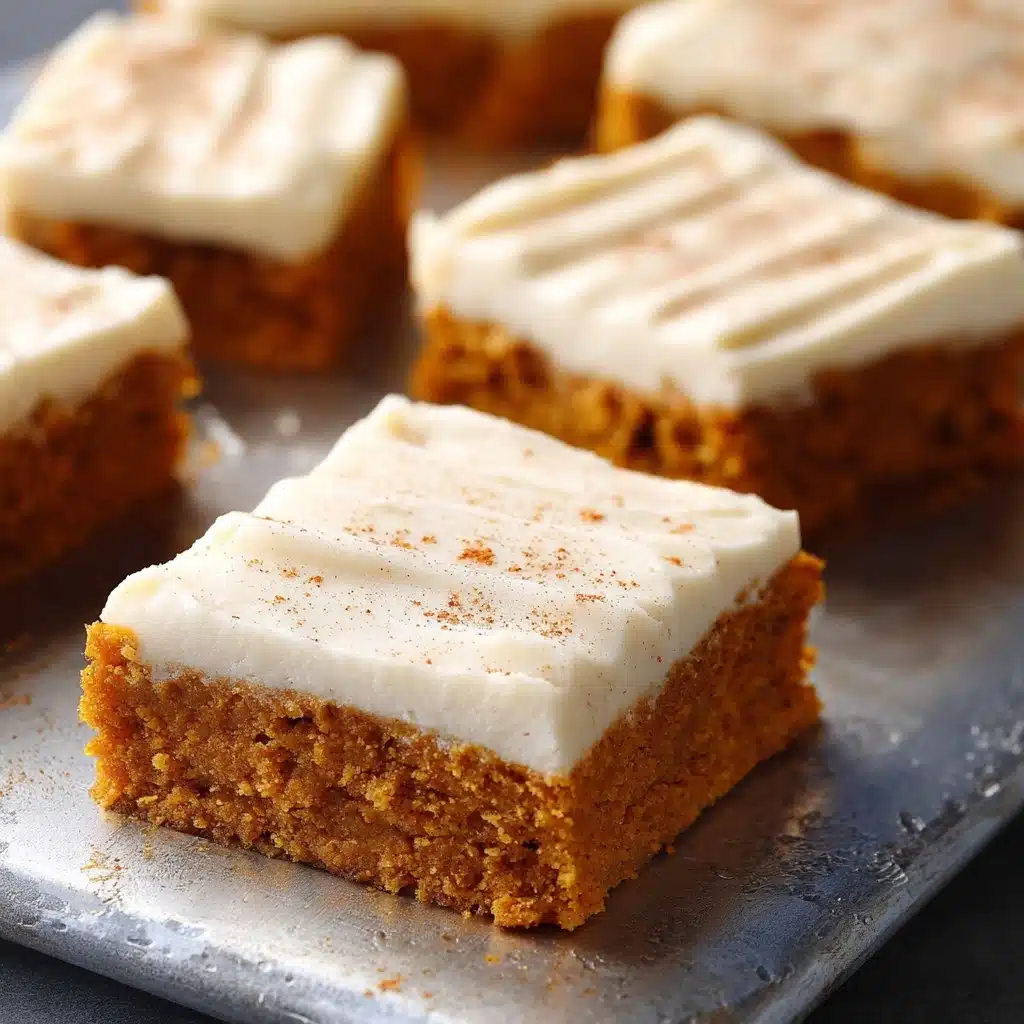
If you’re in search of a stunning fall dessert that’s both effortless and guaranteed to impress a crowd, Sheet Pan Libby’s Pumpkin Bars are about to become your go-to treat. These fluffy, warmly spiced pumpkin bars come together in a single pan, topped with a generous layer of cream cheese frosting that’s rich yet perfectly tangy. Whether you’re hosting a holiday get-together or need something special for a bake sale, you’ll love how Sheet Pan Libby’s Pumpkin Bars deliver all the cozy goodness of pumpkin pie with the ease (and joy!) of a sheet cake.
Ingredients You’ll Need
The beauty of Sheet Pan Libby’s Pumpkin Bars lies in its pantry-friendly ingredients—each one brings something essential, from rich moisture to that classic pumpkin pie flavor and a cloud-like frosting. Here’s a closer look at what you’ll need to create snack bar perfection:
- Libby’s Pumpkin Puree (15 oz): The star of the show, providing unbeatable moistness and authentic pumpkin flavor.
- All-Purpose Flour (2 cups): Gives the bars their structure while keeping the crumb light and fluffy.
- White Sugar (1½ cups): Just the right amount for sweetness that balances the spices and pumpkin.
- Butter, softened (1 cup): Adds rich, creamy flavor and helps the bars turn out tender.
- Large Eggs (4): Work as binding agents, ensuring the bars hold together with a pleasant texture.
- Baking Soda (1 tsp): Helps the bars rise and keeps them soft.
- Baking Powder (2 tsp): Provides extra lift for a cakey bar.
- Ground Cinnamon (2 tsp): Warm spice bringing depth and a signature autumn flavor.
- Pumpkin Pie Spice (1 tsp): A fragrant mix that boosts that nostalgic, fall-inspired taste.
- Salt (½ tsp): Enhances all the other flavors and balances sweetness.
- Confectioners’ Sugar (5 cups): The base for your luscious cream cheese frosting.
- Cream Cheese, softened (8 oz): Adds creamy tang and smooth texture to the frosting.
- Butter, softened (¼ cup): Helps the frosting spread easily and gives it silkiness.
- Pure Vanilla Extract (1 tsp): Rounds out the frosting with fragrant, mellow sweetness.
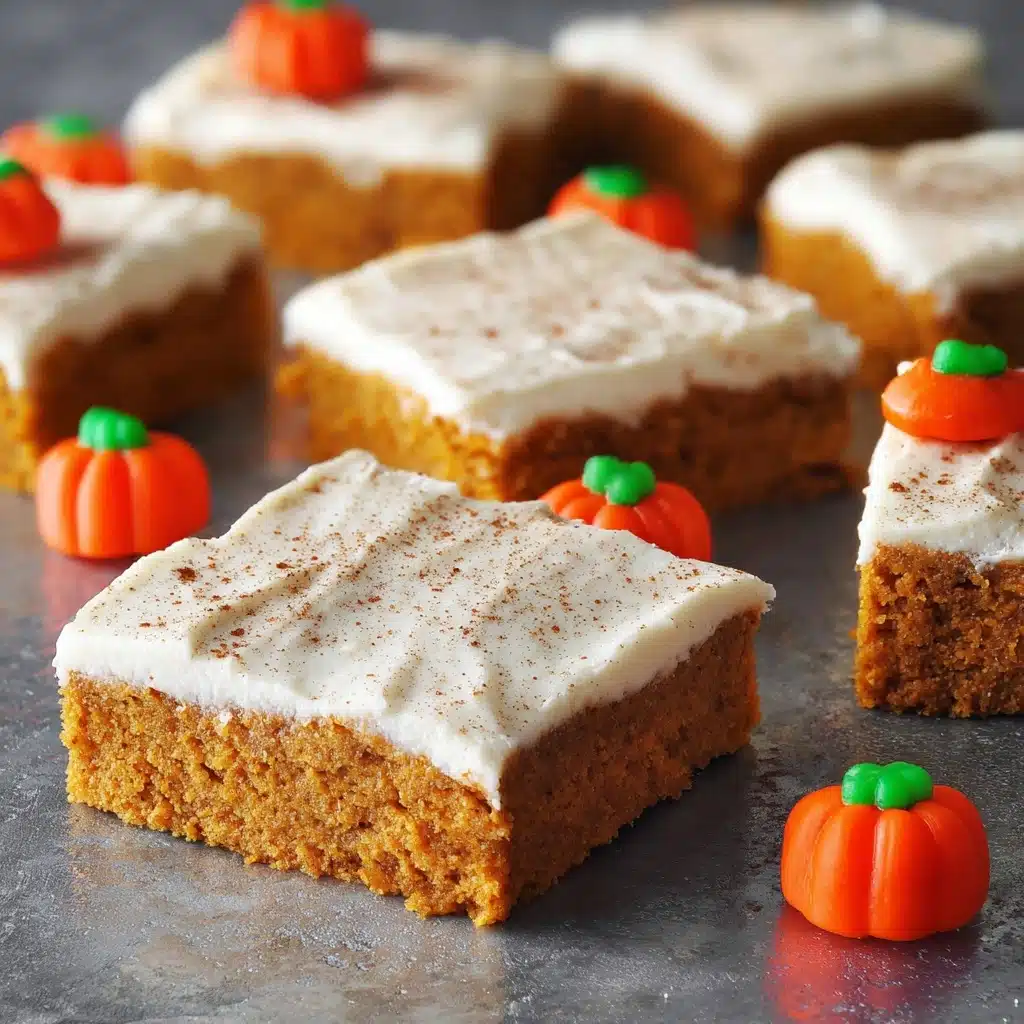
- Optional Toppings: Sprinkle with cinnamon, fall-colored sprinkles, or mini pumpkin candies for a festive finish.
How to Make Sheet Pan Libby’s Pumpkin Bars
Step 1: Prep the Pan and Oven
Start by preheating your oven to 350 degrees Fahrenheit, which is the sweet spot for making sure your Sheet Pan Libby’s Pumpkin Bars bake up soft and evenly. Line a 12″x17″ half-sheet pan with parchment paper for easy removal, and don’t forget to spray the sides with a little cooking spray to keep those edges from sticking. If you like a taller bar, a 10″x15″ jelly roll pan also works beautifully!
Step 2: Cream the Butter and Sugar
In the bowl of an electric mixer or a large mixing bowl, beat the softened butter together with the white sugar until it’s pale and fluffy. This crucial step gives your pumpkin bars their signature tender crumb, so take a minute or two to get it good and creamy.
Step 3: Add the Eggs
Crack in the four large eggs, one at a time, mixing well after each addition. The eggs will help everything blend together seamlessly and give the bars their lovely structure once baked.
Step 4: Combine the Dry Ingredients
In a separate bowl, sift together the all-purpose flour, salt, ground cinnamon, baking soda, and baking powder. Sifting ensures the leaveners and spices are evenly distributed—don’t skip this step if you want the spices in every bite!
Step 5: Blend Dry and Wet Ingredients
Slowly add the dry mixture to the wet ingredients in your mixer, stirring just until incorporated. Then, blend in the Libby’s pumpkin puree. The batter should now be a gorgeous, thick, orange-hued batter that already smells like autumn.
Step 6: Pour and Bake
Pour the batter into your prepared sheet pan, smoothing it out to the edges with a spatula for even baking. Place in the oven and bake for 20 to 25 minutes; when a toothpick inserted in the center comes out clean, you’re golden. Let the bars cool completely before frosting.
Step 7: Make the Cream Cheese Frosting
While the bars cool, beat together the softened cream cheese, butter, and vanilla extract. Gradually add in the confectioners’ sugar, starting slow so it doesn’t go everywhere! If the frosting seems too thick, drizzle in a tablespoon of milk at a time until it spreads easily. If it’s too thin, just mix in a touch more confectioners’ sugar. Spread the dreamy frosting over the cooled pumpkin bars.
Step 8: Decorate and Slice
Finish with your toppings of choice—cinnamon, festive sprinkles, or adorable mini pumpkin candies are all welcome. Cut the bars into squares or rectangles, ready to serve and dazzle!
How to Serve Sheet Pan Libby’s Pumpkin Bars
Garnishes
A sprinkle of cinnamon over the frosting instantly heightens the pumpkin and cream cheese flavors. Feel free to go extra festive with autumn-hued sprinkles or even playful mini pumpkin candies. These small touches transform Sheet Pan Libby’s Pumpkin Bars into a showstopper on any dessert table.
Side Dishes
If you’re serving these bars at a gathering, pair them with a steaming mug of chai tea, creamy hot chocolate, or your favorite fall latte. Fresh fruit like sliced apples or pears works well for a light counterpoint, while a scoop of vanilla ice cream makes it extra indulgent.
Creative Ways to Present
Put your own spin on Sheet Pan Libby’s Pumpkin Bars by cutting them into bite-sized cubes and serving as pumpkin “petits fours” for parties, or stack them high on a cake stand for an eye-catching centerpiece. Individual parchment wrappers make them easy for grab-and-go events, too.
Make Ahead and Storage
Storing Leftovers
These pumpkin bars keep wonderfully! Store any leftovers in an airtight container in the refrigerator for up to 5 or 6 days. The flavors actually deepen as they chill, and the frosting stays luscious the whole time.
Freezing
Want to get ahead? Pop fully frosted or unfrosted bars into a freezer-safe container (with parchment layers in between if stacking). They’ll last for up to 3 months. Just thaw and frost before serving if you froze them plain, or enjoy straight from the freezer for an icy pumpkin treat.
Reheating
If you prefer your Sheet Pan Libby’s Pumpkin Bars at room temperature, simply let them sit out for about 20–30 minutes. For a nostalgic, bakery-warm bite, microwave a bar for just about 10 seconds (but avoid overheating to keep the frosting perfect).
FAQs
Can I use homemade pumpkin puree instead of canned?
Absolutely! If you do, be sure your homemade pumpkin puree is well-drained to avoid extra moisture in the batter, which could make the bars dense. Libby’s is a classic for its consistent results, but homemade adds a lovely personal touch.
Is it possible to make Sheet Pan Libby’s Pumpkin Bars gluten-free?
Yes, you can substitute a good quality gluten-free all-purpose flour blend. Just check that your blend includes xanthan gum or add a teaspoon yourself for best texture.
Can I halve the recipe for a smaller batch?
Certainly! Just halve all the ingredients and use a smaller baking sheet or pan; keep an eye on baking time, as it might cook a bit faster.
How can I avoid soggy pumpkin bars?
Be sure not to add extra pumpkin or underbake. Baking until a toothpick comes out clean and letting the bars cool before frosting keeps everything perfectly moist, not soggy.
Can I make Sheet Pan Libby’s Pumpkin Bars ahead of time for a party?
Yes! These bars are party-perfect when made a day or two in advance; in fact, the flavor gets even better after chilling overnight. Just wait to add toppings like sprinkles until right before serving for best appearance.
Final Thoughts
If you’re looking for the ultimate fuss-free autumn dessert, you simply cannot go wrong with Sheet Pan Libby’s Pumpkin Bars. Each bite is a cozy celebration of pumpkin season, and they’re as easy to whip up as they are to share. Whether this becomes your new favorite party treat or a cherished family recipe, don’t hesitate—the first pan won’t last long!
PrintSheet Pan Libby’s Pumpkin Bars Recipe
Delicious and moist pumpkin bars topped with a creamy layer of cream cheese frosting – a perfect fall treat for any occasion.
- Prep Time: 15 minutes
- Cook Time: 25 minutes
- Total Time: 40 minutes
- Yield: 24 bars 1x
- Category: Dessert
- Method: Baking
- Cuisine: American
- Diet: Vegetarian
Ingredients
Pumpkin Bars
- 15 ounce Can of Libby’s Pumpkin Puree or similar brand
- 2 cups All-Purpose Flour
- 1 ½ cups White Sugar
- 1 cup Butter, softened
- 4 Large Eggs
- 1 teaspoon Baking Soda
- 2 teaspoons Baking Powder
- 2 teaspoons Ground Cinnamon
- 1 teaspoon Pumpkin Pie Spice
- ½ teaspoon Salt
Cream Cheese Frosting
- 5 cups Confectioners’ Sugar
- 8 ounces Cream Cheese, softened
- ¼ cup Butter, softened
- 1 teaspoon Pure Vanilla Extract
Topping Ideas
- Sprinkles of Cinnamon
- Fall Colored Sprinkles
- Mini Pumpkin Candies
Instructions
- Preheat oven to 350 degrees Fahrenheit. Line a 12″x17″ half-sheet baking pan with parchment paper and spray with cooking spray.
- Cream together butter and sugar. Add eggs and mix well.
- Sift together flour, salt, cinnamon, baking soda, and baking powder. Slowly add to the mixture. Blend in pumpkin puree.
- Pour batter into prepared pan and bake for 20-25 minutes.
- Make cream cheese frosting: Blend cream cheese, butter, and vanilla. Gradually add powdered sugar until desired consistency.
- Spread frosting over cooled bars and slice before serving. Store in the refrigerator or freeze for later.
Notes
- Update 10/18/22: Cut the frosting recipe in half due to excess quantity.
- Original cream cheese frosting recipe
Nutrition
- Serving Size: 1 bar
- Calories: 209 kcal
- Sugar: 25g
- Sodium: 146mg
- Fat: 9g
- Saturated Fat: 6g
- Unsaturated Fat: 2.4g
- Trans Fat: 0.2g
- Carbohydrates: 30g
- Fiber: 0.4g
- Protein: 2g
- Cholesterol: 38mg
Keywords: Pumpkin Bars, Cream Cheese Frosting, Fall Dessert, Pumpkin Recipe

