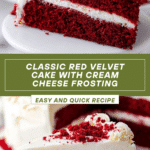
Red Velvet Cake with Cream Cheese Frosting Recipe
Introduction
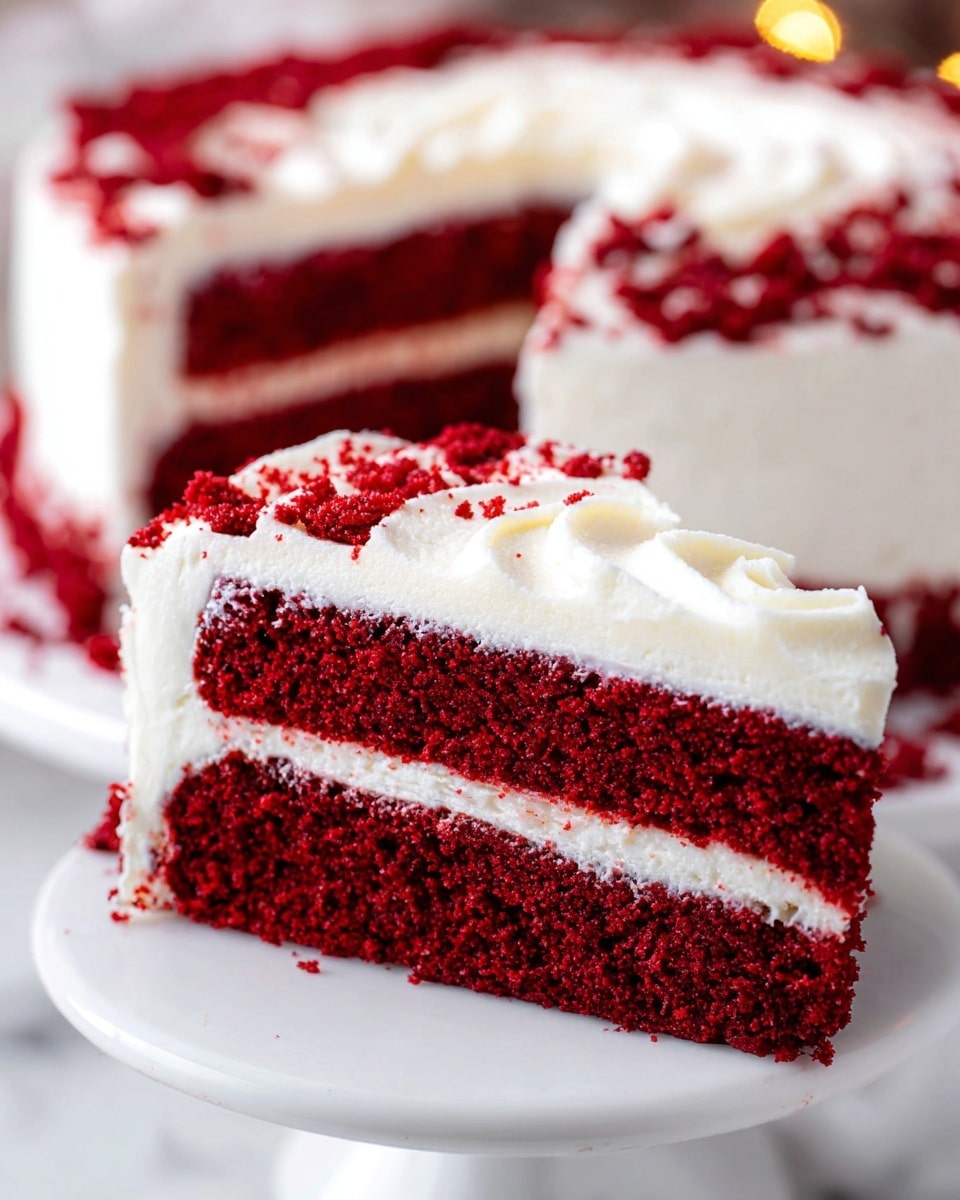
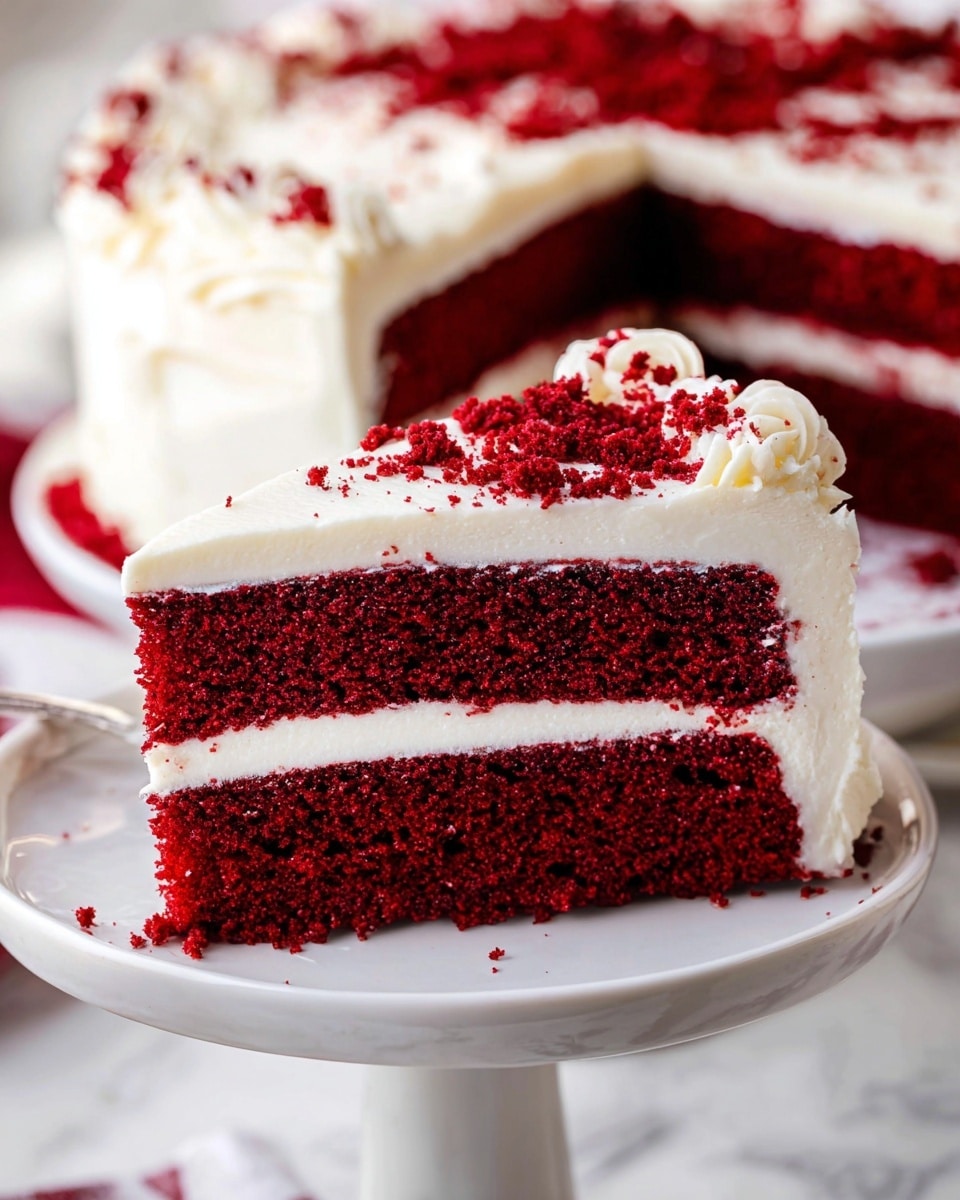
Red velvet cake is a classic dessert known for its vibrant color and moist, tender crumb. Paired with creamy cream cheese frosting, this cake is perfect for celebrations or anytime you want a special treat.
Ingredients
- Baking spray for the pans
- 2 1/2 cups all-purpose flour
- 1 1/2 cups white granulated sugar
- 1 teaspoon baking soda
- 1 teaspoon baking powder
- 1/2 teaspoon salt
- 1/3 cup unsweetened cocoa powder
- 2 large eggs (at room temperature)
- 1 1/2 cups vegetable oil
- 1 cup buttermilk (room temperature)
- 1 teaspoon white distilled vinegar
- 1 teaspoon vanilla extract
- 1 teaspoon red gel food coloring (or 2 tablespoons regular food coloring)
- Cream Cheese Frosting (prepared separately)
Instructions
- Step 1: Preheat your oven to 350 degrees F. Prepare two 8-inch cake pans by spraying them with baking spray, covering the bottoms with parchment paper, and spraying again. For thinner layers, use three pans instead. Set aside.
- Step 2: In a medium bowl, whisk together the dry ingredients: flour, sugar, baking powder, baking soda, salt, and cocoa powder until evenly combined.
- Step 3: In a large bowl, add the eggs, vegetable oil, buttermilk, vinegar, vanilla extract, and red food coloring. Using a mixer on medium speed, whisk until fully combined.
- Step 4: Reduce the mixer speed to low and gradually add the dry ingredient mixture. Stop to scrape the bowl sides and bottom occasionally. Mix just until the batter is fully combined.
- Step 5: Divide the batter evenly between the prepared pans.
- Step 6: Bake the cakes for about 30 minutes, rotating the pans halfway through, until a toothpick inserted in the center comes out clean.
- Step 7: Remove the cakes from the oven and run a knife around the edges to loosen them. Let the cakes cool in the pans for 20-30 minutes, then invert onto a plate and re-invert onto a cooling rack, rounded side up. Cool completely.
- Step 8: Prepare the cream cheese frosting according to your recipe or package directions.
- Step 9: Level the cake layers by slicing off the tops with a serrated knife or cake leveler. Crush the trimmed pieces into crumbs for garnish.
- Step 10: Spread 1/4 cup of frosting on your cake stand or serving plate to secure the bottom layer. Place the first cake layer on top.
- Step 11: Spread about 1 cup of frosting evenly over the first layer to create a 1/2-inch thick layer.
- Step 12: Add the next cake layer and repeat the frosting process. Cover the whole cake with the remaining frosting.
- Step 13: Press the cake crumbs onto the sides and edges of the frosted cake for decoration.
- Step 14: Refrigerate the cake for at least 3 hours or, ideally, overnight before serving.
Tips & Variations
- Use red gel food coloring for a deeper, more vibrant red without adding extra liquid.
- For a lighter cake, substitute half the vegetable oil with applesauce.
- Try adding a teaspoon of espresso powder to intensify the cocoa flavor.
- If you prefer a tangier frosting, add a teaspoon of lemon juice to the cream cheese frosting.
- Ensure all ingredients are at room temperature for a smoother batter and even baking.
Storage
Store the frosted cake in an airtight container in the refrigerator for up to 4-5 days. Before serving, let it sit at room temperature for 20-30 minutes to soften. You can also freeze the cake layers (unfrosted) wrapped tightly for up to 2 months; thaw completely before frosting.
How to Serve
Serve this delicious recipe with your favorite sides.
FAQs
Can I use regular food coloring instead of gel?
Yes, but you may need to use about twice as much regular food coloring to achieve a vibrant red color. Keep in mind that this adds extra liquid to the batter, which may slightly change the texture.
Can I make this cake gluten-free?
To make a gluten-free version, substitute the all-purpose flour with a gluten-free flour blend designed for baking. Be sure to check the blend includes xanthan gum or add it separately to help maintain the cake’s structure.
PrintRed Velvet Cake with Cream Cheese Frosting Recipe
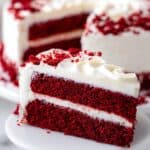
This classic Red Velvet Cake recipe yields a moist, tender, and richly flavored cake with a hint of cocoa. Layers are perfectly balanced with a tangy and creamy cream cheese frosting, making it an elegant dessert for celebrations or any special occasion. The cake is baked to perfection, layered, frosted, and garnished with cake crumbs for a professional finish.
- Prep Time: 30 minutes
- Cook Time: 30 minutes
- Total Time: 3 hours 30 minutes (including cooling and refrigeration time)
- Yield: 10 servings 1x
- Category: Dessert
- Method: Baking
- Cuisine: American
Ingredients
For the Cake
- Baking Spray for the pans
- 2 1/2 cups all-purpose flour
- 1 1/2 cups white granulated sugar
- 1 teaspoon baking soda
- 1 teaspoon baking powder
- 1/2 teaspoon salt
- 1/3 cup unsweetened cocoa powder
- 2 large eggs (at room temperature)
- 1 1/2 cups vegetable oil
- 1 cup buttermilk (room temperature)
- 1 teaspoon white distilled vinegar
- 1 teaspoon vanilla extract
- 1 teaspoon red gel food coloring (or 2 tablespoons regular food coloring)
Cream Cheese Frosting
- Use your preferred cream cheese frosting recipe or prepare according to directions (typically includes cream cheese, butter, powdered sugar, vanilla extract)
Instructions
- Preheat the Oven: Preheat your oven to 350 degrees Fahrenheit to prepare for baking the cake layers.
- Prepare the Pans: Spray two 8-inch cake pans with baking spray, line the bottoms with parchment paper, and spray again. For thinner layers, use three pans. Set pans aside.
- Mix Dry Ingredients: In a medium bowl, whisk together the flour, sugar, baking powder, baking soda, salt, and cocoa powder until fully combined. Set aside.
- Mix Wet Ingredients: In a large bowl, combine eggs, vegetable oil, buttermilk, vinegar, vanilla extract, and red gel food coloring. Using a mixer on medium speed, whisk until smooth and fully blended.
- Combine Mixtures: Reduce mixer speed to low and gradually add the dry ingredients to the wet ingredients. Scrape sides and bottom of the bowl occasionally and mix just until fully incorporated.
- Divide Batter: Evenly divide the batter into the prepared cake pans.
- Bake the Cakes: Place pans in the oven and bake for about 30 minutes. Rotate the pans halfway through baking. Cakes are done when a toothpick inserted in the center comes out clean.
- Cool the Cakes: Remove cakes from the oven, run a knife around the edges to loosen, and let cool in the pans for 20-30 minutes. Then invert onto a plate and re-invert onto a cooling rack, rounded side up, to cool completely before frosting.
- Prepare Frosting: Prepare cream cheese frosting according to your chosen recipe or directions.
- Level the Cake Layers: Using a serrated knife or cake leveler, slice off the domed tops to level the cakes. Collect the trimmings and crush into crumbs for garnish.
- Assemble and Frost: Spread 1/4 cup frosting on the cake stand to secure the first layer. Place the first cake layer, spread about 1 cup frosting evenly to about 1/2-inch thickness. Repeat with remaining layers.
- Cover and Garnish: Frost the entire cake with remaining frosting, then decorate the sides and top edges with the reserved cake crumbs.
- Refrigerate: Chill the assembled cake in the refrigerator for at least 3 hours, preferably overnight, before serving.
- Storage: Store leftover cake covered in an airtight container in the refrigerator for up to 4-5 days.
Notes
- Use room temperature eggs and buttermilk for best batter consistency.
- Gel food coloring is preferred for vibrant color without thinning the batter.
- Ensure cakes are fully cooled before frosting to prevent melting.
- For thinner layers, use three pans and adjust baking time accordingly, checking doneness early.
- Refrigerate assembled cake to help frosting set and flavors meld.
- Leftover crumbs add a decorative touch and minimize waste.
Keywords: Red Velvet Cake, Cream Cheese Frosting, Layer Cake, Classic Cake Recipe, Celebration Cake, Homemade Cake


