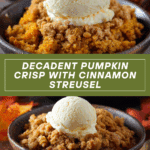
Pumpkin Crisp Recipe
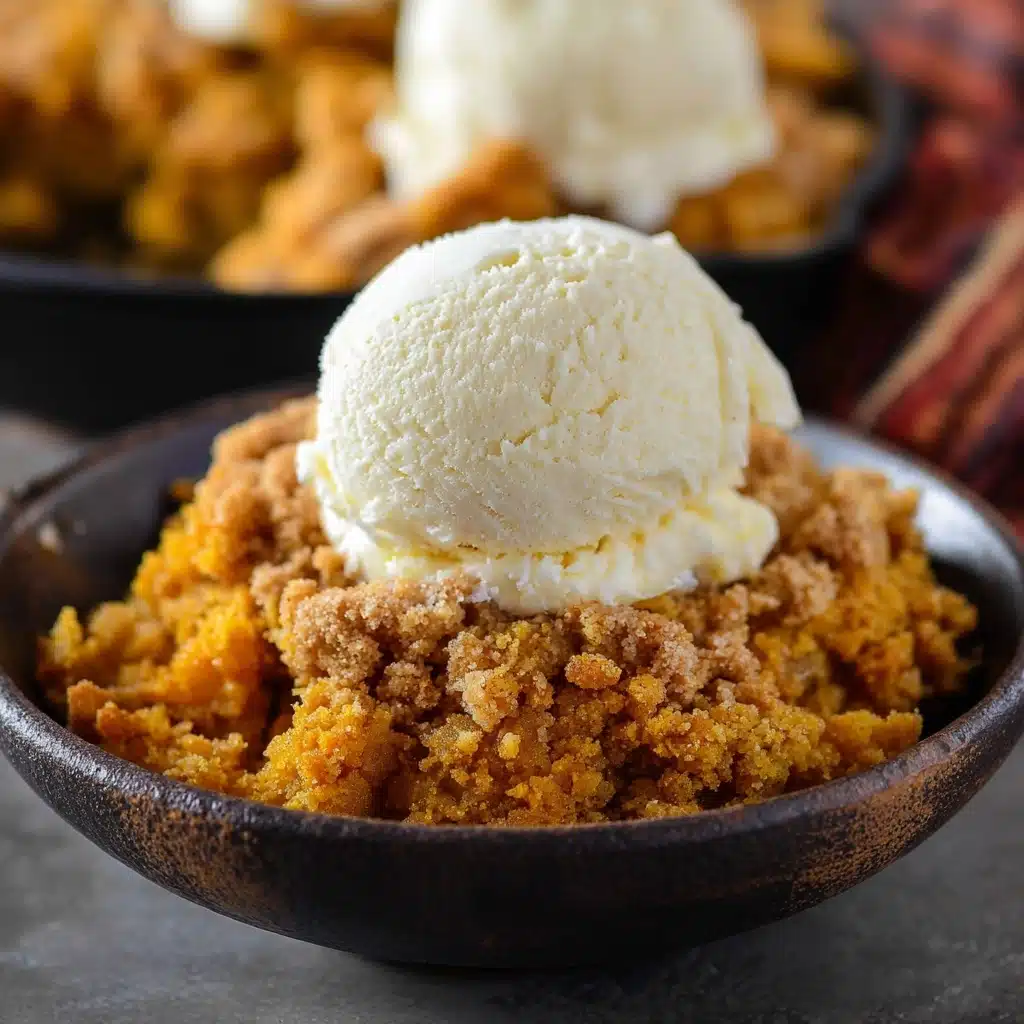
Meet your new autumn obsession: Pumpkin Crisp. Imagine the cozy flavors of pumpkin pie nestled beneath a buttery, cinnamon-kissed crumble, all baked to perfection and served warm. This is no ordinary fall dessert—it’s the perfect combination of creamy pumpkin, a sweet and tender crunch on top, and just the right touch of spice. If you’re looking for a simple yet unforgettable treat that will have everyone around the table asking for seconds, keep reading. Pumpkin Crisp is about to become your most-requested recipe every chilly season!
Ingredients You’ll Need
The magic of Pumpkin Crisp comes from everyday ingredients working in perfect harmony. Each element brings something special, whether it’s flavor, texture, or that mouthwatering golden color. Let’s walk through what you’ll need—no fancy shopping trips required!
- Pumpkin Puree: Use a 15-ounce can for ultimate convenience and an irresistibly smooth base.
- Granulated Sugar: Sweetens both the filling and the streusel, balancing the natural pumpkin earthy-ness.
- Large Eggs: These help set the custard filling, giving it a rich and creamy texture.
- Pumpkin Pie Spice: Guarantees that classic, warm autumn flavor in every bite.
- Salt: Just enough to highlight the sweetness and provide balance—don’t skip it!
- Vanilla Extract: Adds a soft aromatic touch that rounds out the filling.
- Heavy Cream: Brings extra richness and a silky-smooth finish to the custard.
- All-Purpose Flour: This is the backbone of our crumble, creating that irresistible crisp texture.
- Cinnamon: Boosts the autumn vibe of the topping and adds a warming spice note.
- Unsalted Butter: Melted down, it binds the crumble and gives it that golden, addictive finish.
How to Make Pumpkin Crisp
Step 1: Prep Your Pan and Oven
Start by preheating your oven to 375°F—a hot oven ensures your Pumpkin Crisp will bake up with perfectly set custard and a golden crumble topping. Butter up a 12-inch cast iron skillet (my favorite for that rustic feel) or a medium casserole dish. This not only helps prevent sticking but also adds a touch of flavor to the crisp’s edges. Set your prepared pan aside while you move on to the filling.
Step 2: Make the Pumpkin Filling
Grab a large mixing bowl and combine the pumpkin puree, a cup of sugar, eggs, pumpkin pie spice, half a teaspoon of salt, and vanilla extract. Whisk everything until completely smooth—lumps are the enemy here! Finally, pour in the heavy cream and whisk again. You’ll end up with a luscious, creamy base that’s the very heart of your Pumpkin Crisp. Gently pour this mixture into your buttered skillet, taking care to even it out for a uniform bake.
Step 3: Prepare the Cinnamon Streusel Topping
In a separate medium bowl, whisk together the flour, the remaining sugar, cinnamon, and the rest of your salt. Here’s the fun part: drizzle in your melted butter while stirring with a fork. This will transform your mixture into deliciously crumbly chunks—don’t be afraid to use a hand mixer if you want the crumbles extra fine. The streusel topping is what makes Pumpkin Crisp truly special, so make sure every bite will get a bit of the crown.
Step 4: Assemble and Bake
Sprinkle the cinnamon streusel generously and evenly over the pumpkin filling. Don’t worry if there are big and little crumbles—it adds character! Pop the skillet into the oven and bake for 40 to 45 minutes. The topping should turn a beautiful golden brown, and the filling will be set but slightly wobbly in the very center (it’ll firm up as it cools). If the top browns a bit too quickly, tent it loosely with foil and continue baking until done.
Step 5: Cool and Serve
Now comes the hard part—waiting! Let your Pumpkin Crisp cool for about 10 minutes. This short wait lets the filling set up just enough for perfect slices, without losing that warm, gooey comfort. Serve straight from the skillet, scooped into bowls, and finish with a creamy dollop of whipped cream or a swoop of your favorite ice cream. Cinnamon ice cream is pure heaven here!
How to Serve Pumpkin Crisp
Garnishes
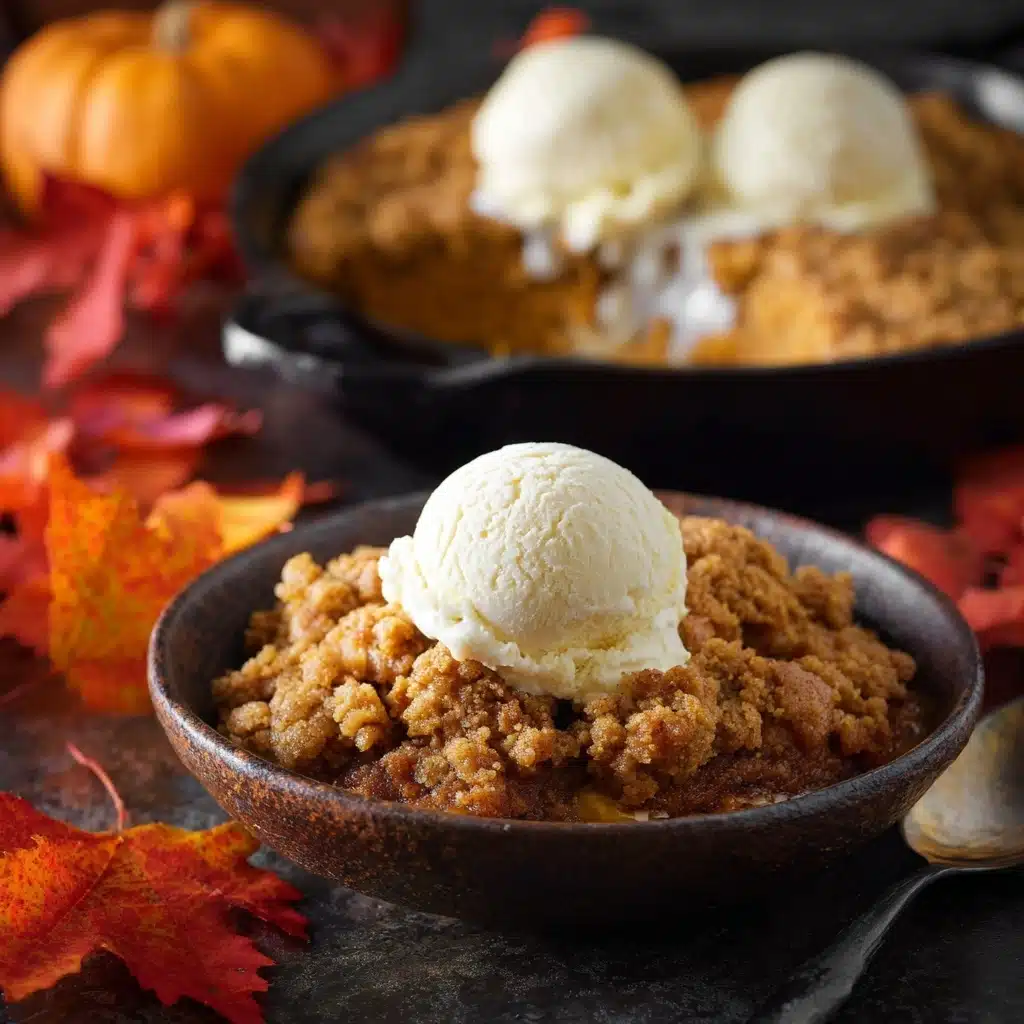
Pumpkin Crisp is delicious on its own, but adding a little garnish makes it a showstopper. Try a generous scoop of vanilla or cinnamon ice cream melting into the warm crisp, or go for a fluffy swirl of whipped cream. A sprinkle of extra cinnamon or a handful of toasted pecans makes the presentation festive and adds even more flavor.
Side Dishes
While Pumpkin Crisp is front and center at dessert, it pairs especially well with other seasonal treats. Think spiced apple compote, buttery shortbread cookies, or even a hot cup of chai tea. If you’re serving it at a holiday meal, it’s fantastic alongside coffee or hot cocoa for a cozy, celebratory finish.
Creative Ways to Present
For individual servings, try baking your Pumpkin Crisp in small ramekins or mason jars. This makes it extra special for dinner parties or potlucks. Want something a little more rustic? Serve it straight from the cast iron skillet at the table for a family-style feast. Top with a drizzle of maple syrup or caramel sauce for next-level decadence.
Make Ahead and Storage
Storing Leftovers
If you somehow manage to have leftovers, Pumpkin Crisp keeps well covered in the fridge for up to 4 days. Just let it cool completely before wrapping or transferring to an airtight container. The topping may soften a bit, but it will still taste fabulous chilled or reheated.
Freezing
To freeze, let your Pumpkin Crisp cool completely, then cover tightly with plastic wrap and a layer of foil. Freeze for up to 2 months. When you’re ready to enjoy, thaw overnight in the refrigerator. Bake for a few minutes to warm and revive that crispy topping.
Reheating
For best results, reheat leftover Pumpkin Crisp in a 350°F oven until warmed through, about 10 to 15 minutes. This helps re-crisp the topping. If you’re short on time, microwaving individual portions works too—just know the topping will be softer but still every bit as satisfying.
FAQs
Can I use homemade pumpkin puree instead of canned?
Absolutely! If you have homemade pumpkin puree on hand, just make sure it’s not too watery. Canned is wonderfully consistent, but fresh can add a lighter texture and even brighter color.
Is Pumpkin Crisp gluten-free?
As written, this recipe isn’t gluten-free. However, you can easily swap the all-purpose flour in the topping for a gluten-free blend. I recommend one that’s formulated for baking so the topping stays crumbly and delicious.
Can I make Pumpkin Crisp ahead of time?
Yes, this is a great make-ahead dessert! You can prepare both the pumpkin filling and the topping in advance. Assemble everything in your baking dish, cover, and refrigerate for up to 24 hours. Bake fresh the day you plan to serve—it’s a real time-saver for holidays.
What can I add for extra crunch?
Stirring some chopped pecans, walnuts, or oats into the streusel topping is a wonderful way to add texture and flavor. Toasted nuts bring a toasty, buttery crunch to every bite.
Can I use a different pan if I don’t have a cast iron skillet?
Of course! A medium casserole dish or even a 9×13-inch baking pan will work perfectly. Just keep an eye on the baking time, as a thinner layer may cook a bit quicker.
Final Thoughts
If you’re ready to impress your friends and family with a cozy fall dessert, Pumpkin Crisp is your ticket to autumn bliss. It’s easy, crowd-pleasing, and a true celebration of the season’s best flavors. Grab your favorite spoon and get baking—this is one recipe you’ll want to enjoy all season long!
PrintPumpkin Crisp Recipe
This Pumpkin Crisp recipe is a delightful fall dessert that combines a creamy pumpkin pie filling with a crunchy cinnamon streusel topping. Perfect for holiday gatherings or cozy family dinners.
- Prep Time: 15 minutes
- Cook Time: 45 minutes
- Total Time: 1 hour
- Yield: 8 servings 1x
- Category: Dessert
- Method: Baking
- Cuisine: American
- Diet: Vegetarian
Ingredients
Filling:
- 1 (15 oz) can pumpkin puree
- 1 cup granulated sugar
- 3 large eggs
- 2 teaspoons pumpkin pie spice
- 1/2 teaspoon salt
- 2 teaspoons vanilla extract
- 2/3 cup heavy cream
Streusel Topping:
- 2 cups all-purpose flour
- 1 1/2 cups granulated sugar
- 2 teaspoons cinnamon
- 1/2 teaspoon salt
- 12 tablespoons (1 1/2 sticks) unsalted butter, melted
Instructions
- Preheat oven to 375°F. Butter a 12-inch cast iron skillet or a medium casserole dish. Set aside.
- In a large bowl, whisk together pumpkin, sugar, eggs, pumpkin pie spice, salt, and vanilla extract. Whisk in heavy cream until smooth. Pour into prepared skillet and set aside.
- In a medium bowl, whisk together flour, sugar, cinnamon, and salt. Add melted butter and stir with a fork until crumbly. Spread cinnamon streusel topping on top of pumpkin pie mixture in an even layer. You can also beat with a hand mixer until crumbly if needed.
- Bake until filling is set and top is golden brown, 40 to 45 minutes. If the crumb topping browns too quickly, lightly cover the top with foil.
- Let cool for 10 minutes to allow the pie filling to firm up. Serve warm topped with ice cream or whipped cream.
Notes
- If desired, you can add chopped nuts or raisins to the streusel topping for extra texture.
- For a spicier flavor, increase the amount of pumpkin pie spice in the filling.
Nutrition
- Serving Size: 1 serving
- Calories: 420 kcal
- Sugar: 38g
- Sodium: 290mg
- Fat: 18g
- Saturated Fat: 11g
- Unsaturated Fat: 6g
- Trans Fat: 0g
- Carbohydrates: 62g
- Fiber: 2g
- Protein: 5g
- Cholesterol: 105mg
Keywords: Pumpkin Crisp, Pumpkin Dessert, Fall Dessert Recipe

