Homemade Cheese Curds Recipe
Introduction
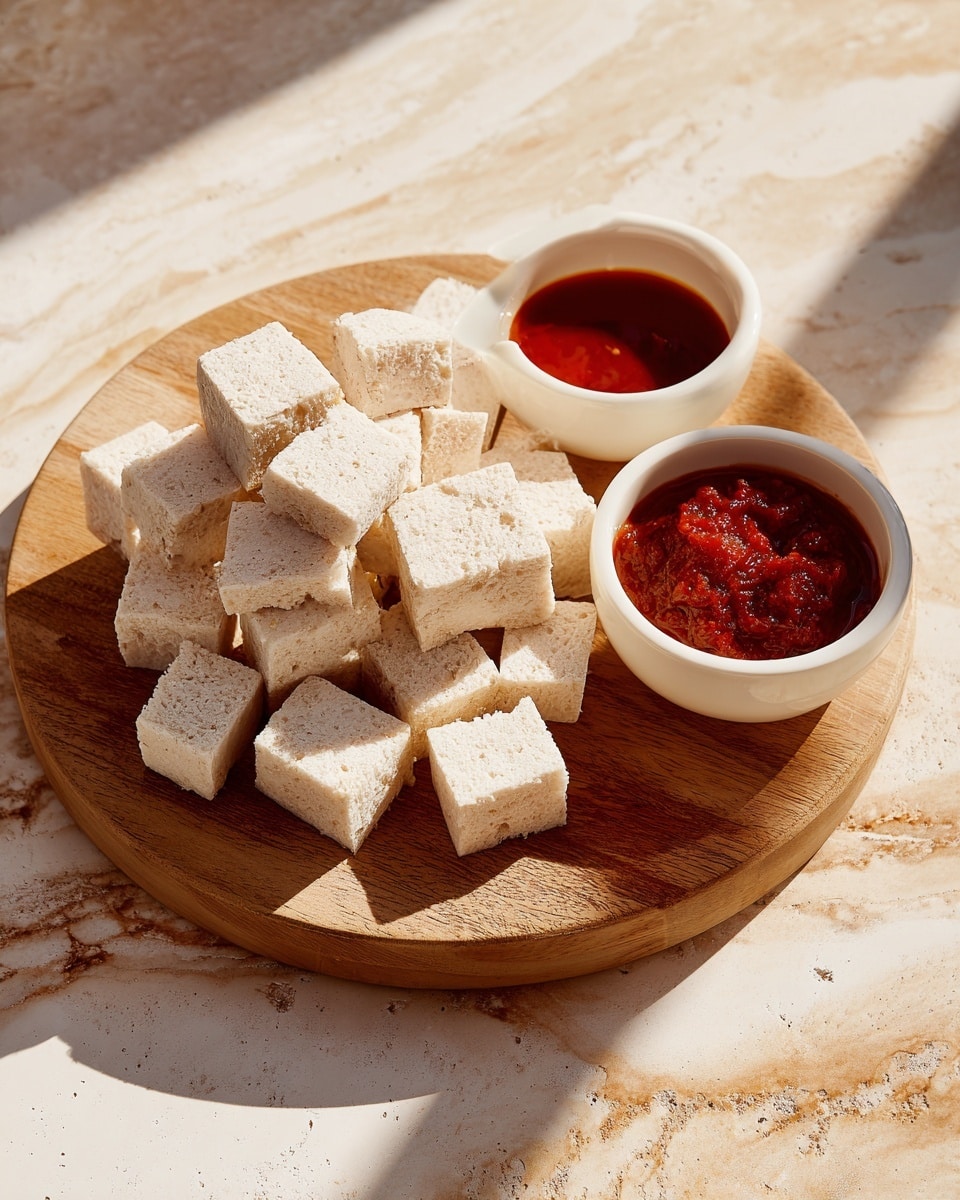
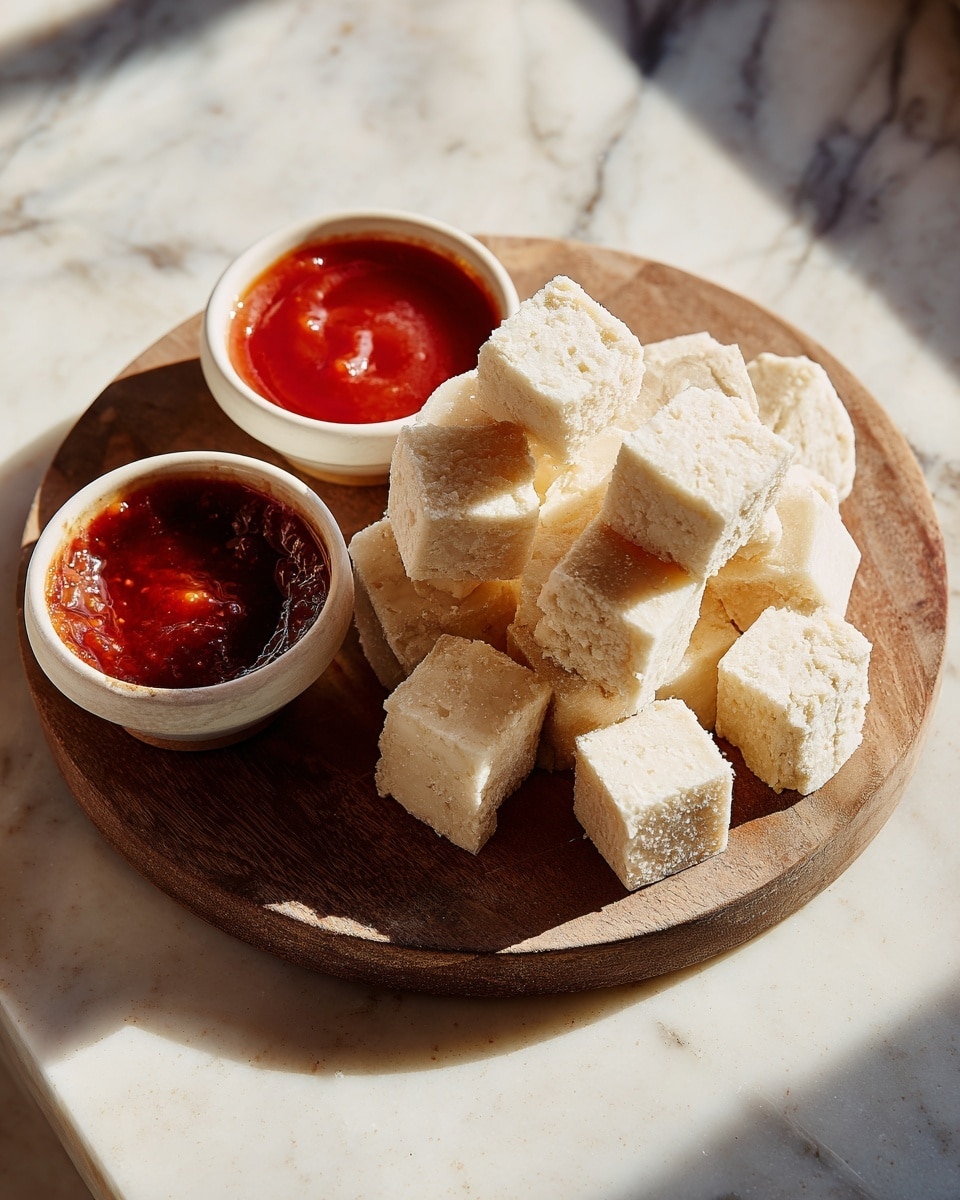
Homemade cheese curds are a delightful snack with a fresh, mild flavor and satisfying squeak. Making them at home is easier than you might think and perfect for cheese lovers who want to explore dairy crafting.
Ingredients
- 1 gallon whole milk
- ¼ tsp liquid rennet
- ½ tsp calcium chloride crystals
- ⅛ tsp mesophilic culture
- ½ cup water, divided
- Kosher salt
Instructions
- Step 1: Pour the milk into a sterilized pot and place it inside a larger pot filled with a few inches of water to create a double boiler effect.
- Step 2: Heat the milk gently, stirring occasionally, until it reaches 90°F (32°C), then remove it from the heat.
- Step 3: Mix the calcium chloride with ¼ cup of water and stir this mixture thoroughly into the warmed milk.
- Step 4: Sprinkle the mesophilic culture evenly over the surface of the milk and let it sit undisturbed for 1 minute, then stir gently for another minute.
- Step 5: Cover the pot and allow the milk to ripen for 35 minutes.
- Step 6: Dilute the liquid rennet in the remaining ¼ cup water and stir it into the milk mixture for exactly 1 minute. Cover the pot and let the curd form until it can be cut cleanly with a knife, about 45 minutes.
- Step 7: Cut the curd into ½- to 1-inch cubes and let them rest for 5 minutes.
- Step 8: Cover and slowly heat the curds, stirring gently every 10 minutes, until they reach 98°F (37°C) over roughly 90 minutes.
- Step 9: Test if the curds begin sticking together, then drain them in a cheesecloth-lined strainer to separate from the whey.
- Step 10: Pour enough whey back over the curds to cover them by about 3 inches.
- Step 11: Let them drain for 1 minute, then cover with cheesecloth and a lid, keeping the whey warm at 112–115°F (44–46°C) for 10 minutes.
- Step 12: Cut the curd slab in half and allow it to drain another 10 minutes.
- Step 13: Flip the curds, re-wrap them in cheesecloth, and let drain for an additional 10 minutes at the same temperature.
- Step 14: Cut the slab into smaller pieces, stack them in the cloth, and continue to drain, flipping and rearranging every 15 minutes for about 1 hour.
- Step 15: Unwrap the curds and let them rest on a paper towel-lined plate for a few minutes before cutting into bite-sized cubes.
- Step 16: Place the cubes into a zip-top bag, add half of the kosher salt, and shake to coat evenly. Then add the remaining salt and shake again to finish.
Tips & Variations
- Use fresh, high-quality whole milk for the best flavor and texture.
- Keep all equipment sterilized to prevent unwanted bacteria growth.
- For a sharper flavor, experiment with different mesophilic cultures or age the curds slightly before eating.
- If you don’t have liquid rennet, tablet rennet may be used, but check conversion rates carefully.
- Maintaining precise temperatures during heating steps ensures proper curd formation and consistency.
Storage
Store cheese curds in an airtight container or sealed plastic bag in the refrigerator. They are best consumed within 1 week for optimal freshness and squeakiness. To enjoy them warm, gently microwave for a few seconds or sauté in a pan until soft.
How to Serve
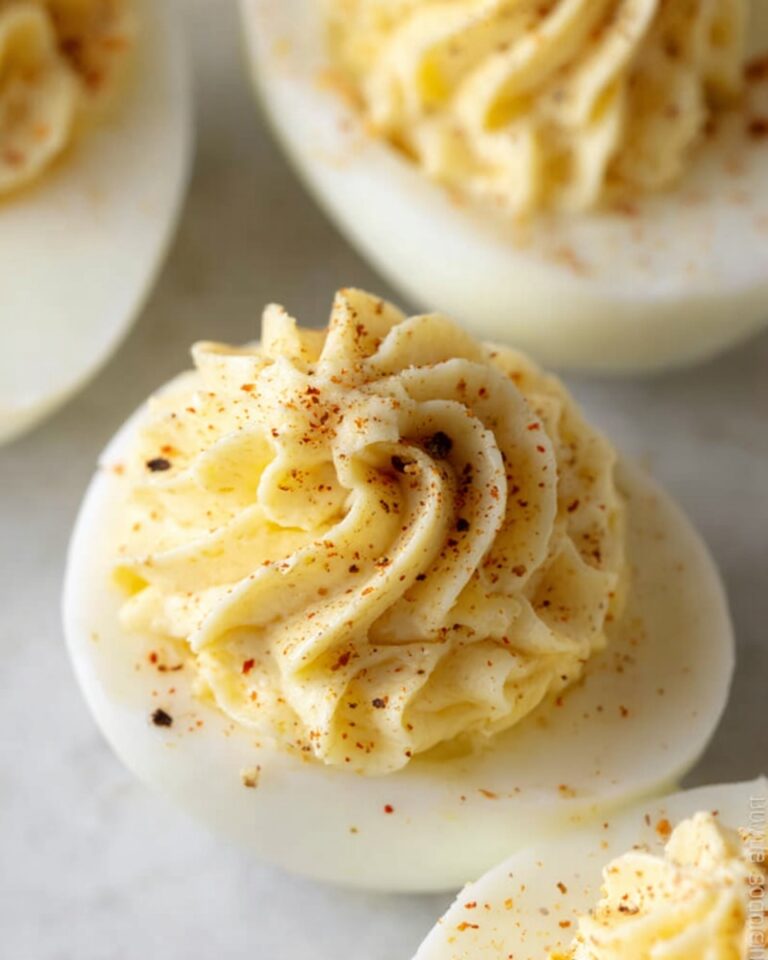
Serve this delicious recipe with your favorite sides.
FAQs
Can I use pasteurized milk for cheese curds?
Yes, pasteurized whole milk works well, but avoid ultra-pasteurized milk as it can affect curd setting and texture.
Why are my curds not firming properly?
This can happen if the milk isn’t heated to the right temperature or if the rennet is old or insufficient. Ensure accurate temperature control and use fresh rennet for best results.
PrintHomemade Cheese Curds Recipe
This homemade cheese curds recipe guides you through the traditional process of transforming fresh whole milk into fresh, squeaky cheese curds. Utilizing natural cultures and rennet, the recipe involves gradual heating, curd cutting, draining, and salting to achieve authentic, melt-in-your-mouth cheese curds perfect for snacking or cooking.
- Prep Time: 20 minutes
- Cook Time: 4 hours 30 minutes
- Total Time: 4 hours 50 minutes
- Yield: 16 servings 1x
- Category: Cheese Making
- Method: Stovetop
- Cuisine: American
- Diet: Vegetarian
Ingredients
Ingredients
- 1 gallon whole milk
- ¼ tsp liquid rennet
- ½ tsp calcium chloride crystals
- ⅛ tsp mesophilic culture
- ½ cup water, divided
- kosher salt, to taste
Instructions
- Prepare milk and setup: Pour milk into a sterilized pot placed inside a larger pot with a few inches of water to create a double boiler effect.
- Heat milk: Slowly heat the milk, stirring occasionally until it reaches 90°F (32°C), then remove from heat to prevent overheating.
- Add calcium chloride: Dissolve the calcium chloride in ¼ cup water and stir gently into the milk to improve curd formation.
- Add culture: Sprinkle the mesophilic culture evenly over the milk surface, let it sit for 1 minute to hydrate, then gently stir for 1 minute to distribute the culture.
- Ripen milk: Cover the pot and allow the milk to ripen for 35 minutes, enabling bacterial growth necessary for cheese flavor.
- Add rennet: Dilute rennet with remaining ¼ cup water, stir into the milk mixture for exactly 1 minute to initiate coagulation, then cover and rest until curd is firm enough to cut, approximately 45 minutes.
- Cut curds: Using a knife, cut the curd into ½ to 1-inch cubes carefully to separate whey from curd.
- Rest curds: Let curds sit undisturbed for 5 minutes after cutting to firm up slightly.
- Heat curds: Cover and slowly heat the curds with gentle stirring every 10 minutes to 98°F (37°C) over roughly 90 minutes to expel whey.
- Test and drain curds: Once curds stick together when pressed, drain them into a cheesecloth-lined strainer to separate from whey.
- Wash curds: Pour enough whey over the curds to cover them by 3 inches to wash and condition the curds.
- Drain and keep warm: Let drain 1 minute, cover with cheesecloth and lid, maintain whey temperature at 112–115°F (44–46°C) for 10 minutes for proper maturation.
- Cut and drain: Cut the curd slab in half and allow to drain for 10 minutes to release excess whey.
- Flip and rewrap: Flip the curds and re-wrap them in the cloth, draining for another 10 minutes at the same warm temperature.
- Drain and flip repeatedly: Cut slab into smaller pieces, stack in cloth, then continue draining, flipping, and rearranging every 15 minutes for about 1 hour to ensure even whey removal.
- Rest curds: Unwrap curds and let rest on paper towel-lined plate a few minutes to absorb excess moisture.
- Salt curds: Cut curds into cubes, place in a zip-top bag, add half the kosher salt, shake to coat evenly, then add remaining salt and shake again for balanced seasoning.
Notes
- Use fresh whole milk for best cheese curd texture and flavor.
- Maintain precise temperatures throughout the process for successful curd formation.
- Ensure all equipment is sterilized to avoid unwanted bacteria.
- Mesophilic culture is essential for developing the cheese’s characteristic tang and texture.
- The salting step is crucial for flavor and moisture control.
- Cheese curds are best enjoyed fresh but can be refrigerated for a few days.
Keywords: Cheese curds, homemade cheese, fresh cheese, mesophilic culture, liquid rennet, milk curds, dairy recipe


