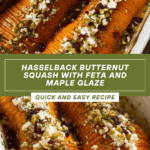
Hasselback Butternut Squash with Feta and Maple Glaze Recipe
Introduction
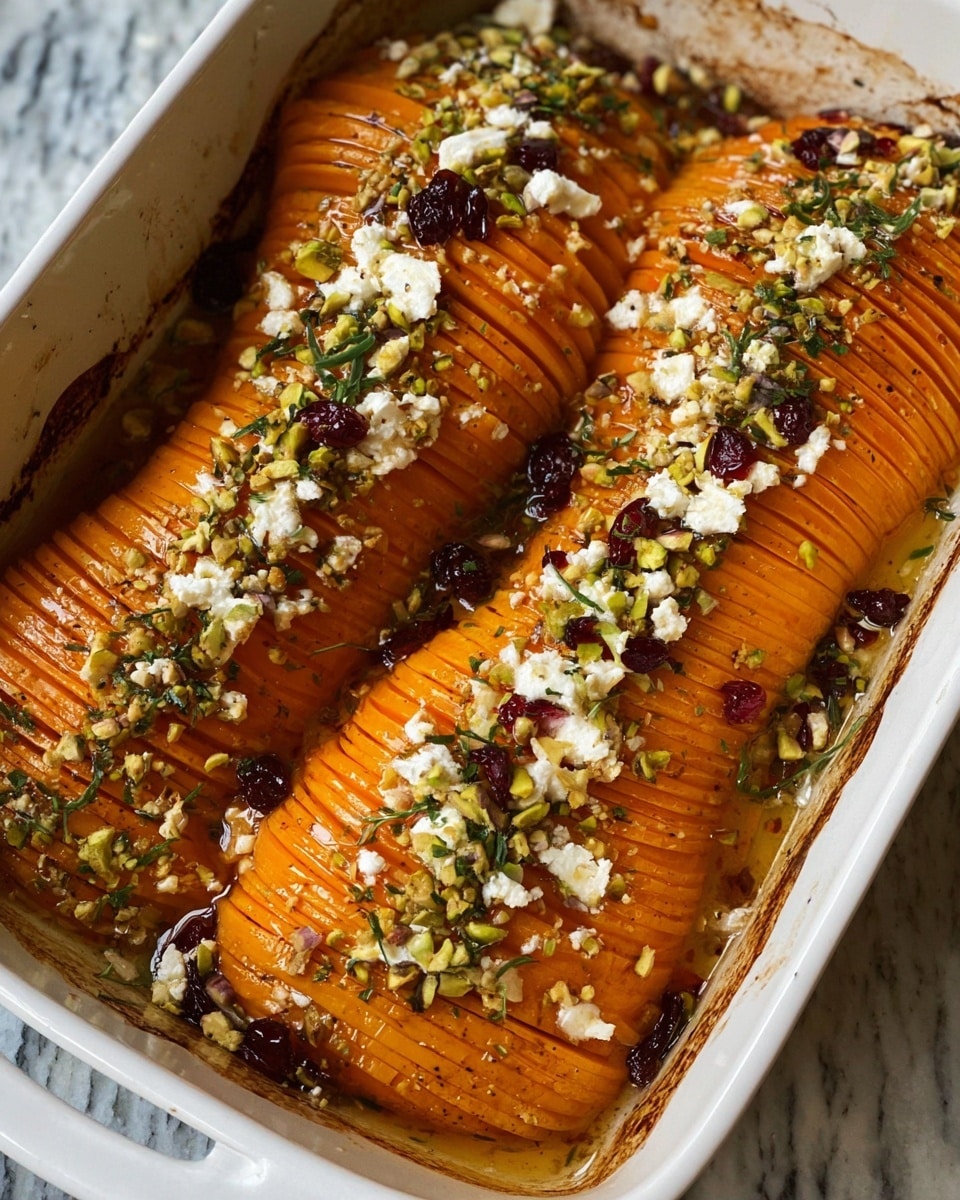
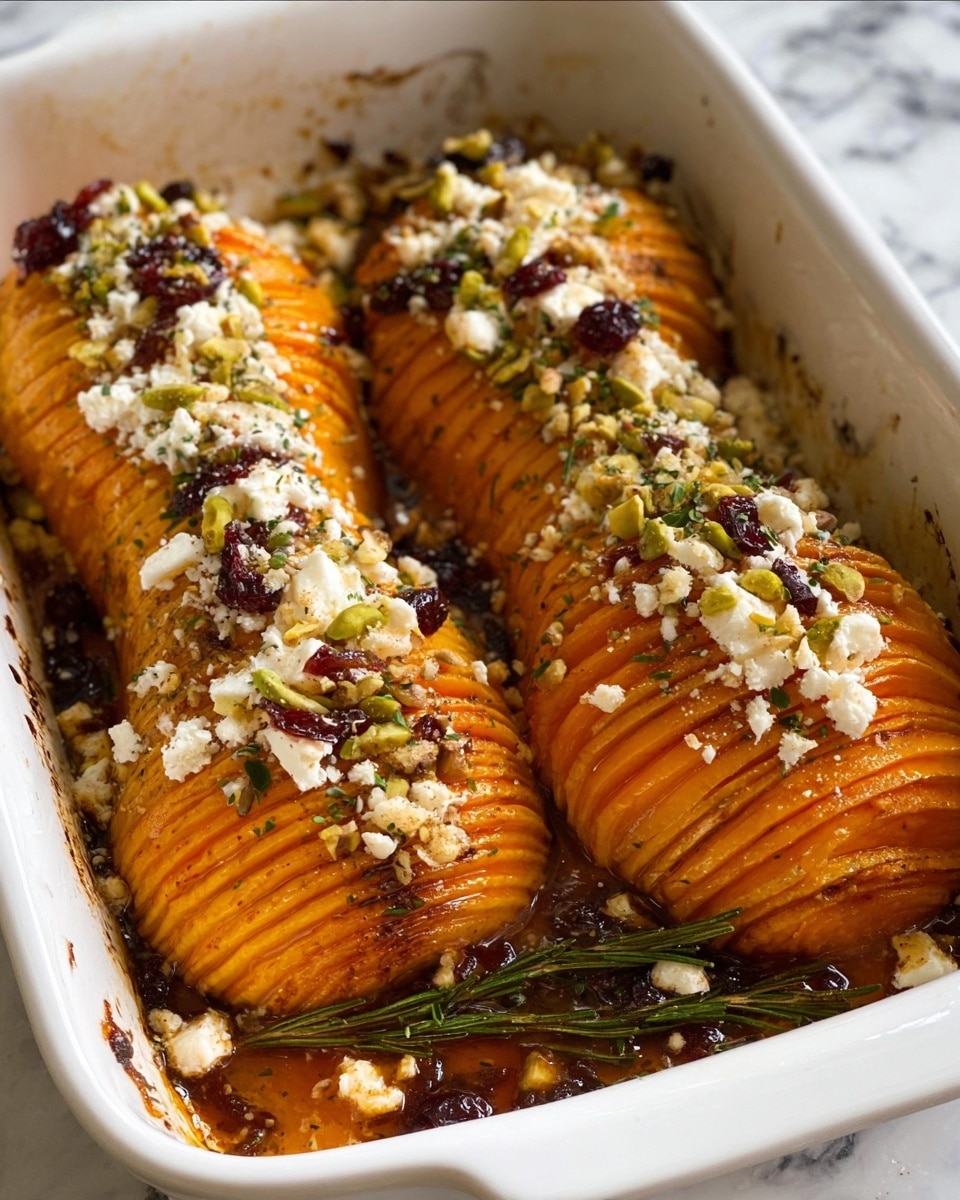
This Hasselback Butternut Squash with Feta is a stunning and flavorful dish that’s perfect as a main or a side. The thinly sliced squash roasts to tender perfection with a sweet and spicy maple glaze, fresh sage, and a salty, tangy feta topping that elevates every bite.
Ingredients
- 1 large butternut squash (about 3 pounds)
- 3 tablespoons extra-virgin olive oil, divided
- Kosher salt and freshly ground black pepper
- 2 tablespoons pure maple syrup
- 1/4 to 1/2 teaspoon red pepper flakes, depending on spiciness preference
- 6 to 8 fresh sage leaves
- Crumbled feta cheese, chopped salted pistachios or salted pepitas, dried cherries, pomegranate seeds, and/or finely chopped parsley, for serving
Instructions
- Step 1: Preheat the oven to 425°F. Halve the butternut squash lengthwise, scoop out the seeds, and peel it.
- Step 2: Place the squash halves cut side down in a baking dish just large enough to hold them side by side. Rub all over with 1 tablespoon of olive oil and season generously with salt and black pepper. Roast for 15 to 20 minutes until beginning to soften (a paring knife should slide in about 1/4 inch).
- Step 3: While the squash is roasting, whisk together the maple syrup, remaining 2 tablespoons olive oil, and red pepper flakes in a small bowl.
- Step 4: Remove squash from the oven and let cool slightly. Place one half between two chopsticks to prevent cutting through, then slice thinly crosswise to create shingles. Repeat with the other half. Return both to the baking dish.
- Step 5: Tuck sage leaves between some of the slices, drizzle half of the maple syrup mixture over the squash, and season again with salt and pepper.
- Step 6: Roast the squash for 45 to 60 minutes, basting halfway through and again with about 10 minutes left, using the remaining maple syrup mixture and any juices in the dish. Remove any burnt bits with a spoon if needed.
- Step 7: Once tender, top the squash with crumbled feta, nuts, dried cherries, pomegranate seeds, or parsley as desired. Serve warm.
Tips & Variations
- Using chopsticks or wooden spoons on either side of the squash helps cut thin slices without slicing through completely, creating perfect “hasselback” ribs.
- For a milder dish, reduce or omit the red pepper flakes.
- Substitute goat cheese or ricotta salata if you prefer a different tangy cheese.
- Add a squeeze of fresh lemon juice before serving for brightness.
Storage
Store any leftovers in an airtight container in the refrigerator for up to 3 days. Reheat gently in the oven at 350°F until warmed through to keep the texture tender. Avoid microwaving as it can make the squash mushy.
How to Serve
Serve this delicious recipe with your favorite sides.
FAQs
Can I prepare the squash ahead of time?
Yes, you can roast the squash halves until slightly tender and keep them covered in the fridge for a day before slicing and finishing the roasting process. This helps save time on the day you want to serve.
What if I don’t have fresh sage?
If fresh sage isn’t available, you can omit it or substitute with fresh thyme or rosemary for a different herbaceous flavor.
PrintHasselback Butternut Squash with Feta and Maple Glaze Recipe
This Hasselback Butternut Squash with Feta is a stunning and flavorful roasted vegetable dish, perfect as a hearty main or a flavorful side. The butternut squash is thinly sliced into delicate shingles and roasted with a maple syrup and chili flake glaze, while fresh sage adds an herby touch. Topped with salty crumbled feta, crunchy pistachios or pepitas, tangy dried cherries or pomegranate seeds, and fresh parsley, this recipe beautifully balances sweet, savory, and spicy notes for an impressive yet simple autumnal dish.
- Prep Time: 15 minutes
- Cook Time: 60 minutes
- Total Time: 1 hour 15 minutes
- Yield: 4 servings as a main dish, 8 servings as a side dish 1x
- Category: Side Dish
- Method: Baking
- Cuisine: American
- Diet: Vegetarian
Ingredients
Butternut Squash
- 1 large butternut squash (about 3 pounds)
Seasoning & Glaze
- 3 tablespoons extra-virgin olive oil, divided
- Kosher salt and freshly-ground black pepper, to taste
- 2 tablespoons pure maple syrup
- 1/4 to 1/2 teaspoon red pepper flakes, depending on spiciness preference
- 6 to 8 fresh sage leaves
Toppings
- Crumbled feta cheese
- Chopped salted pistachios or salted pepitas
- Dried cherries, pomegranate seeds, and/or finely chopped parsley (optional)
Instructions
- Preheat and Prepare Squash: Heat the oven to 425°F (220°C). Halve the butternut squash lengthwise, scoop out the seeds, and peel the skin. Place the squash halves cut side down in a baking dish just large enough to hold them side by side.
- Initial Roasting: Rub the squash all over with 1 tablespoon of olive oil and season both sides generously with kosher salt and freshly ground black pepper. Roast cut side down for 15 to 20 minutes, until the squash begins to soften and a knife slides in about 1/4 inch.
- Prepare Maple Glaze: While the squash roasts, whisk together the maple syrup, remaining 2 tablespoons of olive oil, and red pepper flakes until combined.
- Score the Squash: Remove the squash from the oven and transfer to a cutting board. Let cool slightly. Place one squash half between two chopsticks to prevent cutting all the way through, then carefully slice thin crosswise shingles until reaching the chopsticks. Repeat for the other half and place back in the baking dish.
- Add Sage and Glaze: Tuck the fresh sage leaves between several squash shingles, drizzle half of the maple glaze over the squash, and season again with salt and pepper.
- Final Roasting and Basting: Return the dish to the oven and roast for 45 to 60 minutes, basting with the remaining maple glaze and any collected juices halfway through cooking and again when roughly 10 minutes remain. Roast until the squash is completely tender. Remove any burnt bits with a spoon if necessary.
- Add Toppings and Serve: Once cooked, top the squash generously with crumbled feta cheese, chopped salted pistachios or pepitas, dried cherries, pomegranate seeds, and/or finely chopped parsley. Serve warm and enjoy this beautiful balance of sweet, savory, and crunchy flavors.
Notes
- Using chopsticks when slicing the squash prevents cutting all the way through, creating the signature hasselback effect.
- Adjust red pepper flakes according to your preferred heat level.
- Feel free to swap toppings based on availability and preference; salty feta and crunchy nuts complement the sweet squash best.
- Make sure to baste the squash multiple times during roasting for moist, flavorful results.
- This recipe can be doubled easily to serve larger groups.
Keywords: hasselback, butternut squash, roasted squash, maple glaze, feta cheese, autumn recipe, vegetarian side dish