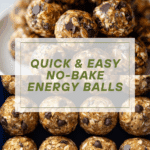
Energy Balls Recipe
Ready to discover your new favorite snack? These Energy Balls are the kind of treat you’ll want to keep on hand at all times. They’re delightfully chewy, perfectly sweet, and packed with ingredients that both nourish and satisfy. Whether you’re craving a mid-morning boost, a portable afternoon pick-me-up, or a late-night snack you can feel good about, this recipe is about to become your go-to. Let’s make snack time a whole lot more joyful with this simple, endlessly adaptable creation!
Ingredients You’ll Need
The magic of these Energy Balls lies in their short ingredients list. Each item is carefully chosen for flavor, texture, and a little nutritional oomph. Don’t underestimate their simplicity—every ingredient pulls its weight to make these bites irresistible!
- Rolled oats: These are the hearty, chewy base of the balls, providing texture and lasting energy.
- Peanut butter (or allergy-friendly sub): Nutty richness and creamy binding power, plus healthy fats to keep you satisfied.
- Pure maple syrup (or honey or agave): Natural sweetness for flavor and moisture—choose your favorite!
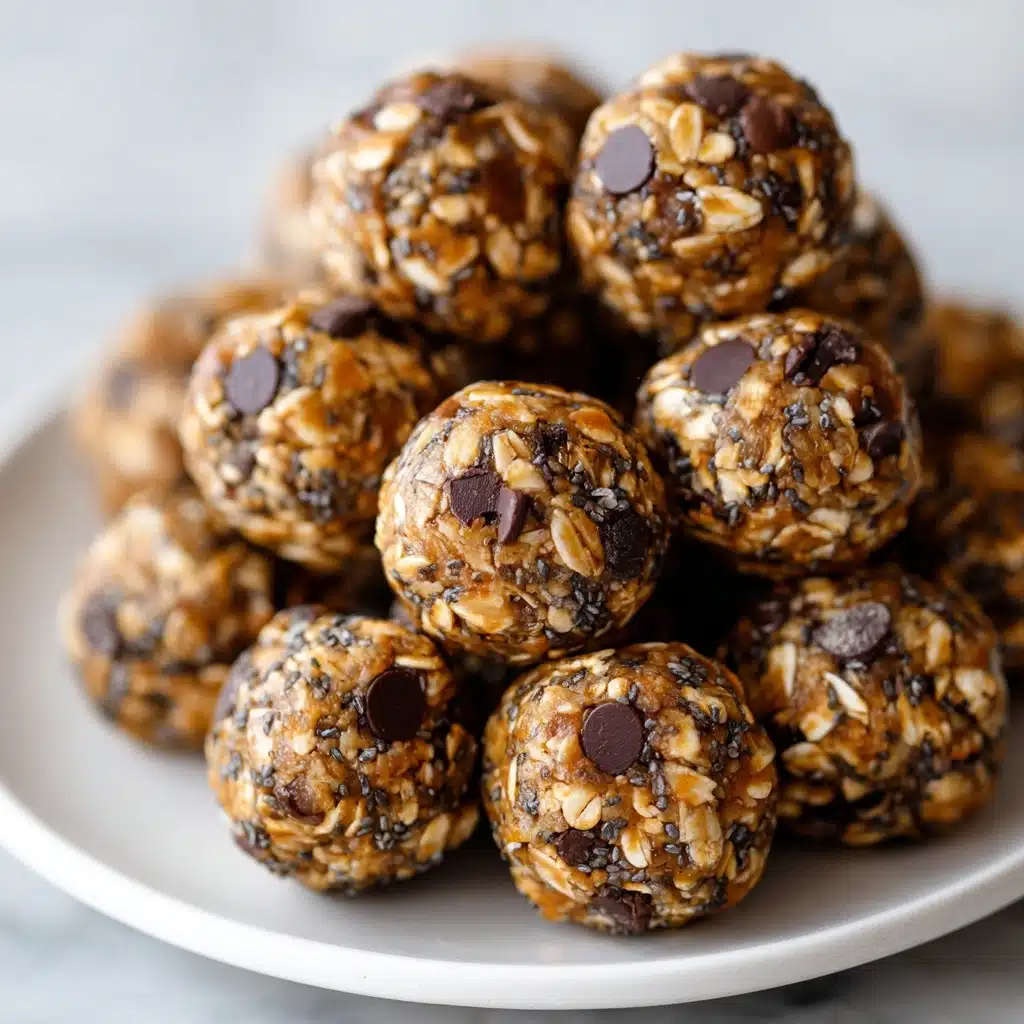
- Chia seeds: A power-packed sprinkle for crunch, fiber, and a little plant-based protein.
- Salt: Just a pinch to balance flavors and make everything pop.
- Optional mini chocolate chips or raisins: For bursts of chocolate or chewy sweetness—customize to your heart’s content.
How to Make Energy Balls
Step 1: Prep the Nut Butter
If your peanut butter or chosen substitute is a little stiff, give it a quick, gentle warm-up until it’s smooth and easy to stir. This makes mixing so much easier and guarantees every bite of the Energy Balls will have that luscious creaminess.
Step 2: Mix the Dry Ingredients
In a medium bowl, add the rolled oats, chia seeds, salt, and any mix-ins like chocolate chips or raisins. Stir them together to ensure that all the magic add-ins are evenly spread out. This helps with both flavor and texture, so you get a balanced bite every time.
Step 3: Combine Wet and Dry
Pour in the softened peanut butter and your chosen sweetener. Stir everything together until thoroughly combined. The mixture should look cohesive and stick together when pressed—if it’s a bit dry, add another drizzle of sweetener or a tiny splash of water.
Step 4: Shape into Balls
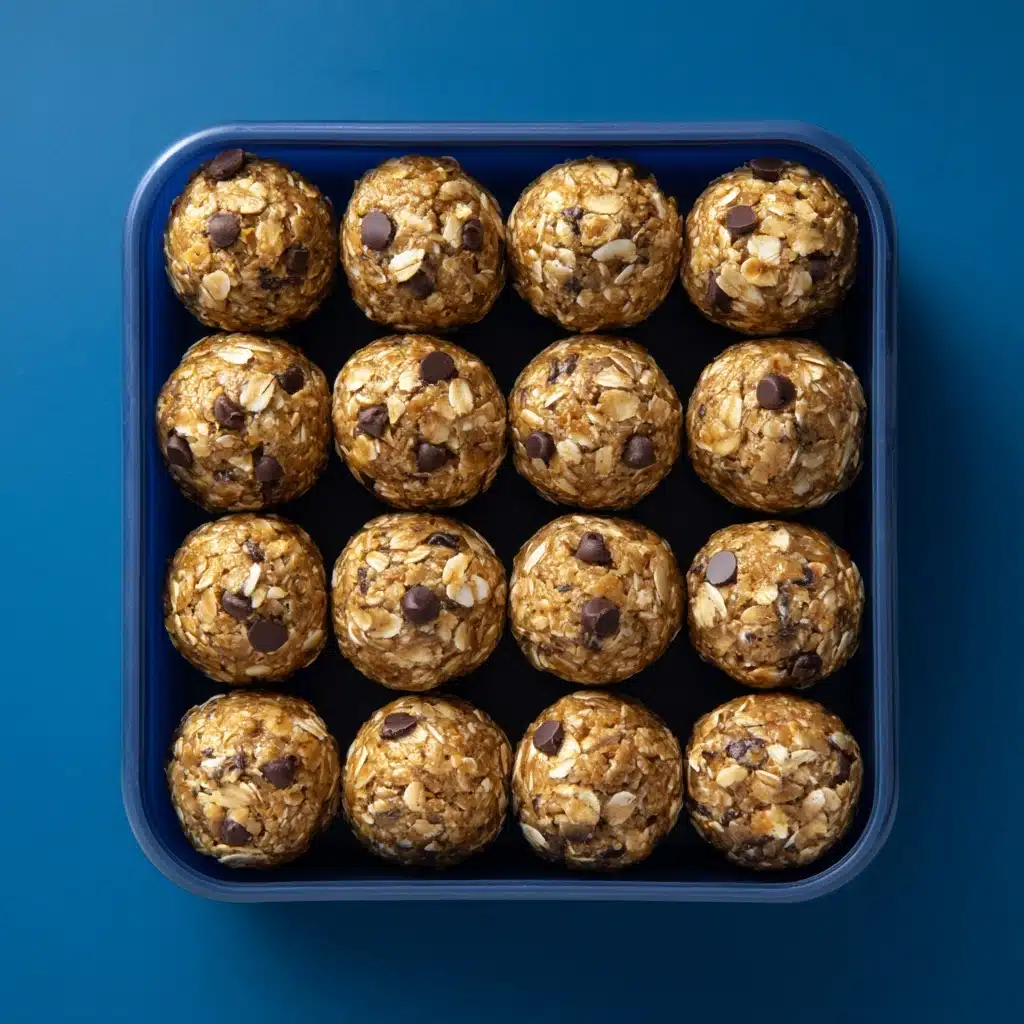
With just-clean hands, scoop small portions and roll them into bite-sized balls. If you prefer, flatten them slightly to make little cookie shapes—kids especially love this step. Each Energy Ball should hold its shape easily and feel lightly sticky but not too moist.
Step 5: Store and Enjoy
Arrange the finished Energy Balls on a plate or in a container. They’re ready to eat immediately, but chilling them for 10–15 minutes will help them firm up. Store the extras for snacking later—trust me, they go fast!
How to Serve Energy Balls
Garnishes
Energy Balls are a canvas for creativity! Roll them in a little extra chia seed, shredded coconut, finely chopped nuts, or a dusting of cocoa powder for a pretty finish and even more flavor. Little touches like flaky salt or a drizzle of melted chocolate can make them feel extra special, too.
Side Dishes
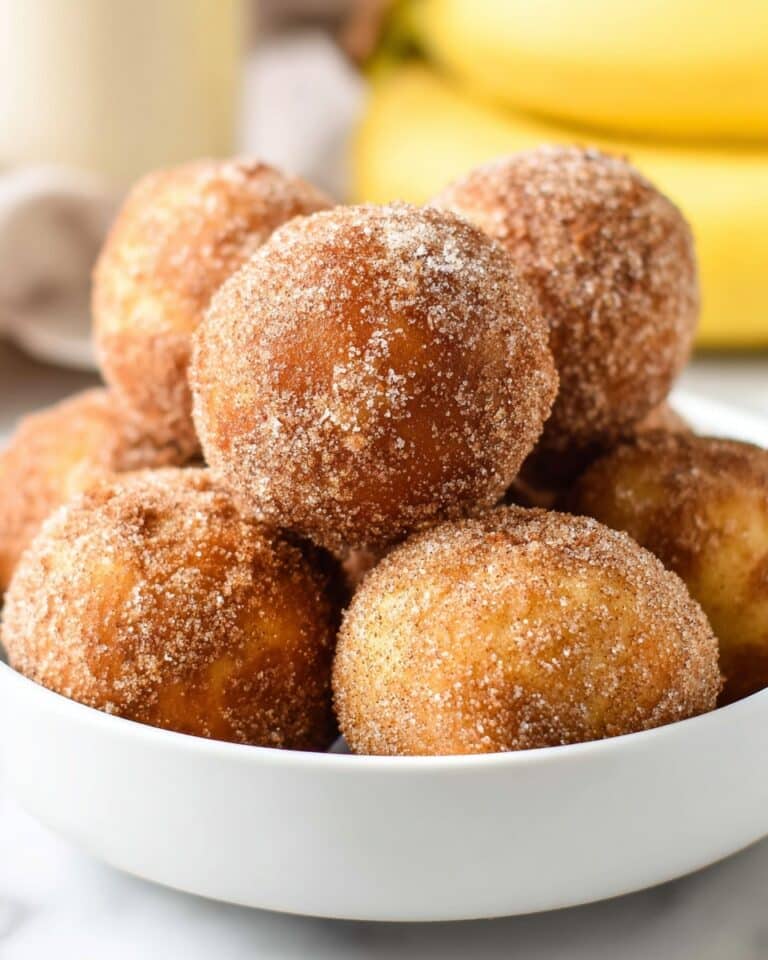
Pair your Energy Balls with fresh fruit like apple slices, a crisp banana, or berries for a nourishing, colorful snack platter. They’re also fantastic alongside a smoothie, your favorite coffee, or an energizing iced tea for a mini meal that’ll get you through the busiest mornings.
Creative Ways to Present
Ready to impress? Pile a bunch of Energy Balls in a mason jar tied with a ribbon for a thoughtful homemade gift, or stack them artfully on a platter as part of a brunch buffet. For parties, stick each ball with a toothpick for easy grabbing. Don’t be afraid to mix up the add-ins or shape them into mini bars for something different!
Make Ahead and Storage
Storing Leftovers
Energy Balls are the epitome of meal prep-friendly snacks. Store them in a covered container right on your counter for up to a week, or move them to the fridge where they’ll last a solid three weeks. Just be prepared—they’ll probably disappear much faster than that!
Freezing
For long-term storage, line your Energy Balls on a cookie sheet and pop them in the freezer until solid, then transfer to an airtight container or bag. They’ll hold up beautifully for up to four months. Grab a few as needed for grab-and-go snacks anytime!
Reheating
There’s really no need to reheat Energy Balls, but if you prefer them a bit softer after freezing, just let them sit at room temperature for a few minutes. If you’re feeling indulgent, try a quick 5-second zap in the microwave for a warm, melty treat—especially if you’ve added chocolate chips!
FAQs
Can I make Energy Balls nut-free?
Absolutely! Use sunflower seed butter, pumpkin seed butter, or another allergy-friendly spread in place of peanut butter. The result is just as delicious and safe for nut-free schools or households.
Can I use quick oats instead of rolled oats?
You can! Quick oats will create a softer, smoother texture in the Energy Balls, while rolled oats give more chew. Both are tasty, so go with what you have on hand.
How do I stop Energy Balls from being too sticky?
If your mixture feels too wet or sticky to handle, add an extra tablespoon of oats or chia seeds. A quick chill in the fridge can also firm up the dough, making it easier to roll.
Are Energy Balls gluten-free?
They absolutely can be! Just make sure you’re using certified gluten-free oats. All the other ingredients are naturally gluten-free, making these a wonderful snack for most dietary needs.
Can I add protein powder to these Energy Balls?
Definitely. Stir in a scoop of your favorite protein powder before mixing in the nut butter and sweetener. If your dough seems dry, add a splash more sweetener or a little plant-based milk until it comes together.
Final Thoughts
I truly hope you give these Energy Balls a try soon—there’s nothing like discovering a snack that’s easy, wholesome, and fun to share. They’re totally customizable, dreamy for meal prep, and always hit the spot. Here’s to happy snacking, one bite at a time!
PrintEnergy Balls Recipe

These energy balls are a delicious and nutritious snack that is easy to make and perfect for a quick energy boost. They are packed with wholesome ingredients like oats, peanut butter, chia seeds, and sweetened with maple syrup. Customize them with your favorite add-ins like chocolate chips or raisins.
- Prep Time: 15 minutes
- Cook Time: 0 minutes
- Total Time: 15 minutes
- Yield: 12 energy balls 1x
- Category: Snack
- Method: Mixing
- Cuisine: Global
- Diet: Vegetarian
Ingredients
Dry Ingredients:
- 1 cup rolled oats
- 1 tbsp chia seeds
- 1/8 tsp salt
Wet Ingredients:
- 1/2 cup peanut butter (or allergy-friendly sub)
- 1/4 cup pure maple syrup (or honey or agave)
Optional Add-Ins:
- Handful of mini chocolate chips or raisins
Instructions
- Prepare the Nut Butter: If the nut butter is not already soft, gently warm it until easy to stir.
- Mix the Ingredients: In a medium bowl, stir together the dry ingredients. Add the nut butter and sweetener, mix until well combined.
- Form the Balls: Roll the mixture into balls or press into cookie shapes.
- Storage: Store the energy balls in a covered container at room temperature for up to a week, in the refrigerator for three weeks, or in the freezer for four months.
Nutrition
- Serving Size: 1 energy ball
- Calories: 120
- Sugar: 5g
- Sodium: 70mg
- Fat: 7g
- Saturated Fat: 1g
- Unsaturated Fat: 5g
- Trans Fat: 0g
- Carbohydrates: 12g
- Fiber: 2g
- Protein: 3g
- Cholesterol: 0mg
Keywords: Energy Balls, Healthy Snack, No-Bake, Quick Recipe, Oats, Peanut Butter, Chia Seeds
