Chocolate Lava Cake Dessert Recipe
Introduction
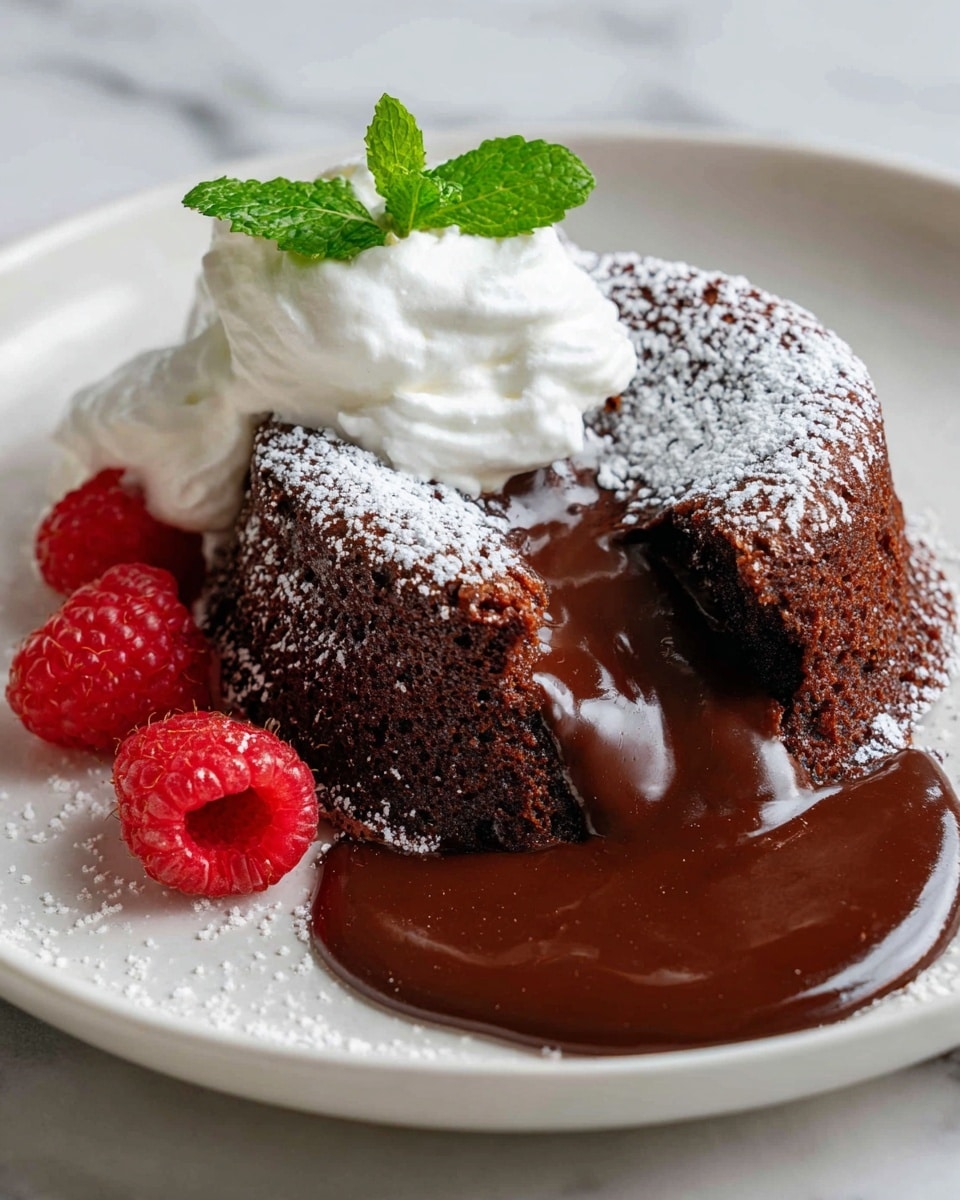
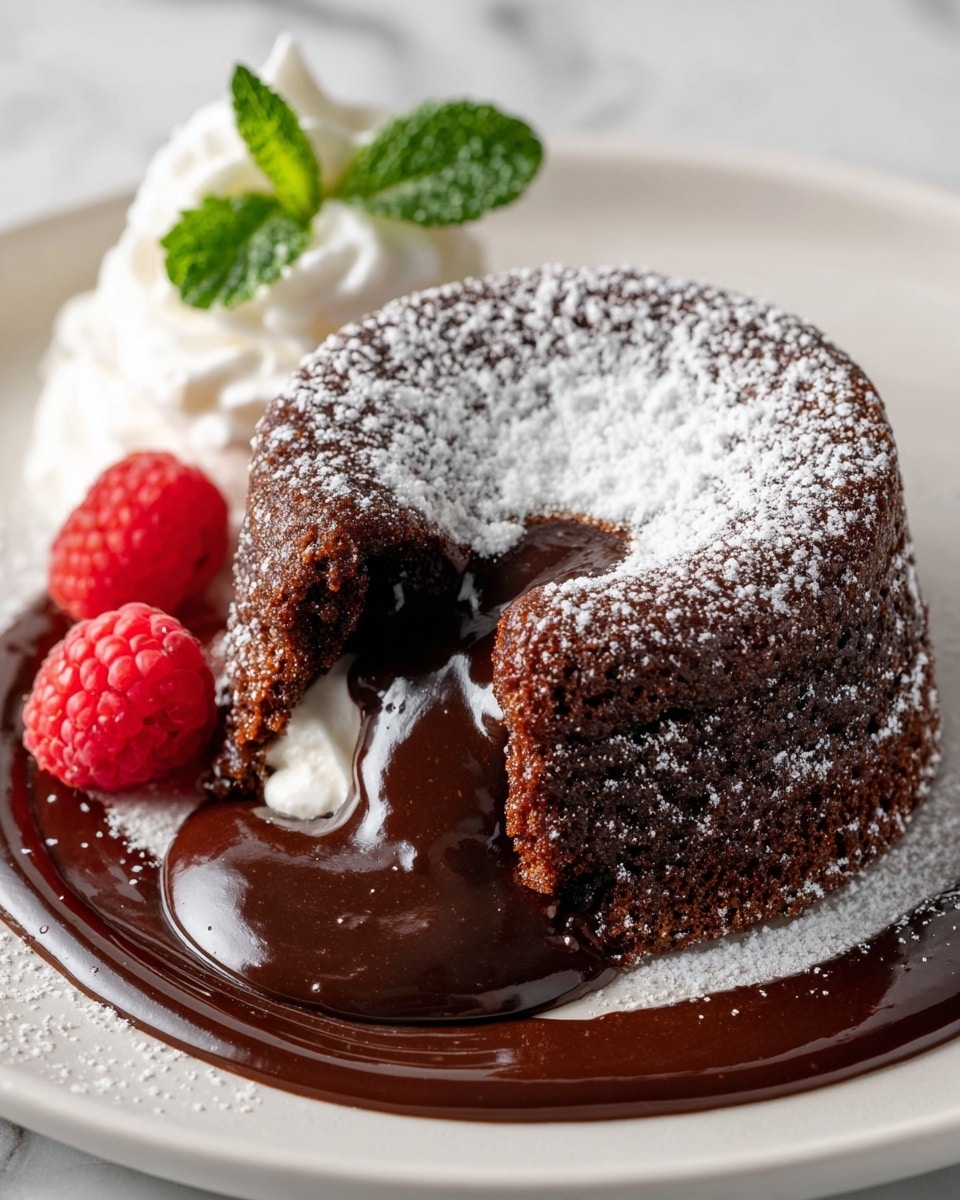
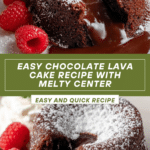
Chocolate lava cake is a decadent dessert featuring a rich, gooey chocolate center surrounded by a tender cake exterior. Perfect for special occasions or a cozy night in, this dessert pairs wonderfully with ice cream or fresh berries.
Ingredients
- 1/2 cup unsalted butter, plus additional for greasing
- 4 ounces semi-sweet chocolate, chopped
- 2 large eggs
- 2 large egg yolks
- 1/4 cup granulated sugar
- 1/4 cup all-purpose flour
- 1 teaspoon vanilla extract
- Pinch of salt
- Powdered sugar, for dusting
- Vanilla ice cream or whipped cream, for serving
- Fresh berries, such as strawberries or raspberries, for serving
Instructions
- Step 1: Butter the insides of four 6-ounce ramekins generously and dust with cocoa powder, tapping out any excess.
- Step 2: Chop the semi-sweet chocolate into small pieces. In a small saucepan over low heat, melt the chocolate and butter together, stirring constantly until smooth.
- Step 3: In a medium mixing bowl, whisk the eggs, egg yolks, and granulated sugar until the mixture is light, pale, and frothy.
- Step 4: Gradually pour the melted chocolate and butter mixture into the eggs, folding gently with a spatula until fully combined.
- Step 5: Sift the flour and a pinch of salt over the batter. Add the vanilla extract, then fold gently until just incorporated; the batter should be thick and smooth.
- Step 6: Divide the batter evenly among the prepared ramekins and place them on a baking sheet.
- Step 7: Bake in a preheated oven at 425°F (218°C) for 12 to 14 minutes, until the edges are set but the centers remain soft and slightly jiggly.
- Step 8: Let the cakes cool in the ramekins for 1–2 minutes. Run a knife around the edges and carefully invert each cake onto a plate.
- Step 9: Dust with powdered sugar and serve immediately with vanilla ice cream or fresh berries.
Tips & Variations
- For an extra indulgent touch, add a small piece of chocolate or a spoonful of Nutella in the center before baking to enhance the molten core.
- Use high-quality chocolate for the best flavor and smooth texture.
- If you don’t have ramekins, use a muffin tin, but reduce the baking time slightly and watch closely.
Storage
Chocolate lava cakes are best enjoyed fresh for the gooey center. If needed, store baked cakes covered in the refrigerator for up to 2 days, but note the center will firm up. To reheat, warm gently in the microwave for 15–20 seconds or in a low oven until just heated through.
How to Serve
Serve this delicious recipe with your favorite sides.
FAQs
Can I prepare the batter in advance?
Yes, you can prepare the batter and refrigerate it in the ramekins, covered tightly with plastic wrap, for up to 24 hours. Bake directly from the fridge, adding a minute or two to the baking time.
Why is the center not molten after baking?
Underbaking is key to achieving the molten center. Be sure to watch the cakes closely near the end of baking; the edges should be set while the center remains slightly jiggly. Overbaking will cause the center to firm up.
PrintChocolate Lava Cake Dessert Recipe
This classic Chocolate Lava Cake is a decadent dessert featuring a rich, molten chocolate center surrounded by a soft, tender cake exterior. Perfectly portioned in individual ramekins, this recipe delivers a luxurious treat that’s quick to prepare and sure to impress. Serve warm with a dusting of powdered sugar and a scoop of vanilla ice cream or fresh berries for an unforgettable finale to any meal.
- Prep Time: 15 minutes
- Cook Time: 14 minutes
- Total Time: 29 minutes
- Yield: 4 servings 1x
- Category: Dessert
- Method: Baking
- Cuisine: American
Ingredients
For the Cake
- 1/2 cup unsalted butter, plus additional for greasing
- 4 ounces semi-sweet chocolate, chopped
- 2 large eggs
- 2 large egg yolks
- 1/4 cup granulated sugar
- 1/4 cup all-purpose flour
- 1 teaspoon vanilla extract
- Pinch of salt
For Serving
- Powdered sugar, for dusting
- Vanilla ice cream or whipped cream
- Fresh berries, such as strawberries or raspberries
Instructions
- Prepare the Ramekins: Butter the insides of four 6-ounce ramekins generously and dust them with cocoa powder, tapping out the excess to prevent sticking.
- Melt Chocolate and Butter: Chop the semi-sweet chocolate into small pieces. In a small saucepan over low heat, melt the chocolate and unsalted butter together, stirring constantly until smooth and combined.
- Whisk Eggs and Sugar: In a medium mixing bowl, whisk together the eggs, egg yolks, and granulated sugar until the mixture becomes light, pale, and frothy, which helps incorporate air for a tender texture.
- Combine Chocolate and Egg Mixtures: Gradually pour the melted chocolate and butter mixture into the egg mixture. Fold gently using a spatula until fully combined, being careful to retain airiness.
- Add Flour, Salt, and Vanilla: Sift the all-purpose flour and a pinch of salt over the mixture to avoid lumps. Add the vanilla extract and gently fold the batter until just incorporated. The batter should be thick and smooth.
- Portion Batter: Divide the batter evenly among the prepared ramekins placed on a baking sheet to make handling easier.
- Bake the Cakes: Bake in a preheated oven at 425°F (218°C) for 12 to 14 minutes. The edges should be set and firm, while the centers remain soft and slightly jiggly to create the signature molten lava effect.
- Serve: Allow the cakes to cool for 1–2 minutes in the ramekins to set slightly. Run a knife around the edges to loosen, then invert each onto a serving plate. Dust with powdered sugar and serve immediately with vanilla ice cream or fresh berries for extra indulgence.
Notes
- Be careful not to overbake to ensure the centers remain molten and gooey.
- Use high-quality semi-sweet chocolate for the best flavor and texture.
- You can prepare the batter ahead and refrigerate in ramekins, then bake right before serving—just add a couple of extra minutes to the baking time if starting cold.
- Dusting ramekins with cocoa powder instead of flour prevents a white residue on the cake surface.
- For a gluten-free version, substitute all-purpose flour with a gluten-free flour blend.
Keywords: Chocolate Lava Cake, Molten Chocolate Cake, Individual Chocolate Cake, Easy Chocolate Dessert, Chocolate Dessert Recipe