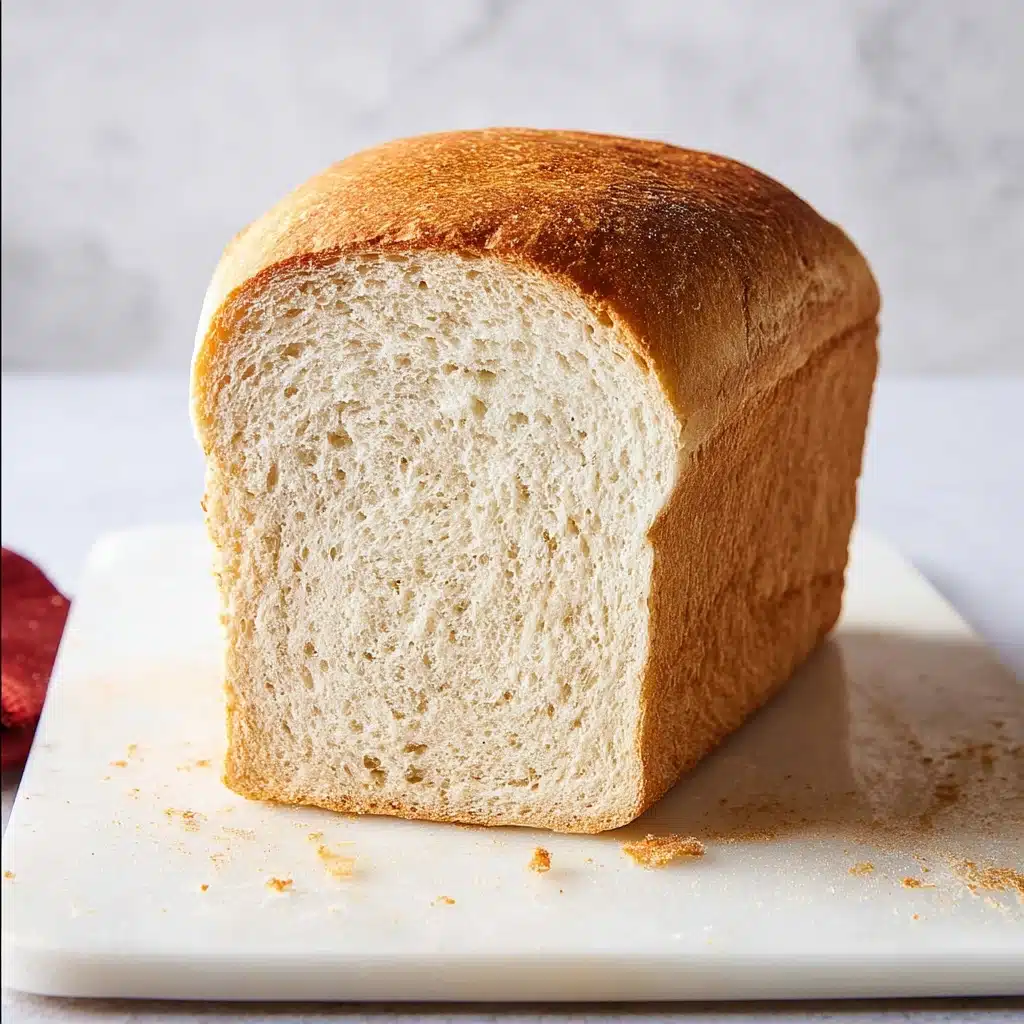
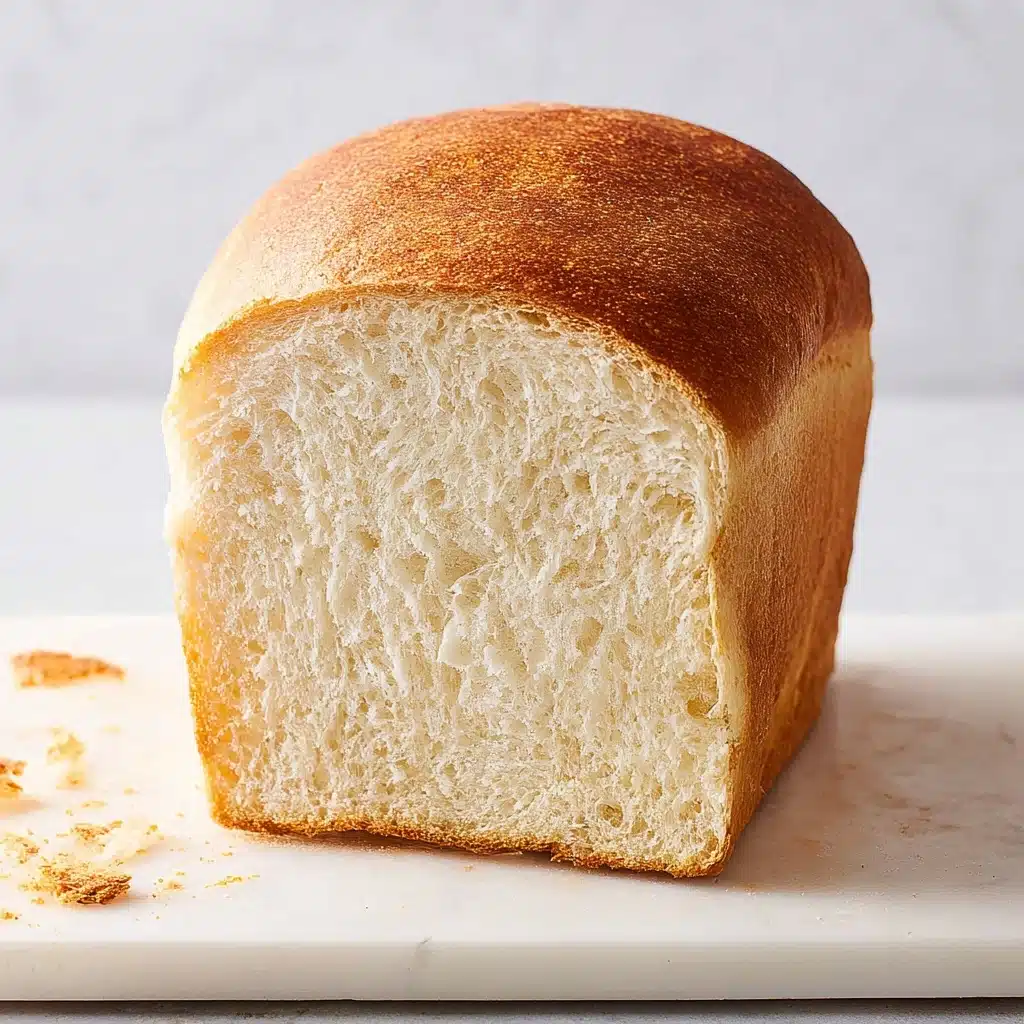
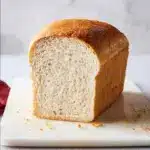
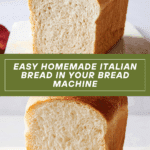
Bread Machine Italian Bread Recipe
If you’re craving the irresistible aroma and texture of authentic Italian bread but want the ease of a one-step baking process, this Bread Machine Italian Bread recipe is about to become your new kitchen best friend. Soft on the inside with a perfectly crusty exterior, this bread machine Italian bread combines simple pantry staples and your trusty bread machine to create loaves that taste like they came straight from a traditional Italian bakery. It’s friendly enough for beginners yet yields results that will impress anyone at your table.
Ingredients You’ll Need
This recipe thrives on a handful of everyday ingredients that each play a vital role in creating a dough with wonderful flavor, structure, and crumb. From the olive oil that lends subtle richness to the yeast that ensures a perfect rise, every element works together to craft your perfect loaf.
- Lukewarm Water (9 1/2 ounces): The warm temperature activates the yeast and hydrates the flour to develop gluten structure.
- Olive Oil (1 Tablespoon): Adds a gentle richness while keeping the bread tender and moist.
- Bread Flour (3 cups): Provides the high protein needed for an elastic, chewy crumb typical of Italian bread.
- Granulated Sugar (2 teaspoons): Feeds the yeast and balances flavors with a hint of sweetness.
- Salt (1 1/2 teaspoons): Enhances all the other flavors and strengthens the dough.
- Instant Yeast (1 1/2 teaspoons): The powerhouse that makes your dough rise beautifully and quickly. You can substitute fresh or active dry yeast as well.
How to Make Bread Machine Italian Bread
Step 1: Prepare Your Machine and Ingredients
Start by ensuring the kneading paddle is firmly in place inside the bread pan. Adding ingredients in the correct order is crucial for your bread machine’s proper functioning—typically, liquids go in first, followed by flour and sugar. Place the salt in a corner of the pan to keep it separate from the yeast, which should be nestled in a small well on top of the flour. This method prevents salt from killing the yeast before it can get to work.
Step 2: Set and Start the Machine
Lock your bread pan into the machine according to your device’s instructions, usually by turning it counterclockwise, and make sure the pan handle is down. Close the lid, plug in, select the Basic or White bread setting, and opt for a Dark crust color for that classic Italian bread crunch. Press Start and let your bread machine handle the mixing, kneading, and baking—about 3 hours and 20 minutes of hands-free magic.
Step 3: Cool and Remove the Bread
Once the baking cycle completes, take care to use oven mitts as the bread pan will be hot. Let it sit for 5 minutes to settle, then gently shake and invert the pan over a cooling rack to release the loaf. Patience is key here—waiting 30 minutes before slicing prevents the bread from becoming gummy and allows the crumb to set perfectly.
Step 4: Store or Freeze for Later Enjoyment
To keep your Bread Machine Italian Bread fresh, store it in a plastic bag or airtight container at room temperature for up to two days. For longer shelf life, slice the loaf after it cools completely and stash it in a zip-top bag in the freezer. This way, a slice of delicious, crusty Italian bread is always ready at a moment’s notice.
How to Serve Bread Machine Italian Bread
Garnishes
Simple garnishes like a brushing of extra virgin olive oil or a sprinkle of flaky sea salt transform this bread into a tantalizing snack. For a touch of indulgence, rub a garlic clove across the crust before adding your olive oil. Fresh herbs like rosemary or basil can also elevate each slice.
Side Dishes
Bread Machine Italian Bread pairs beautifully with soups and hearty salads. Think creamy tomato bisque, rich minestrone, or a vibrant Caprese salad. The sturdy crust stands up wonderfully to dips, cheeses, and olive oil blends, making it a versatile companion to countless meals.
Creative Ways to Present
Serve this bread sliced thick with a side of flavored butters or infused oils. You can also toast it and top with bruschetta toppings like diced tomatoes, fresh basil, and mozzarella for a delightful appetizer. Even using it as the base for paninis will make your sandwiches extra special.
Make Ahead and Storage
Storing Leftovers
Leftover Bread Machine Italian Bread tastes best within a day or two when stored in an airtight container or plastic bag at room temperature. Wrapping it tightly helps retain its moisture and keeps the crust pleasantly chewy rather than tough.
Freezing
If you want to extend the life of your bread beyond a couple of days, freezing sliced bread is the way to go. Make sure your bread is completely cool before slicing to prevent sogginess. Store slices in zip-top bags, separating layers with parchment to prevent sticking, and pop them into the freezer.
Reheating
To revive frozen bread slices, toast them gently or warm them in the oven wrapped in foil at 350°F for 10 minutes. This method helps restore that fresh-baked crust and soft inside, ready to enjoy just like the day you made it.
FAQs
Can I use regular all-purpose flour instead of bread flour?
While you can substitute all-purpose flour, your bread might be a little less chewy and have a slightly different texture. Bread flour has more protein, which helps develop the gluten needed for that classic Italian crumb and crust.
Do I need to proof the yeast before adding it to the bread machine?
If you’re using instant yeast, no need to proof it. Just add it directly to the flour as described. If you’re using active dry yeast, some prefer to proof it in warm water with sugar first for best results, but many bread machines can handle it without proofing.
Why does my bread sometimes come out too dense?
Dense bread can result from several factors: using water that’s too hot or cold, too much flour, or not enough yeast. Also, opening the bread machine during the kneading or rising cycle can disturb the process. Be sure to follow the order and measurements closely for best results.
Can I make this recipe without a bread machine?
Absolutely! While this recipe is tailored for a bread machine, you can mix, knead, and bake the dough by hand or with a stand mixer. Just follow traditional bread-making techniques for mixing, fermenting, shaping, and baking.
How do I get a crustier loaf using my bread machine?
Selecting the Dark crust setting helps, but you can also place a pan of water inside your conventional oven when baking to create steam, which adds to crust crispness. Unfortunately, bread machines have some limitations, but embracing the dark crust setting usually does the trick.
Final Thoughts
Making this Bread Machine Italian Bread is like giving yourself a warm hug through food — simple ingredients transformed into a delightful, crusty masterpiece with minimal effort. Whether you’re a seasoned baker or just stepping into the world of homemade bread, this recipe promises consistently delicious results that will have your family and friends asking for more. So grab your bread machine, gather these easy ingredients, and watch how effortlessly you can bring a taste of Italy into your home.
PrintBread Machine Italian Bread Recipe
This Bread Machine Italian Bread recipe offers a simple and foolproof way to bake a classic, crusty Italian loaf using a bread machine. With just a handful of basic ingredients like bread flour, olive oil, and yeast, you can enjoy a warm, homemade Italian bread perfect for sandwiches, dipping, or serving alongside your favorite meals. The bread machine takes care of kneading, rising, and baking, making it ideal for bakers of all skill levels.
- Prep Time: 10 minutes
- Cook Time: 3 hours 20 minutes
- Total Time: 3 hours 30 minutes
- Yield: 1 loaf (about 12 servings) 1x
- Category: Bread
- Method: Bread Machine Baking
- Cuisine: Italian
- Diet: Vegetarian
Ingredients
Liquids
- 9 1/2 ounces lukewarm water (1 cup + 3 tablespoons, 90-100°F)
- 1 tablespoon olive oil
Dry Ingredients
- 3 cups bread flour (spooned and leveled)
- 2 teaspoons granulated sugar
- 1 1/2 teaspoons salt
- 1 1/2 teaspoons instant yeast (or fresh active dry yeast without proofing)
Instructions
- Prepare the bread machine: Ensure the kneading paddle is firmly pressed down at the bottom of the bread pan to avoid sticking. This will help the dough mix and knead properly.
- Add ingredients in order: Add the lukewarm water and olive oil first, followed by the bread flour and sugar. Then, add the salt to a corner of the bread pan to prevent direct contact with the yeast. Make a small well in the center of the flour and add the yeast last.
- Start the machine: Secure the bread pan into the bread machine by turning it counterclockwise or according to your machine’s instructions. Ensure the handle is down and close the lid. Select the Basic or White bread setting, set the crust color to Dark, and press Start. The machine will mix, knead, rise, and bake the bread automatically.
- Baking time: Let the machine run its full cycle, which should take approximately 3 hours and 20 minutes. Avoid opening the lid during this time to maintain optimal rising and baking conditions.
- Remove and cool bread: When baking is complete, carefully remove the bread pan using oven mitts. Let it rest for 5 minutes, then gently shake the pan and invert it onto a cooling rack to release the loaf. Allow the bread to cool completely for about 30 minutes before slicing to maintain texture and prevent squishing.
- Storage: Store the bread in a plastic bag or airtight container at room temperature for up to 2 days. For longer freshness, slice and freeze the bread in a zip-top plastic bag the same day it is made, ensuring it is completely cooled beforehand.
Notes
- Use lukewarm water (90-100°F) to activate the yeast effectively without killing it.
- If using active dry yeast instead of instant yeast, you do not need to proof it; just add it last as directed.
- Adjust the crust color setting based on your preference; Dark gives a crispy, golden crust.
- Do not open the bread machine lid during baking to avoid collapsing the dough.
- For a softer crust, brush the baked loaf with olive oil immediately after removing from the pan.
- Measure flour by spooning it into the measuring cup and leveling it off for accuracy.
Nutrition
- Serving Size: 1 slice (about 1/12th of loaf)
- Calories: 140
- Sugar: 1.5g
- Sodium: 220mg
- Fat: 2.5g
- Saturated Fat: 0.3g
- Unsaturated Fat: 2.0g
- Trans Fat: 0g
- Carbohydrates: 26g
- Fiber: 1g
- Protein: 4g
- Cholesterol: 0mg
Keywords: Italian bread, bread machine recipe, homemade bread, easy bread recipe, crusty bread, olive oil bread


